Table of Contents
Advertisement
Quick Links
Advertisement
Table of Contents

Related Manuals for Toastmaster 7093S


Summary of Contents for Toastmaster 7093S
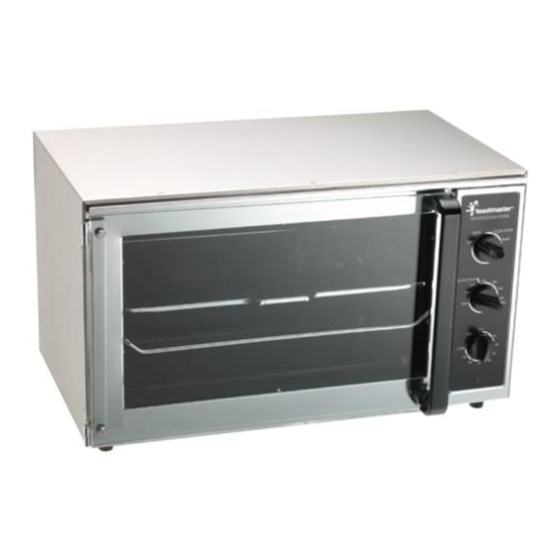
- Page 1 Convection Oven-Broiler USE AND CARE GUIDE MODEL 7093S...
-
Page 2: Important Safeguards
When using this appliance, provide at least four inches of space above, behind, and on both sides for air circulation. The use of attachments not recommended by Toastmaster Inc. may cause injuries. Do not use outdoors or while standing in a damp area. - Page 3 Extreme caution must be used when moving an appliance containing hot oil or other hot liquids. Use extreme caution when removing the bake/broil pan or disposing of hot grease. When broiling, the bake/broil pan and broil insert must be used. Do not use appliance for other than intended use.
- Page 4 This constant, gentle air flow is what seals in juices, promotes browning and shortens cooking time without turning and basting. Your Toastmaster ® convection oven can bake, roast, broil, and dehydrate.
-
Page 5: Selector Dial
1. Wire Rack (P/N 21506) 2. Broil Insert (P/N 21507) 3. Bake/Broil Pan (P/N 21508) FIGURE 3 1. Wire Rack (Shelf positions 1, 3, 5) 2. Wire Rack Inverted (Shelf positions 2, 4, 6) FIGURE 4 Selector Dial The oven has three different settings: BAKE, SLOW COOK and BROIL. -
Page 6: Indicator Light
Manual On If you are cooking for less than 15 minutes or do not wish to use the timer feature, turn the dial to MANUAL ON to turn oven on. Return to OFF position when cooking is complete. The indicator light will go off. Indicator Light Once the oven is preheated (10 minutes), the light will continue to turn on and off as the elements cycle indicating the oven is... - Page 7 Bake 1. Place bake/broil pan or wire rack into correct position. 2. Plug into 120V ~ 60Hz outlet. 3. Position selector dial to BAKE. Turn temperature control dial to temperature setting. Set timer to MANUAL ON or desired baking time. Oven will shut off automatically if timer is set. Preheat if necessary.
- Page 8 5. Position selector dial to BAKE. Turn temperature control dial to 325°-350°F (standard roasting temperature). It is not necessary to preheat your oven. Since meats and poultry roast up to 25% faster in a convection oven, a meat thermometer should always be used to gauge internal temperature.
- Page 9 Hints For Roast A meat thermometer inserted into the center of the meat should always be used to ensure desired doneness. Roasting is recommended for large, tender cuts of meat and poultry. Seasoning prior to cooking adds to the flavor and the aroma during cooking.
-
Page 10: Slow Cook
Hints For Broil Do not place aluminum foil on top of broil insert. This traps grease and can cause a fire. Trim excess fat from meat and score edges to prevent curling and thaw frozen meats before broiling. This will reduce smoke during broiling. -
Page 11: User Maintenance Instructions
Separate dishes can cook simultaneously, yet food retains its own flavor. Select foods that will take the same amount of time to cook. Milk, cream and sour cream may curdle. It is best to add them in the last hour of cooking. If a recipe specifies one of these ingredients as the only liquid in the cooking process, try substituting evaporated milk, water or condensed soup, such as cream of mushroom or chicken soup. - Page 12 Clean-Up Of Non-Stick Walls And Interior 1. Always unplug and allow to cool completely before cleaning or moving. 2. Remove bake/broil pan and wire rack. 3. Clean interior after each use to avoid buildup. 4. Clean with a mild or non-abrasive cleaner and a plastic scouring pad.
- Page 13 FIGURE 5 To Replace Oven Light 1. Unplug unit and allow oven to cool completely. 2. Remove screw from oven light bracket, holding onto bracket to prevent glass from falling. 3. Remove bracket and glass. 4. Remove bulb by turning counter-clockwise. 5.
- Page 14 9:00 am and 5:00 pm Central Standard Time and ask for CONSUMER SERVICE stating that you are a consumer with a problem. Please refer to model number 7093S when you call. In-Warranty Service (USA): For an appliance covered under the warranty period, no charge is made for service or postage.
- Page 15 Date code (stamped on bottom)________________________________ EVERYBODY EATS. It’s a fact of life. But sometimes preparing meals can become a chore. That’s why TOASTMASTER has been invited into millions of kitchens just like yours so we can HELP YOU MASTER your mixing, baking, grilling, toasting, brewing, heating and serving tasks WITH EASE AND STYLE.
- Page 16 Questions toll free 1-800-947-3744 Call Monday – Friday, 8:00 a.m. - 5:30 p.m. CST www.toastmaster.com 7093S...