Zte MF10 Quick Setup Manual
3g wireless router, fixed wireless adapter
Hide thumbs
Also See for MF10:
- User manual (36 pages) ,
- User manual (32 pages) ,
- Getting started manual (8 pages)
Table of Contents
Advertisement
Quick Links
Download this manual
See also:
User Manual
Advertisement
Table of Contents

Related Manuals for Zte MF10


Summary of Contents for Zte MF10
- Page 1 MF10 3G Wireless Router Fixed Wireless Adapter Quick Setup Guide...
-
Page 2: Table Of Contents
Contents Contents..........................2 Description: ........................ 3 Features:........................3 LED Indicator ......................3 Interface Description ....................4 Installation ........................5 Inserting the (U)SIM Card..................5 Inserting the modem....................5 Connecting computer ....................6 Connecting the external power................. 6 Switching on your dev ice..................7 Power supply........................ -
Page 3: Description
2G and 3G network, user can simply connect computers to MF10 via Ethernet or WLAN interface to get high-speed internet connectivity, The USB modem stick on MF10 via a USB 2.0 Master high speed port can support multi-mode 3G bands, such as HSPA/UMTS/EDGE/GPRS/GSM, MF10 comply with 802.11b/g standard with Wi-Fi security. -
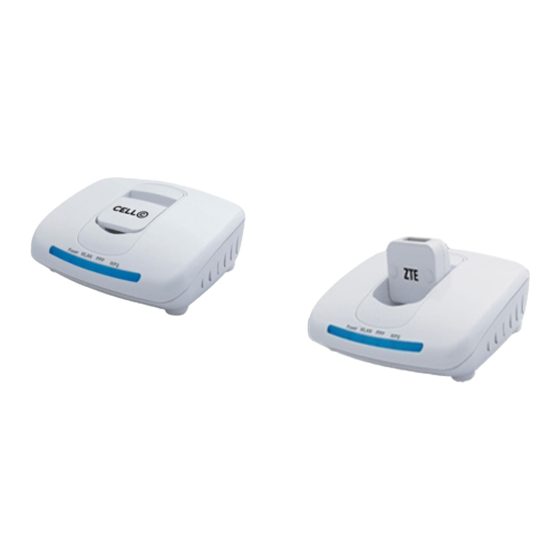
Page 4: Interface Description
State Indicator D escription Internet disconnected and not attempt to conn ect. 4. WPS WP S authentication is started and available. Blinking WP S authentication is in progress or unavailable. WP S authentication is not started. Out of Connection 、 Solid Green Connection Data Service Process... -
Page 5: Installation
Installation Inserting the (U)SIM Card Insert the (U)SIM card into the modem(supplied by ZT E). 1. Take down the modem cap, and then the USB connector is visible. 2. Pull out the plastic socket above the USB connector out. Notes: Do not pull the (U)SIM socket rudely for the socket is fixed with the modem. -
Page 6: Connecting Computer
2. Plug the USB connector into the USB port . Warning: Please power off the router and remove the external power adapter before remov ing or inserting the modem, if not, the router or modem may be damaged. Connecting computer Connect y our computer to the LAN interface using the Ethernet cable (RJ45) or to the WLAN Wireless interface. -
Page 7: Switching On Your Device
Switching on your device 1. Turn the power switch on to get started. 2. Wait 1~2 minutes after turning the router on before you use the service. The power indicator should be lit on. Power supply For normal operation connect the router to the external power adapter. In case of power failure or when there is no available external power supply, the router can not work. -
Page 8: Settings
Login The router can be connected by RJ45 or by Wi - Fi (the SSID is “ZTE Wireless Network”). By either connection mode, you should set to obtain an IP address automatically in the attribution setting of Internet protocol (TCP/IP). -
Page 9: Quick Setup
The whole page is divided into two parts. Related functions can be executed by operation in the related areas. Index area : Show configuration list for your router. • Content area : Show the detail configuration. • Quick setup Click Quick Setup , you can set up your gateway in the safe way. - Page 10 Click Next bu tton. Click Next bu tton.
- Page 11 Click Next bu tton. Click Next bu tton. Click Apply button to confirm you r configu ration.
-
Page 12: 3G Settings
3G Settings APN Setting Select 3G Settings > APN Setting , the APN parameters are shown in the following figure: Profile Selection : Select the profile which you want to use for the internet connection. • Profile Name : The profile which is set as default. •... -
Page 13: Wan Connection
2. Input those parameters as shown above. 3. Click Save to save this new profile. 4. Click Set default to set this profile as default. WAN Connection Click WAN Connection , you can configure how to connect to the Internet. There are three connection modes: Auto Connect : T he router will automatically connect to WAN when it is powered on.