Advertisement
Table of Contents
- 1 Table of Contents
- 2 Cautions
- 3 Overview
- 4 Parts List
- 5 Winding the Bobbin
- 6 Inserting the Bobbin
- 7 Threading the Upper Thread
- 8 Automatic Needle Threader
- 9 Raising the Bobbin Thread
- 10 How to Choose Your Pattern
- 11 Thread Tension
- 12 Stitch Width Dial & Stitch Length Dial
- 13 Beginning to Sew
- 14 Inserting & Changing Needles
- 15 Troubleshooting
- Download this manual
Advertisement
Table of Contents

Related Manuals for Singer HEAVY DUTY 4423


Summary of Contents for Singer HEAVY DUTY 4423
- Page 1 SEWING MACHINE For use with the SINGER® HEAVY DUTY 4423 Sewing Machine...
-
Page 3: Table Of Contents
Table of Contents CAUTIONS OVERVIEW PARTS LIST WINDING THE BOBBIN INSERTING THE BOBBIN THREADING THE UPPER THREAD AUTOMATIC NEEDLE THREADER RAISING THE BOBBIN THREAD HOW TO CHOOSE YOUR PATTERN THREAD TENSION STITCH WIDTH DIAL & STITCH LENGTH DIAL BEGINNING TO SEW INSERTING &... -
Page 5: Cautions
Cautions To reduce the risk of burns, fire, electric, shock, or injury: • Never operate this appliance if it has a damaged cord or plug, if it is not working properly, if it has been dropped or damaged, or dropped into water. •... -
Page 6: Overview
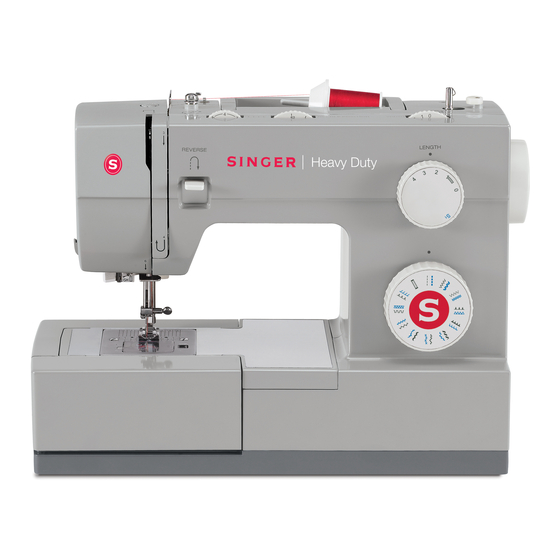
Overview The Singer Heavy Duty 4423 is a mechanical sewing machine with a powerful motor and high sewing position, which along with its high speed sewing capability makes it perfect for heavy-duty sewing tasks. With adjustable presser foot pressure, you can sew heavy fabrics such as canvas or denim as well as very lightweight sheers, and the stainless steel bedplate allows fabrics to glide over the machine with ease. -
Page 7: Parts List
Parts List 1. Thread tension dial 2. Presser foot pressure adjustment 3. Thread take-up lever 4. Reverse sewing lever 5. Thread cutter 6. Presser foot 7. Needle plate cover 8. Removable extension table/ accessory storage 9. Three needle position dial 10. -
Page 8: Winding The Bobbin
Winding the Bobbin • Place thread and corresponding spool holder on to spool pin. (1/2) • Snap thread into thread guide. (3) • Wind thread clockwise around bobbin winder tension discs. (4) • Thread bobbin as illustrated and place on spindle. (5) •... -
Page 10: Inserting The Bobbin
Inserting the Bobbin Turn power switch to off before inserting or removing the bobbin. • Remove the bobbin cover plate by pushing the small tab to the right of the cover towards the right. • Insert the bobbin in the bobbin case with the thread running counterclockwise direction (arrow). -
Page 12: Threading The Upper Thread
Threading the Upper Thread • Start by raising the needle to its highest point (1), and continue turning the handwheel* counterclockwise until the needle just slightly begins to descend. Never turn the handwheel away from you as this may cause the timing to be disrupted. -
Page 14: Automatic Needle Threader
Automatic Needle Threader • Turn the power switch to OFF • Thread upper tension of machine up to the thin wire in front of the needle clamp. • Raise the needle to its highest position. • Set machine to straight stitch. •... -
Page 16: Raising The Bobbin Thread
Raising the Bobbin Thread • Hold the upper thread with the left hand. Turn the handwheel (1) towards you (counterclockwise) lowering, then raising needle. • Gently pull on the upper thread to bring the bobbin thread up through the needle plate hole. (2) •... -
Page 17: How To Choose Your Pattern
How to Choose Your Pattern The diagram below displays the stitch patterns available on the machine. Stitches in the top of the diagram are indicated on the pattern selector dial in gray. To select the patterns indicated with the gray color, turn the pattern selector dial. -
Page 18: Thread Tension
Thread Tension Upper thread tension Basic thread tension setting: “4”. (1) To increase the tension, turn the dial to the next number up. To reduce the tension, turn the dial to the next number down. A. Normal thread tension for straight stitch sewing. B. -
Page 20: Stitch Width Dial & Stitch Length Dial
Stitch Width Dial & Stitch Length Dial Function of stitch width dial When doing a zig zag or a decorative pattern you can alter the width from 1mm to 6mm. To obtain a very narrow stitch, set the dial to 1, to obtain the maximum 6mm width, set the dial to 6. -
Page 22: Beginning To Sew
Beginning to Sew Sewing a Straight Stitch To begin sewing, set the machine for straight stitch. (1) Set the stitch length to between 2 and 3. Place the fabric under the presser foot with the fabric edge lined up with the desired seam guide line on the needle plate. - Page 23 Removing the Work Turn the handwheel toward you (counterclockwise) to bring the thread take up lever to its highest position, raise the presser foot and remove work behind the needle and presser foot. Cutting the Thread Pull the threads under and behind the presser foot.
-
Page 24: Inserting & Changing Needles
Inserting & Changing Needles Change the needle regularly, especially if it is showing signs of wear and causing problems. Turn the power switch to off before inserting or removing the needle. Insert the needle as illustrated in Figure 1. A. Loosen the needle clamp screw and tighten again after inserting the new needle. -
Page 26: Troubleshooting
Troubleshooting If you feel uncomfortable or unsure, reach out to a staff member for help! Problem Cause Correction Upper thread 1. The machine is not threaded correctly. 1. Re-thread the machine. breaks 2. The thread tension is too tight. 2. Reduce the thread tension. (lower 3. - Page 27 Problem Cause Correction Seams gather or 1. The needle is too thick for the fabric. 1. Select a finer needle. pucker 2. The stitch length is adjusted wrong. 2. Readjust the stitch length. 3. The thread tension is too tight. 3.