Table of Contents
Advertisement
Quick Links
Advertisement
Table of Contents

Related Manuals for Orion WB-31


Summary of Contents for Orion WB-31
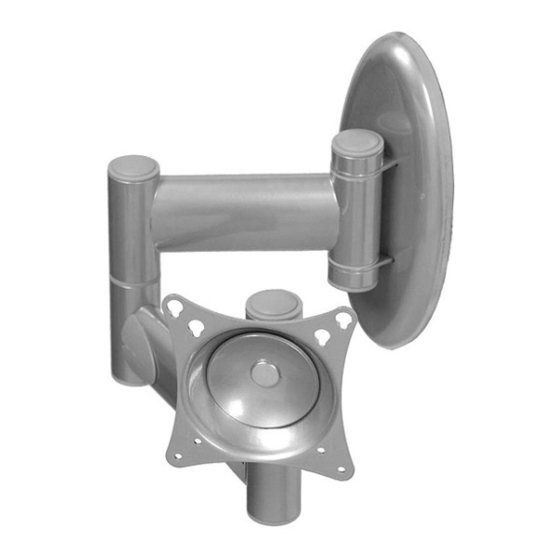
- Page 1 Installation and User’s Guide Installation and User’s Guide FLAT LCD DISPLAY MOUNT MODEL WB-31 SWING ARM WALL MOUNT http://www.orionimages.com All contents of this document may change without prior notice, and actual product appearance may differ from that depicted herein...
-
Page 2: Table Of Contents
TABLE OF CONTENTS Parts List …………………………………………………………………………………4 Installation Tools ……………………………………………………………………..….4 Backplate Installation - Wood stud ……………………………………………………...5 Backplate Installation - Concrete Surface ……………………………………………….6 WB-31 Installation ……………………………………………………………………...7 Installing the Monitor …………………………………………………………………..8 Adjusting the Swingout Arm …………………………………………………………….9 Adapter Plate Installation …………………………………………………………….…10 Technical Specifications ………………………………………………………………...11 Warranty Information …………………………………………………………………...12... - Page 3 Recommended mounting surfaces: wooden studs and solid-flat concrete. If the mount is to be installed on any surface other than wooden studs, use suitable hardware (which is commercially available). Contact Orion Images with any technical/ installation questions. 7300 Bolsa Avenue, Westminster CA 92683 / Tel: 714-766-6300 / Fax: 714-766-6310...
-
Page 4: Parts List
This mount is shipped with all intallation hardware and components. Make sure that none of these parts are missing and/ or damaged before beginning installation. If there are parts missing and/or damaged, please stop and contact Orion Images - 714-766-6300... -
Page 5: Backplate Installation - Wood Stud
Backplate Installation - Wood Stud NOTE These installation instructions will apply to the WB-31 Swingout Arm Mount. The following steps will outline how the back plate will be mounted. 1. Determine where the mount location will be. 2. Use a stud finder (sold separately) to locate the nearest wall stud. -
Page 6: Backplate Installation - Concrete Surface
Backplate Installation - Concrete Surface NOTE These installation instructions will apply to the WB-31 Swingout Arm Mount. The following steps will outline how the back plate will be mounted. Determine where the mount location will be. After this has been determined, line-up the holes of the backplate NOTE: Be sure that the end of the back plate that has a lip is pointing as shown in (Figure 3). -
Page 7: Wb-31 Installation
Installation and User’s Guide http://www.orionimages.com WB-31 Installation NOTE In reference to Figure 5, the dash lines represent the back plate that is mounted to an existing surface. The following steps will outline how the back plate will be mounted. The reverse side of the mount must be mounted to the back plate that is attached to the wall. -
Page 8: Installing The Monitor
Cable Access Please refer to Figure 7 for the correct way to route existing any cables. WB-31 Articulating Swingout Arm - After the monitor has been mounted, remove the cable access plastic 7300 Bolsa Avenue, Westminster CA 92683 / Tel: 714-766-6300 / Fax: 714-766-6310... -
Page 9: Adjusting The Swingout Arm
Installation and User’s Guide http://www.orionimages.com Adjusting the Swingout Arm This unit comes pre-tensioned at the factory. To adjust the swingout Arm so that there will not be any movement, perform the following steps (Figure 8). 1. Remove the Plastic End Caps. 2. -
Page 10: Adapter Plate Installation
1. Attach the 100x200 Adapter Plate to the back of the display using the provided hardware (see Parts List, page 4). 2. Attach the WB-31 mounting plate to the back of the 100x200 using the M4 x 5 mm screws. 200 x 200 Aapter Plate 3. -
Page 11: Technical Specifications
Installation and User’s Guide http://www.orionimages.com Technical Specifications pg11 7300 Bolsa Avenue, Westminster CA 92683 / Tel: 714-766-6300 / Fax: 714-766-6310... -
Page 12: Warranty Information
2Year Limited Warranty All Orion Images products carry a limited warranty from ship date against defects in materials and workmanship. Orion Images is not liable for improper installation that results in damage to mounts, adapters, display equipment or personal injury.