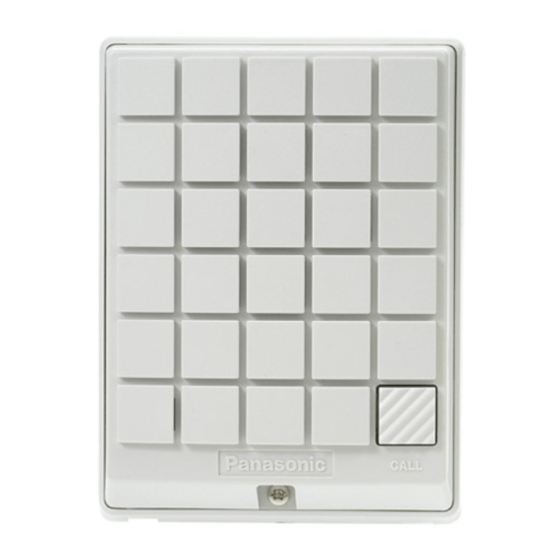
Panasonic KX-T30865 Installation Instructions
Holovision euro intercom unit
Hide thumbs
Also See for KX-T30865:
- Installation manual (408 pages) ,
- Operating instructions manual (131 pages) ,
- Installation manual (144 pages)
Advertisement
Quick Links
For Models
For all Holovision models to be used
Communication
For use with all Panasonic KSUs with door phone
card. This manual provides details of the
mounting of KX-T30865 to models 106, 202.
Installer furnishes his own KX-T30865 door
phone and attaches to Holovision plate with
bracket which is supplied.
KSU
Strike 1
Door 1
Manual Type 1.0.0.2E-RF
EURO INTERCOM UNIT
Panasonic KXT-30865
with KX-T30865 door phone
Specifications
Access Control
None.
KX-T30865 DOC
R
T
Speaker
Door bell
button
Front View
KX-T30865
Microphone
INSTALLATION
INSTRUCTIONS
501 E. Goetz Ave.
Santa Ana, Ca 92707
www.eholovision.com
Ph. 714-434-6904
Fax 800-362-0002
HOLOVISION
Advertisement

Summary of Contents for Panasonic KX-T30865
-
Page 1: Front View
For all Holovision models to be used with KX-T30865 door phone Specifications Communication Access Control For use with all Panasonic KSUs with door phone None. card. This manual provides details of the mounting of KX-T30865 to models 106, 202. Installer furnishes his own KX-T30865 door phone and attaches to Holovision plate with bracket which is supplied. - Page 2 Lay Holovision door intercom on a flat surface (be careful not to scratch it.) Remove the speaker attachment bracket from the door station so that it looks as shown below in Figure A Place the Panasonic speaker in the middle of the door unit as shown below in Figure B Figure A...
- Page 3 ACTION Pass the Panasonic circuit board and microphone through the hole in the speaker attachment bracket as shown below in Figure C Place the speaker bracket over the speaker and attach it to the lower bracket using the 4 screws provided.
- Page 4 501 E. Goetz Ave. Santa Ana, Ca 92707 Ph. 714-434-6904 Fax 800-362-0002 www.eholovision.com...


