Table of Contents
Advertisement
Advertisement
Table of Contents

Related Manuals for Sunbeam SCA062RWB1


Summary of Contents for Sunbeam SCA062RWB1
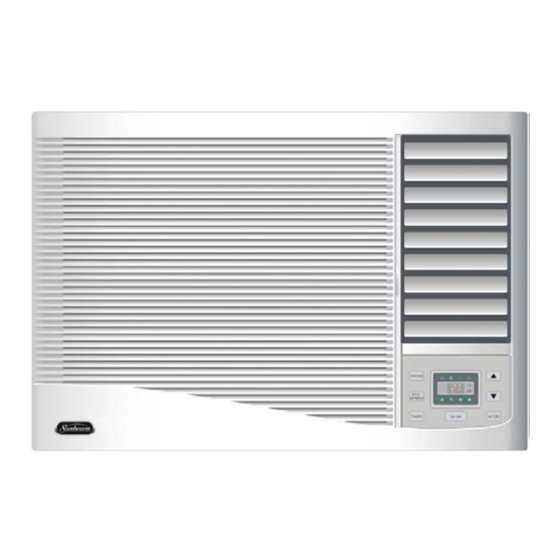
- Page 1 User’s Manual 5,850 BTU Room Air Conditioner Model: SCA062RWB1 20060316...
-
Page 2: Table Of Contents
Introduction Parts Identification Electrical Specifications Tips Before Installation Installation Instructions Operating Instructions Care and Maintenance Troubleshooting Guide Table of Contents Page... -
Page 3: Introduction
Introduction Thank you for choosing this room air conditioner to cool your home. This USE AND CARE MANUAL provides information necessary for the proper care and maintenance of your new room air conditioner. If properly maintained, your air conditioner will give you many years of trouble free operation. To avoid installation difficulties, read instructions completely before starting. - Page 4 Introduction Part Identification Remote control model Interior Air Outlet Air Filter(Inside) Front Panel Interior Air Inlet Grille Remote Control Control Panel Control Panel Timer Speed Mode Airconditioner Note: The figures in this manual are based on the external view of a standard model. Consequently, the shape may differ from that of the air conditioner you have selected.
-
Page 5: Electrical Specifications
Electrical specifications 1. All wiring must comply with local and national electrical codes and must be installed by a licensed electrician. Once you have any questions regarding the following instructions, contact a licensed electrician. 2. Check available power supply and resolve any wiring problems BEFORE installing and operating this unit. -
Page 6: Tips Before Installation
Tips before installation Your Room Air Conditioner unit is designed to be highly efficient and save energy. Follow these recommendations for greater efficiency. 1. Select thermostat setting that suits your comfort needs and leave the thermostat at that chosen setting. 2. -
Page 7: Installation Instructions
Installation instructions CAUTION Because the compressor is located on the controls side of the unit (right side), this side will be heavier and more awkward to manipulate. Inadequate support on control side of the unit can result in personal injury and damage to your unit and property. - Page 8 Installation instructions Window installation step 1. If your air conditioner cabinet 18'' wide, it will fit window openings 21'' to 32'' in wide. Minimum opening height is 14'' from bottom of sash to sill (Fig. 1). 2. Insert the guide panels into the guides of the air conditioner.
- Page 9 Installation instructions 5. Install the L brackets on the outer sill with the short side of the bracket against the back of the inner sill. Install one L bracket 7.5 of center line. See Fig. 5. 6. Carefully lift the air conditioner and slide it into the open window.
-
Page 10: Operating Instructions
Operating Instructions Mechanical control model MODE The mode knob controls fan speeds and cooling speeds. To set desired cooling temperature, simply rotate the mode knob dial to the appropriate setting. See Fig. 9. THERMOSTAT The thermostat automatically controls the cooling cycle (compressor) of the air conditioner to maintain room temperature. - Page 11 Operating Instructions Control Panel You can easily operate this air conditioner by pressing relevant button on the control panel as well as the remote control. Button The air conditioner will be started when it is energized or will be stopped when it is in operation, if you press this button. When the air conditioner is heating, allow 3 minutes after you press this button.
-
Page 12: Remote Control
Operating Instructions Remote control Power Mode Auto Fan Speed High Temp/Time When changing modes during operation, sometimes the unit does not always response at once. Wait 3 minutes. Wait 3 minutes before restarting the appliance. Timer Power Saver Power BUTTON The appliance will be started when it is energized or will be stopped when it is in operation, if you press this button. - Page 13 Operating Instructions Remote control How to Insert the Batteries Remove the battery cover according to the arrow direction. Insert new batteries making sure that the (+) and (-) of battery are matched correctly. Reattach the cover by sliding it back into position. Note: Use 2 LR6 AA(1.5volt) batteries.
-
Page 14: Care And Maintenance
Care and Maintenance When servicing the air conditioner, be sure to turn the mode switch to the "OFF" position and disconnect the power cord from the electrical outlet. 1. DO NOT use gasoline, benzine, thinner or other chemicals on the air conditioner as these substances may cause damage to the paint finish and deformation of plastic parts. -
Page 15: Troubleshooting Guide
Troubleshooting Guide Frequently, a problem is minor and a service call may not be necessary, use this troubleshooting guide for a possible solution. PROBLEM Air conditioner will No power to the unit. not operate Inefficient or no cooling Dirty air filter. Inappropriate capacity for application. - Page 16 © 2006 Sunbeam Products, Inc. doing business as Jarden Consumer Solutions. ® All rights reserved. Sunbeam is a registered trademark of Sunbeam Products, Inc. used under license. Distributed by Petters Consumer Brands, LLC. 4400 Baker Road, Minnetonka, MN 55343. For service, support and warranty information, visit www.sunbeammajorappliances.com...