Table of Contents
Advertisement
IMPORTANT SAFETY INFORMATION: Always read this manual first before attempting to service this log grate. For your
safety, always comply with all warnings and safety instructions contained in this manual to prevent personal injury or prop-
erty damage.
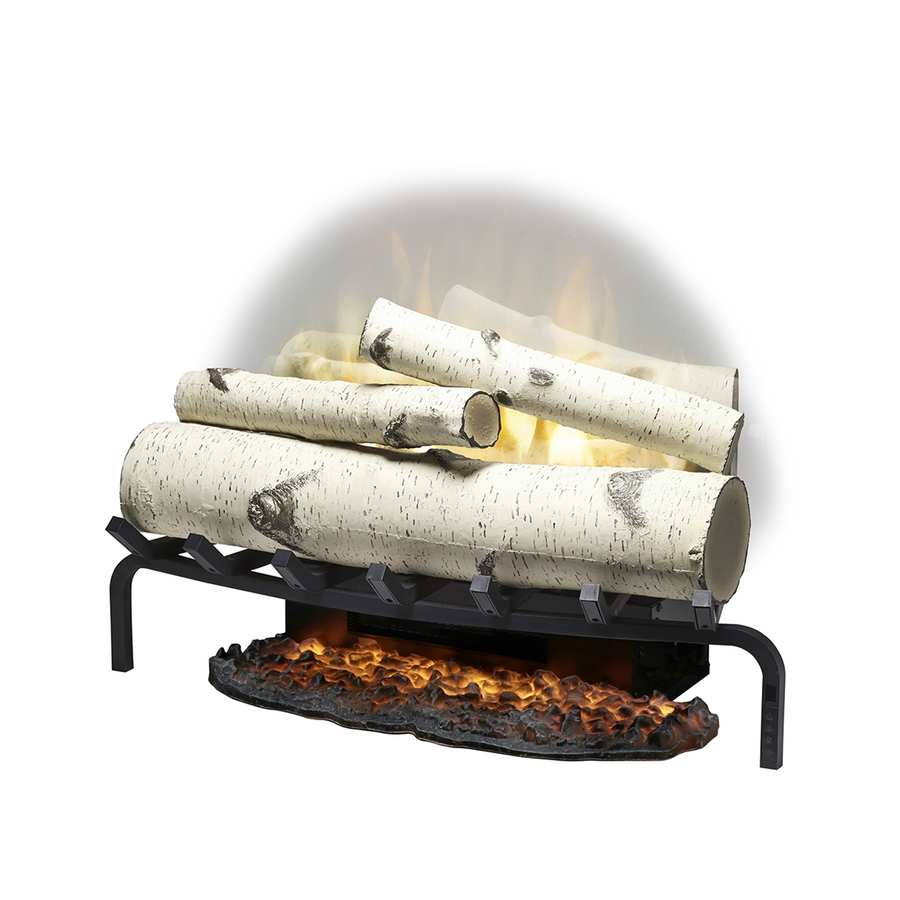
Service Manual
Model
RLG20
RLG20BR
RLG20FC
RLG25
RLG25BR
RLG25FC
Part Number
6909740159
6909740400
6909740500
6909760159
6909760200
6909760300
7400950000R01
Advertisement
Table of Contents

Related Manuals for Dimplex RLG20BR


Summary of Contents for Dimplex RLG20BR
- Page 1 Service Manual Model RLG20 RLG20BR RLG20FC RLG25 RLG25BR RLG25FC Part Number 6909740159 6909740400 6909740500 6909760159 6909760200 6909760300 IMPORTANT SAFETY INFORMATION: Always read this manual first before attempting to service this log grate. For your safety, always comply with all warnings and safety instructions contained in this manual to prevent personal injury or prop- erty damage.
-
Page 2: Table Of Contents
RLG20, RLG20BR, RLG20FC, RLG25BR, RLG25FC . . . . . . . . . . . . . . . . . . -
Page 3: Operation
Operation RLG20 Manual Control The manual controls for the Revillusion are located on the right-front leg of the log grate. Power Press to activate the current standby state (On/Off). Power • Standby State On Press to turn the flame effect on and activate the Press to turn everything Off. -
Page 4: Rlg25
Press multiple times to toggle the log set LEDs toward the front of the unit. through its four brightness settings. Color Themes Press multiple times to change the flame base colors from Yellow to Blue to Off. (Feature is active only when the flame effect is On.) www.dimplex.com... - Page 5 Operation Remote Control The fireplace is supplied with a multi-function remote con- RLG20BR, RLG20FC, RLG25BR, trol. RLG25FC The remote control has a range of approximately 30 ft (9 m). To operate correctly, the remote control must be pointed Manual Control toward the front of the unit.
-
Page 6: Maintenance
3. Close the battery cover. OPEN ---- OUVRIR PUSH ---- POUSSER RELEASE ---- DÉGAGER Lithium Battery--Batterie au lithium CR2025/2032 OPEN RELEASE PUSH Battery must be recycled or disposed of properly. Check with your Local Authority or Retailer for recycling advice in your area. www.dimplex.com... -
Page 7: Rlg20, Rlg20Br, Rlg20Fc
Heater-Blower Assy with Cutout... 2203730100RP RLG20BR..... . 0442780100RP Main Control Board ....3001740100RP RLG20FC . - Page 8 Coloured Light Assembly (RLG25 only) ..3001570400RP 14. Ash Mat ........REM-KIT www.dimplex.com...
-
Page 9: Rlg25
Exploded Parts Diagram RLG25BR, RLG25FC Replacement Parts List - RLG25BR, RLG25FC Logset RLG25BR ..... . 0442610100RP Heater-Blower Assy with Cutout ... 2203730100RP RLG25FC . -
Page 10: Wiring Diagram
4-7 x 0.20mA LED STRIP LOGSET ASSEMBLY 4 PIECES FLAME BASE COLOUR LIGHTS 4 x 0.20mA RGB STRIP ASH MAT ASSEMBLY 4-7 x 0.20mA LED STRIP 2 PIECES 360° COLOUR LIGHTS 6 x 0.20mA RGB HARNESS IR EYE/KEY BOARD CONTROL BOARD REMOTE www.dimplex.com... -
Page 11: Rlg20Br, Rlg20Fc
RLG20BR, RLG20FC CUTOUT +T° +T° FLICKER MOTOR FLAME LIGHTS 3 x 1W LEDs 120V / 12V ASH MAT ASSEMBLY 4-7 x 0.20mA LED STRIP 2 PIECES AC / DC 360 LIGHTS 6 x 0.20mA LEDs IR EYE/KEY BOARD CONTROL BOARD... -
Page 12: Back Log Replacement
9. Re-assemble the remainder of the log grate in reverse order from the instructions above. WARNING: Ensure wires do not come in contact with moving parts by securing wires in wiring tie wraps. Bottom Assembly www.dimplex.com... -
Page 13: Flame Led Strip And Coloured Led Strip Replacement
Flame LED Strip and Coloured LED Back Light Assembly Replacement Strip Replacement Tools Required: Philips head screwdriver Tools Required: Philips head screwdriver WARNING: If the log grate was operating prior to ser- vicing, allow at least 10 minutes for the heating elements to WARNING: If the log grate was operating prior to ser- cool off to avoid accidental burning of skin. -
Page 14: Power Supply Replacement
Figure 7 ply. 8. Re-assemble the remainder of the log grate in reverse order from the instructions above. WARNING: Ensure wires do not come in contact with moving parts by securing wires in wiring tie wraps. IR Key Board www.dimplex.com... -
Page 15: Power Cord Replacement
Power Cord Replacement Flicker Motor Replacement Tools Required: Philips head screwdriver Tools Required: Philips head screwdriver Needle-nose pliers WARNING: If the log grate was operating prior to ser- Flat Head Screwdriver vicing, allow at least 10 minutes for the heating elements to WARNING: If the log grate was operating prior to ser- cool off to avoid accidental burning of skin. -
Page 16: Heater Assembly Replacement
WARNING: Ensure wires do not come in contact with moving parts by securing wires in wiring tie wraps. Figure 9 Connecting Screws Plastic Spacer www.dimplex.com... -
Page 17: Troubleshooting Guide
Troubleshooting Guide PROBLEM CAUSE SOLUTION General Short in unit wiring. Trace wiring in unit. Circuit breaker trips or fuse Additional appliances may exceed the current rating blows when unit is turned on Improper circuit current rating of the circuit breaker or fuse. Plug unit into another outlet or install unit on a dedicated 15 amp circuit. - Page 18 Defective heater assembly Replace heater assembly DATE 19-OCT-16 15450 17-JUL-19 1-888-346-7539 | www.dimplex.com In keeping with our policy of continuous product improvement, we reserve the right to make changes without notice. © 2019 Glen Dimplex Americas www.dimplex.com...