
Related Manuals for Omega Ti-400

Summary of Contents for Omega Ti-400
- Page 1 - m a i l : i n f o @o m e g a . c o m F o r l a t e s t p r o d u c t m a n u a l s : o m e g a .
- Page 2 � Load Ga g es Where Do I Find Everything I Need for Process Measurement and Control? OMEGA ••• Of Course! Shop online at omega.cam TEMPERATURE lia' Thermocouple, RTD & Thermistor Probes, Connectors, Panels & Assemblies lia' \,Vire: Thermocouple, RTD & Thermistor lia' Calibrators &...
-
Page 3: Table Of Contents
TABLE OF CONTENTS ! Warnings, caution and attention 4 Brief Introduction ......................5 Package Contents ............................... 5 Optional ..................................6 Safety Instructions ..............................6 Introduction of infrared thermal imager ................7 Function Keys................................7 Interfaces ................................. 11 Operating instructions ....................13 Basic Operation................................ -
Page 4: Warnings, Caution And Attention
! Warnings, caution and attention Definitions Warning Represents a dangerous situation or act that may cause bodily harm or death. Caution Represents a situation or behavior that may cause damage to a thermal imager or permanent loss of data. Attention Represents prompt information useful to the user. Important information–Read before using the instrument. -
Page 5: Brief Introduction
1 Brief Introduction Thank you for choosing OMEGA TI-420 infrared thermal imager. Main Applications Predictive maintenance ⚫ Power industry: transmission line, power equipment, thermal status inspection, fault diagnosis ⚫ Electrical system: identification circuit overload. ⚫ Mechanical systems: reduce downtime and prevent failures. -
Page 6: Optional
⚫ Please do not disassemble the battery. ⚫ Please charge the battery only with the OMEGA approved power adapter. ⚫ Please do not disassemble or squeeze batteries and batteries. ⚫ Use only the spare parts specified. -
Page 7: Introduction Of Infrared Thermal Imager
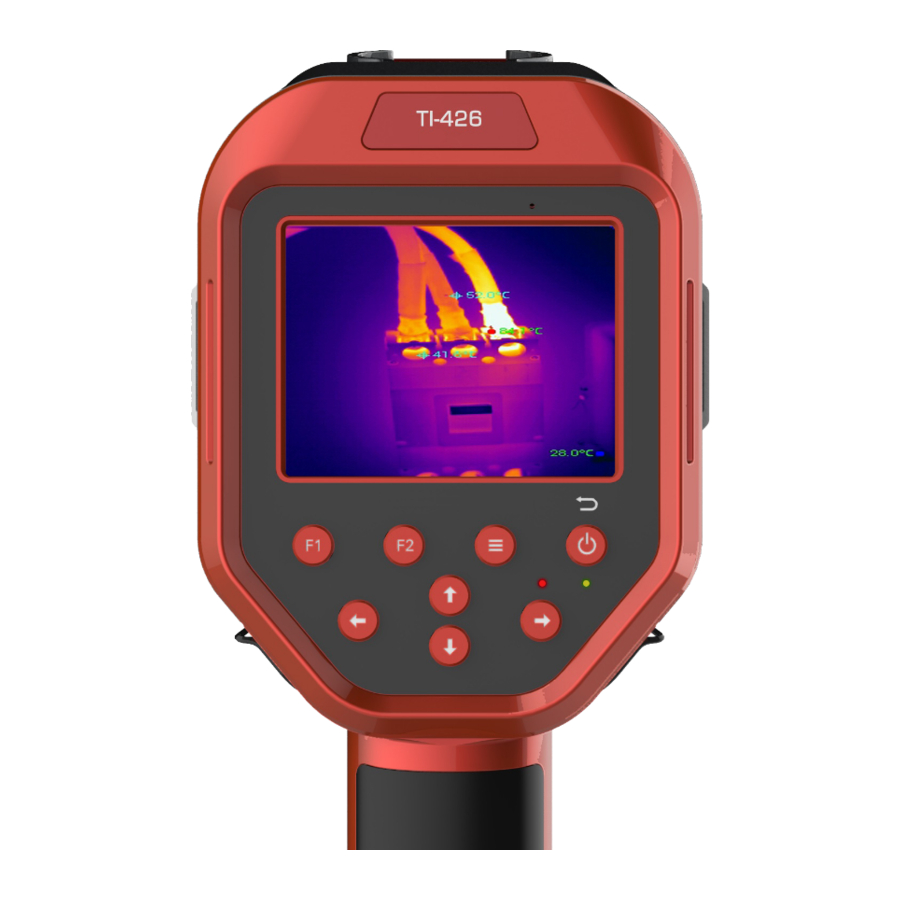
2 Introduction of infrared thermal imager 2.1 Function Keys. - Page 8 [1] Power On / Off Used for thermal imager on and off. Pressing the key more than three seconds, turn on / turn off the imager. After turn on, this key is used as the return key. ! Attention: After turn off, it is recommended to wait at least ten seconds before turn on to ensure the safety of the thermal imager.
- Page 9 [4] Main menu Enter the main menu, you can view and set thermal imager isotherms, measurements, voice notes, system settings, files, SD card, and about the machine and other options. Isotherm - open and close the isotherm function, set isothermal temperature and isothermal type. Temperature measurement - add or delete the temperature measurement line, set temperature correction and level / span.
- Page 10 Lens & temperature range - chose the lens and range of the thermal imager. Temperature alarm - through this option, you can control the temperature alarm on and off. [10] F1 Display orient menu key Enter the display menu, you can set the camera display mode, palette, flashlight and laser light switch, temperature measurement, line area deletion and playback, view, etc..
-
Page 11: Interfaces
2.2 Interfaces... - Page 12 [1] Audio This interface is headset interface, which can be connected to the external headset for voice recording and playback. [2] Video Video output. [3] Power The external power input interface, the power requirements of DC12V, the center plug is positive Micro-USB SD card slot...
-
Page 13: Operating Instructions
3 Operating instructions 3.1 Basic Operation Loading and Unloading of Battery 3.1.1 The battery is in the handle of the instrument. Push the battery cover at the bottom, then unloading the battery. When you loading the battery, please note that one end of the battery contact should inserted firstly. -
Page 14: Common Sense Of Battery Safety
Close the battery cover and use the instrument when you hear voice sounds like "pa". ! Attention: The instrument shall use standard batteries, otherwise the mechanical or electrical performance of the instrument may be damaged due to the incorrect size and voltage of the battery. Common sense of battery safety The battery should be stored in the -20 ℃... -
Page 15: Work Interface
3.1.3 Work Interface [1] Temperature area: rectangular area [2] Point temperature mark: white cross cursor. [3 Battery status: shows current battery status. [4] System time [5] Emissivity: set emissivity. [6] NUC [7] Lower limit temperature: lower limit value of color mark temperature. [8] Color bar: color bar, different color palettes correspond to different color scales. -
Page 16: Playback Images
3.1.5 Playback Images ⚫ Press the menu key to activate main menu, select the folder under the file menu with the arrow keys, and click ok. ⚫ Press the display menu key F1, enter the playback view, use the left and right arrow keys to view the picture. When you have finished checking, click the return key to return to the real time image of the thermal imager. -
Page 17: Export Saved Images
3.1.6 Export Saved Images ⚫ Using micro-USB port to download the SD card image, connecting the instrument USB port and PC USB port with standard USB cable, then enter SD card under the main menu, select "USB flash" mode, you can view files in the SD card in PC terminal. -
Page 18: Measurement
3.2.2 Measurement Set temperature measurement line, temperature correction and level / span and other parameters. 3.2.3 Voice Note Voice record and playback for better understand the images. -
Page 19: System Setting
3.2.4 System Setting Enter the system settings option, you can set the thermal imager automatic shutdown time, the date and time of the system, language, system and units and other parameters, and can resume production settings. 3.2.5 Files Select the appropriate folder and the number of files in that folder. -
Page 20: Sd Card
3.2.6 SD Card Set the SD card connection mode. Under "Built-in memory" mode, thermal imager can take pictures; under “USB flash" mode can connect PC, read SD card image, or connect to the phone and take pictures by the phone. 3.2.7 About this imager View the serial number and version number of the thermal imager. -
Page 21: Measurement Menu
3.3 Measurement Menu The menu includes adding temperature measurement points, temperature measurement areas, high and low temperature capture on /off, emissivity, common materials, lens temperature range and temperature alarm switch, etc. 3.3.1 Spot Add the temperature measurement point, the number of temperature measurement points vary according to the model. Select the temperature points, you can use the arrow keys to move the temperature measurement points. -
Page 22: Area
3.3.2 Area Add temperature measurement area, the number of temperature measurement area varies according to the model. Select area, you can use the arrow keys to move the temperature measurement point, the size of the region fixed. 3.3.3 High and Low Temperature Capture Open the high and low temperature capture, the image will appear Max and Min numerical points, representing the highest temperature and minimum temperature values. -
Page 23: Emissivity
3.3.4 Emissivity Adjust the emissivity of the thermal imager. 3.3.5 Commonly Used Materials Select material from the commonly used materials list... -
Page 24: Lens & Temperature Range
3.3.6 Lens & Temperature Range Change the lens and temperature range, the temperature range is divided into "-20~150", "0~350" and "200~650", lens have "Len0", "Len1" and "Len2" options. 3.3.7 Temperature Alarm There are three options for temperature alarm, which are turn off, high temperature alarm and low temperature alarm. -
Page 25: Display Menu
3.4 Display Menu The display menu includes thermal imager display mode, palette, flashlight switch, laser switch, clear and playback view, and other functions. 3.4.1 Display Mode Three display modes: thermal imager, digital camera and picture in picture. Below is the equipment in picture in picture display mode, under which you can move the thermal image by arrow key. -
Page 26: Palette
3.4.2 Palette Choose the color palette options: iron red, hot, gray, rainbow, rain and grey red etc. 3.4.3 Flashlight Turn on and off of the thermal imager flashlight. 3.4.4 Laser Turn on and off of the thermal imager laser. 3.4.5 Clear The cleanup options include removing the temperature points, lines, isotherms, and regions. -
Page 27: Combination Keys
3.4.7 Combination Keys In the display menu item mainly has two combination keys: adjust thermal image magnification under thermal mode and adjust thermal image edge under picture in picture mode. ⚫ Adjust the infrared magnification: in the thermal imager mode, press the display menu key F1, and then press the arrow keys up and down to adjust the infrared magnification. -
Page 28: Fault Countermeasures
Fault Countermeasures If you have a problem with the thermal imager, check it out by the table below. If not work, please contact our authorized agent or our maintenance department. Symptom Causes and Solutions ⚫ No battery or inaccurate battery installation. →Load the battery or reinstall the battery ⚫... -
Page 29: Emissivity Of Common Materials (For Reference Only)
Appendix A Emissivity of common materials (for reference only) Temperature( ℃ ) Materials Specification Emissivity(ε) Non oxidation 0.20 Aluminum Oxidation 0.55 Polishing and brown 0.40 Brass Dull 0.22 Oxidation 0.61 Copper Severe oxidation 0.78 Oxidation 0.74 Iron Rust 0.65 Oxidation 0.64 Cast iron Non oxidation... -
Page 30: Factory Settings Parameter Table
Appendix B Factory settings parameter table Temperature setting parameter table Value Parameter OMEGA handhold thermal imager Temperature rang -20 ~ 150°C Lens Standard lens Temperature unit °C Ambient temperature 30°C Temperature correction parameter Table Parameter Value Emissivity 0.96 Corrected temperature 0°C... - Page 31 OMEGA be liable for consequential, incidental or special damages. CONDITIONS: Equipment sold by OMEGA is not intended to be used, nor shall it be used: (1) as a "Basic Component" under 10 CFR 21 (NRC), used in or with any nuclear installation or activity;...
- Page 32 Fax: (203) 359-7700 e-mail: info@omega.com For Other Locations Visit omega.com/worldwide The infonnatioo contained in this document is believed to be correct, but OMEGA accepts no liability for any errors it contains. and re· s. erve:s the right to alter specifications without notice.