Table of Contents
Advertisement
Quick Links
Bedienungsanleitung
Operation Manual
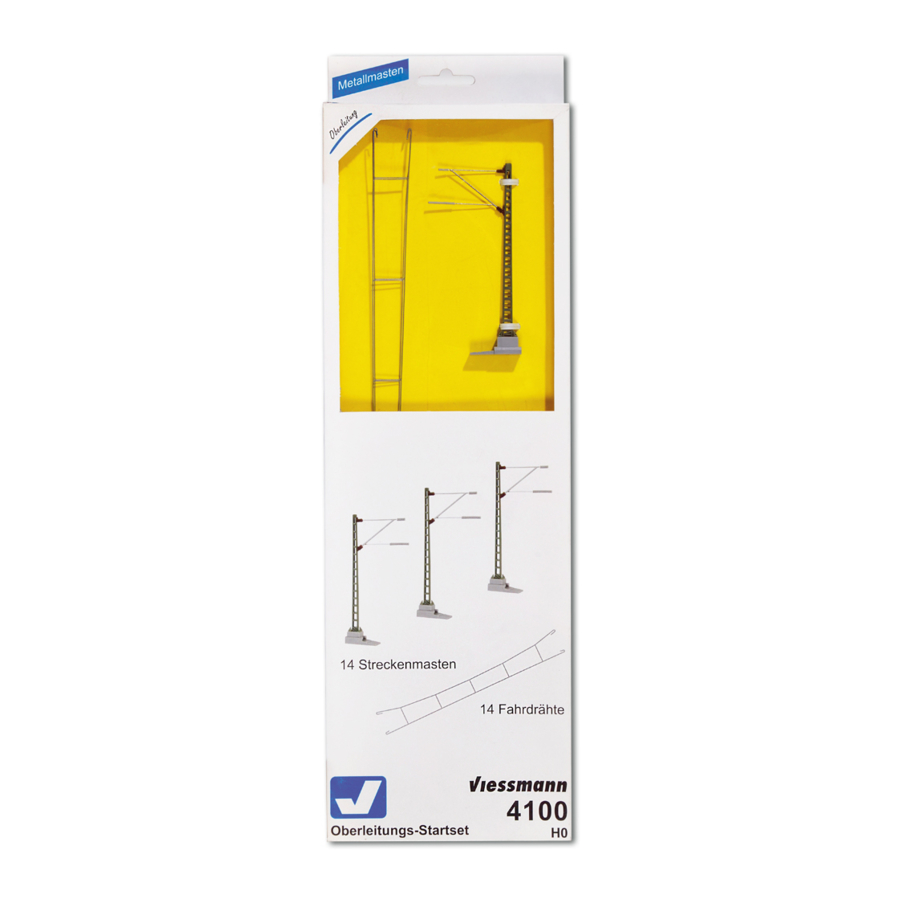
Startset Oberleitung
Start-set Catenary
4100 H0
4200 TT
4300 N
1. Wichtige Hinweise / Important information ........................................................ 2
2. Einleitung / Introduction ..................................................................................... 3
3. Montage / Mounting ........................................................................................... 4
4. Gewährleistung / Warranty ................................................................................ 12
Advertisement
Table of Contents

Related Manuals for Viessmann 4100 H0


Summary of Contents for Viessmann 4100 H0
- Page 1 Bedienungsanleitung Operation Manual Startset Oberleitung Start-set Catenary 4100 H0 4200 TT 4300 N 1. Wichtige Hinweise / Important information ............2 2. Einleitung / Introduction ..................3 3. Montage / Mounting ................... 4 4. Gewährleistung / Warranty ................12...
-
Page 2: Wichtige Hinweise
1.3 Packungsinhalt überprüfen 1.3 Checking the package contents Kontrollieren Sie den Lieferumfang auf Vollständigkeit: Check the contents of the package for completeness: Art.-Nr. 4100 H0: Item-No. 4100 H0: - 14 Streckenmasten (Art.-Nr. 4110) - 14 Standard masts (item-No. 4110) - 14 Schrauben - 14 Screws 2 Fahrdrähte 360 mm (Art.-Nr. - Page 3 2. Einleitung 2. Introduction Die Oberleitung von Viessmann kann für alle im Handel The Viessmann catenary wire system can be used befindlichen Gleissysteme, wie z. B. Märklin, Fleisch- with all common rail systems, e . g. Märklin, Fleisch- mann, Roco, Kato, Arnold oder Tillig, eingesetzt werden.
-
Page 4: Montage
3. Montage 3. Mounting Bei einer eingleisigen Streckenführung und einem In case of a single track and a radius of 360 mm Radius von 360 mm (H0), 310 mm (TT) bzw. 195 (H0), 310 mm (TT) or 192 mm (N), as what you mm (N), wie Sie es z. - Page 5 4199) on your layout. Kreuzschlitzschraubendreher (vorzugsweise 8. Fix all additional groundsockets on the layout Viessmann Art.-Nr. 4199) auf Ihrer Anlage. according to steps 5 – 7. 8. Befestigen Sie gemäß der Punkte 5 – 7 alle weiteren Grundträger auf der Anlage.
- Page 6 9. Nun schieben Sie die Streckenmasten mit dem 9. Slide the masts onto the groundsockets via Schwalbenschwanz auf die Grundträger (Abb. 6). the dovetail joint (fig. 6). Abb. 6 Fig. 6 Streckenmast auf Grundträger schieben Slide the standard mast on the groundsocket 10.
- Page 7 Abb. 8 Fig. 8 Streckenmast nach innen schieben Slide the standard mast to the inside 12. Die Fahrdrähte hängen Sie ein, indem Sie 12. Hang the catenary wires by positioning the deren Ösen seitlich neben dem oberen bzw. eyelets at the side next to the upper or lower unteren Arm des Auslegers positionieren.
-
Page 8: Besondere Hinweise
14. Sind alle Fahrdrähte montiert und gespannt, 14. When all catenary wires are attached and so können Sie mit Hilfe der Fahrdraht- stretched, you can check the height and posi- montagelehre (H0: Art.-Nr. 4196, TT: Art.-Nr. tion of the catenary wires and the beams with 4296, N: Art.-Nr. - Page 9 Wenn Sie die Oberleitung funktionsfähig (d. h. If you want to use the catenary system functionally stromführend) betreiben wollen, benötigen Sie ei- (carrying current), you require a connection mast nen Anschlussmast (H0: Art.-Nr. 4111, TT: Art.-Nr. (H0: item-No. 4111, TT: item-No. 4211 or N: item- 4211 oder N: Art.-Nr.
- Page 10 Mit der Ösen-Biegezange (Art.-Nr. 4198) von With the eye hook bending pliers (item-No. 4198) Viessmann können Sie auch die Fahrdrahtlängen from Viessmann you can adjust the length of the bzw. Mastabstände indviduell Ihrer Anlage ent- catenary wires or the distance between the masts sprechend festlegen.
- Page 11 Nr. 4200 bei. Für H0 und N ist dieser unter der Art.- set item-No. 4200. For gauge H0 and N it is avail- Nr. 4114 (H0) und 4314 (N) im Viessmann Sortiment able under the item-No. 4114 (H0) and 4314 (N) in erhältlich.
-
Page 12: Gewährleistung
Sie bitte Kontakt mit uns auf (service@ department (service@viessmann-modell.com). viessmann-modell.com). Senden Sie uns den Ar- Please send the item to the Viessmann service tikel zur Kontrolle bzw. Reparatur bitte erst nach department for checking and repair only after con- Rücksprache zu.