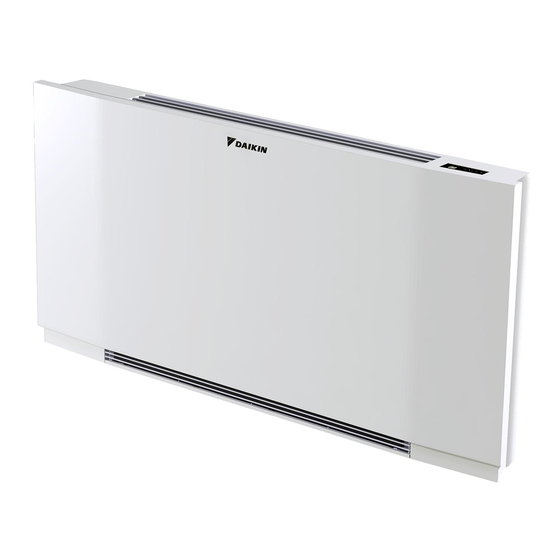
Summary of Contents for Daikin Altherma FWXV15AATV3
- Page 1 INSTALLATION MANUAL Daikin Altherma Heat pump convector FWXV10AATV3 FWXV15AATV3 FWXV20AATV3 FWXM10AATV3 FWXM15AATV3 FWXM20AATV3...
- Page 2 By following the suggestions contained in this manual, the water-water heat pump that you have purchased will operate without problems giving you optimum room temperatures with minimum energy costs. DAIKIN EUROPE N.V. Conformity This unit complies with European directives: •...
-
Page 3: Table Of Contents
General General warnings ..............4 Fundamental safety rules . -
Page 4: General
Do not leave the room closed for long periods. declaration of conformity to the client in respect of the Periodically open the windows to ensure a correct laws in force and the indications given by DAIKIN in the change of air. instructions leaflet supplied together with the appliance. -
Page 5: Product Range
Product range There are 2 types of DAIKIN heat pump convectors, FWXV and FWXM, each of which is offered in 3 sizes with different performances and dimensions. FWXV-series FWXM-series cooler-convector with metal cabinet (for vertical installation). -
Page 6: Overall Dimensions Heat Pump Convector
GENERAL Overall dimensions Heat pump convector 2 pipes U.M. FWXV10AATV3 FWXV15AATV3 FWXV20AATV3 Dimensions 1199 1399 FWXV 135 mm 999 mm - 1199 mm - 1399 mm U.M. FWXM10AATV3 FWXM15AATV3 FWXM20AATV3 Dimensions 1125 FWXM... -
Page 7: Installation
DAIKIN EUROPE N.V. shall not respond for any damage to Only the images are to be considered as a mirror image. persons, animals or property. -
Page 8: Access To The Body Machine
INSTALLATION Access to the body machine To access the inside of the machine, follow the procedures Remove the front grill: below. - extract the grill until it is completely out of the seat - tilt the grill Remove the upper grill:- loosen the fixing screws - slide outwards - loosen the fixing screws of the upper grill - remove the grill... -
Page 9: Remove Side
INSTALLATION Remove side To remove the side: Side - remove the sides upwards Machine body Vertical floor or wall installation (FWXV-series) When mounting on the floor with support feet, refer to the Check the stability by manually moving the brackets to the individual instructions leaflets supplied and the relative right and to the left, up and down. -
Page 10: Horizontal Or Ceiling Installation (Fwxm-Series)
INSTALLATION Horizontal or ceiling installation (FWXM-series) Using the paper template, trace on the ceiling the position installation FWXM-series, horizontal of the two fixing brackets and the two rear screws. Using a condensation collection basin accessory kits are available suitable drill, make the holes and insert the toggle bolts (2 EKM(10/15/20)COH. -
Page 11: Condensation Discharge
INSTALLATION Condensation discharge The condensation discharge network must be suitably If there is a height difference that could interfere with sized and the pipeline positioned so that it keeps a the outflow of the condensation, a pump must be constant inclination, never less than 1%. In the vertical mounted: installation, the discharge pipe is connected directly to in a vertical installation mount the pump under the... -
Page 12: Filling The System
INSTALLATION Mounting the condensation discharge pipe in the horizontal version (FWXM-series) To mount the horizontal bowl on the FWXM-series refer to N.B. for the horizontal installation carefully note the the instructions in kits EKM(10/15/20)COH. following precautions: check that the "L" pipe and the flexible rubber hose make sure that the machine is installed perfectly level are correctly connected to the bowl. -
Page 13: Electrical Connections
INSTALLATION 2.12 Electrical connections Make electrical connections according to the requirements The unit must be connected to the mains through a set out in sections General Warnings and Foundamental multipolar switch with minimum contact opening of at Safety Rules by reference to the patterns present in the least 3mm or with a dewice that allows the complete installation and accessories manuals. -
Page 14: Cleaning Air Suction Filter
INSTALLATION 2.15 Cleaning air suction filter After a period of continuous operation and in consideration intends to restart the plant after a period of inactivity, of the concentration of impurities in the air, or when he proceed as described. Extraction of filter cells To remove the grill: then remove the filter by pulling it outwards lift the grill until it is completely released from the seat... -
Page 15: Energy Saving Tips
INSTALLATION Cleaning filtering seats suck up the powder with a vacuum cleaner The appliance is fitted with a safety switch that wash the filter with running water without using prevents the operation of the cooler with the mobile detergents or solvents, and leave to dry. panel missing or out of position. -
Page 16: Troubleshooting
INSTALLATION TROUBLESHOOTING Troubleshooting The ventilation does not activate even if there is hot or In case of water leaks or anomalous functioning cold water in the hydraulic circuit. immediately cut off the power supply and close the The appliance leaks water during the heating function. water taps. - Page 17 INSTALLATION Effect Cause Remedy The condensation bowl is blocked. Slowly pour a bottle of water in the low part of the battery to check the The condensation discharge does not drainage; if necessary, clean the bowl The appliance leaks water only during need an inclination for correct drainage.


