Table of Contents
Advertisement
Quick Links
Advertisement
Table of Contents

Related Manuals for Victory Typhoon 28


Summary of Contents for Victory Typhoon 28
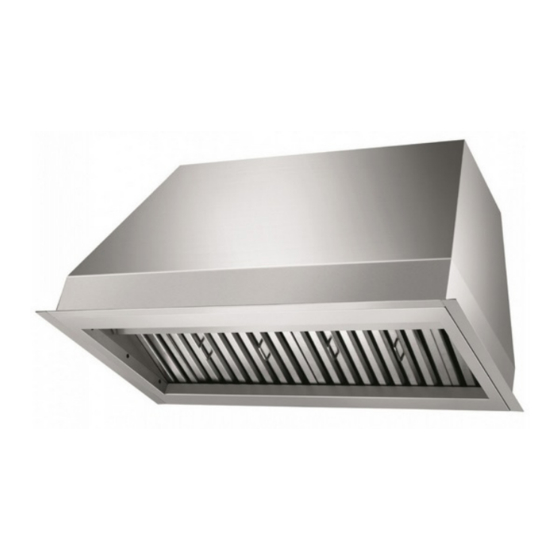
- Page 1 Installation Guide and Users Manual VICTORY Professional Built-In Range Hood Typhoon Model number: Available sizes: 28”, 34”, 40”, 46”, 52”, 58” NOTICE: For residential use only. Installer: Leave this guide with the homeowner. Homeowner: Keep this guide for future reference.
-
Page 2: Important Safety Notice
Important Safety Notice Read all Instructions before Installing and operating this appliance • The installation in this manual is intended for qualified installers, service technicians or persons with similar qualified background. Installation and electrical wiring must be done by qualified profession- als and in accordance with all applicable codes and standards, including fire-rated construction. - Page 3 Important Safety Notice Read all Instructions before Installing and operating this appliance • Clean ventilating fan frequently. • Always use appropriate cookware and utensils size. • Always use cookware appropriate for the size of the surface element. To reduce the risk of injury to persons in the event of a stove top grease fire: •...
-
Page 4: Venting Requirements
Venting Requirements Height & Clearance • Vent system must terminate to the out- side (roof or side wall), unless using a recirculating kit. Cabinet • Do not terminate the vent system in an attic or other enclosed area. • Do not use 4” (10.2 cm) laundry-type wall caps. -
Page 5: Calculating Vent System Length
IMPORTANT: • A minimum of a 8” round duct (standard for this range hood) must be used to maintain maximum airflow efficiency. There is also an optio to use an 10” round duct size for this unit. • Always use rigid type metal/aluminum ducts if available to maximize airflow when connecting to provided duct. -
Page 6: Venting Methods
Venting Methods • This range hood is factory set for venting through the roof or wall. • Vent work can terminate either through the roof or wall. To vent through a wall, a 90° elbow is needed. IMPORTANT: • NEVER exhaust air or terminate duct work into spaces between walls, crawl spaces, ceiling, attics or garages. -
Page 7: Electrical Requirements
Electrical Requirements IMPORTANT: Observe all governing codes and ordinances. It is the customer’s responsibility: • To contact a qualified electrician • To assure that the electrical installation is adequate and in conformance with National Electrical Code, ANSI/ NFPA 70 — latest edition*, or CSA Standards C22. 1-94, Canadian Electrical Code, Part 1 and C22. 2 No. 0-M91 - latest edition** and all local codes and ordinances. -
Page 8: Installation
B). Note: Wood blocking might need to be built if it’s not available in order to secure the mounting screws. 3. Attach the 8” or 10” top vent duct 4. Connect the hood the a power supply Model Typhoon 28 28-3/8” 19-11/16” Typhoon 34 34-3/8”... -
Page 9: Filter Installation
Filter Installation Figure 8 To install baffle filters and stainless spacer(s) Refer to Figure 7 & 8 and follow the following Figure 5 five steps: - Angle baffle filter toward back of hood. - Push baffle filter up until almost level. - Slide forward into recess behind the front of hood. -
Page 10: Range Hood Operations
Range Hood Operations This range hood is equipped with 2 rotary switches. Left switch control the blower, right switch controls the lights. BLOWER SWITCH: Rotate the switches clockwise to switch the blower ON. The switch has 5 positions , OFF, SPEED 1,2,3,4. LIGHT SWITCH: Rotate the switches clockwise to switch the lights ON. -
Page 11: Troubleshooting
Reduce the number of elbows and length of duct work. Check if all joints are properly connected, sealed, and taped. • Make sure the power is on high speed for heavy cooking. NOTE: For all other inquiries, please contact Victory Range Hoods. -
Page 12: Specifications
Use and Care Information Operations: • Read and understand all instructions and warnings in this manual before operating the appliance. Save these instructions for future reference. • Always leave safety grills and filters in place. Without these components, operating blowers could catch on to hair, fingers and loose clothing. -
Page 13: Maintenance
Dry the filters and re-install before using the hood. Replacing Filters: • Should filters wear out due to age and prolonged use, please contact Victory Range Hoods for replacement filters. Replacing the light bulb: • Please contact Victory Range Hoods if you require a replacement Light. -
Page 14: Warranty
Subject to the conditions and limita- tions set forth below, Victory Range Hoods will, at its option, either repair or replace any part of its products that prove defective by reason of improper workmanship or materials. Repaired parts or replacement products will be provided by Victory Range Hoods on an exchange basis, and will be either new or refurbished to be functionally equivalent to new. - Page 15 If your range hood is damaged in transit, please contact us within 14 days of receiving your new order to report the damages. Victory Range Hoods will, to the best of its ability, file a damage claim and investigate the matter.
- Page 16 VICTORY Range Hoods for Professionals 583 Nicola Ave Port Coquitlam, BC V3B 0M3 Canada...