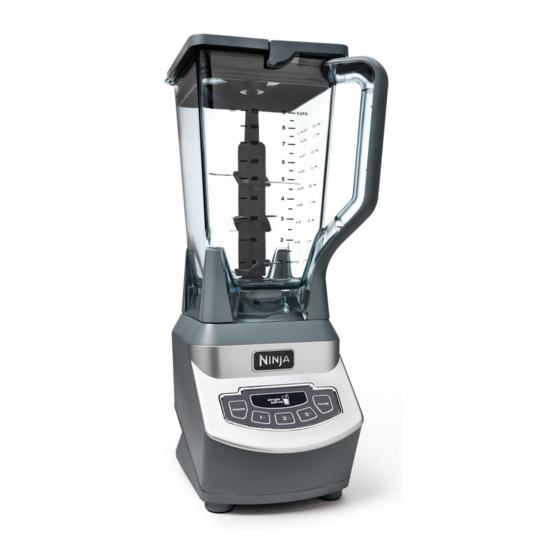
Ninja BL660 Quick Assembly
Professional blender and nutri ninja cups
Hide thumbs
Also See for BL660:
- Owner's manual (16 pages) ,
- Owner's manual (16 pages) ,
- Quick start manual (14 pages)
Advertisement
Quick Links
Please make sure to read the enclosed Ninja® Owner's Guide prior to using your unit.
NUTRI NINJA® CUPS
1.
Screw on the Nutri
Ninja Blade Assembly
clockwise until you
have a tight seal.
WARNING: Handle the Nutri Ninja Blade Assembly with care, as the blades are sharp.
PITCHER
1.
Place pitcher on
base and turn
clockwise to
lock in place.
WARNING: Stacked Blade Assembly is sharp and not locked in place. Make sure lid is
locked onto the pitcher before pouring. If pouring without lid, carefully remove Stacked
Blade Assembly first. Failure to do so will result in a risk of laceration. Refer to the Ninja
Owner's Guide for additional information.
QUESTIONS? We're here to help. Call 1-877-646-5288 or visit ninjakitchen.com
PROFESSIONAL BLENDER
AND NUTRI NINJA® CUPS
QUICK ASSEMBLY
2.
Turn cup upside
down and lower it
onto the base.
2.
Holding the Stacked
Blade Assembly by the
top of the shaft, insert
it into the pitcher.
BL660_Series_QSG_170XXX
3.
Turn cup clockwise
to lock in place.
3.
Align arrows on lid
and handle, then
lower handle to
lock in place.
Advertisement

Related Manuals for Ninja BL660


Summary of Contents for Ninja BL660
-
Page 1: Professional Blender
WARNING: Stacked Blade Assembly is sharp and not locked in place. Make sure lid is locked onto the pitcher before pouring. If pouring without lid, carefully remove Stacked Blade Assembly first. Failure to do so will result in a risk of laceration. Refer to the Ninja Owner’s Guide for additional information. -
Page 2: Quick Tips
WARNING: Stacked Blade Assembly is sharp and not locked in place. Make sure lid is locked onto the pitcher before pouring. If pouring without lid, carefully remove Stacked Blade Assembly first. Failure to do so will result in a risk of laceration. Refer to the Ninja Owner’s Guide for additional information.