Ninja BL660 Owner's Manual
Hide thumbs
Also See for BL660:
- Owner's manual (16 pages) ,
- Quick assembly (2 pages) ,
- Quick start manual (14 pages)
Advertisement
Table of Contents
- 1 Table of Contents
- 2 Getting to Know Your Ninja Professional Blender with Nutri Ninja Cups
- 3 Before First Use
- 4 Assembly & Use of the Pitcher
- 5 Assembly & Use of the Nutri Ninja ® Cup
- 6 Care & Maintenance
- 7 Cups. Troubleshooting Guide
- 8 Speed Chart
- 9 Replacement Parts
- 10 Warranty & Registration
- Download this manual
Advertisement
Table of Contents

Related Manuals for Ninja BL660


Summary of Contents for Ninja BL660
- Page 1 BL660 ® OWNER’S GUIDE ninjakitchen.com 1 877 646-5288...
- Page 2 CAUTION: We do not recommend grinding in any of our Nutri Ninja cups. ® CAUTION: Remove the Nutri Ninja Blade Assembly from the cup upon completion of blending.
- Page 3 20 To reduce risk of injury, never place the children. Close attention is necessary when blade assemblies on the base without used near children. This is not a toy. the pitcher or Nutri Ninja cup properly ® attached. 9 Never leave an appliance unattended when 21 DO NOT operate this appliance on or near in use.
- Page 4 THIS BOOK COVERS MODEL NUMBER: BL660 TECHNICAL SPECIFICATIONS Voltage: 120V., 60Hz. Power: 1100 Watts Pitcher Capacity: 72 oz (2.15 L, 9 cups) MAX Liquid Capacity: 64 oz. (1.9 L, 8 cups) Nutri Ninja Cup Capacity: 16 oz (470 ml, 2 cups) ®...
-
Page 5: Table Of Contents
Contents Thank you for Getting to Know Your Ninja Professional Blender with Nutri Ninja Cups ........5 purchasing Before First Use ........................7 the Ninja ® Assembly & Use of the Pitcher ..................... 8 Professional Assembly & Use of the Nutri Ninja Cup ................ -
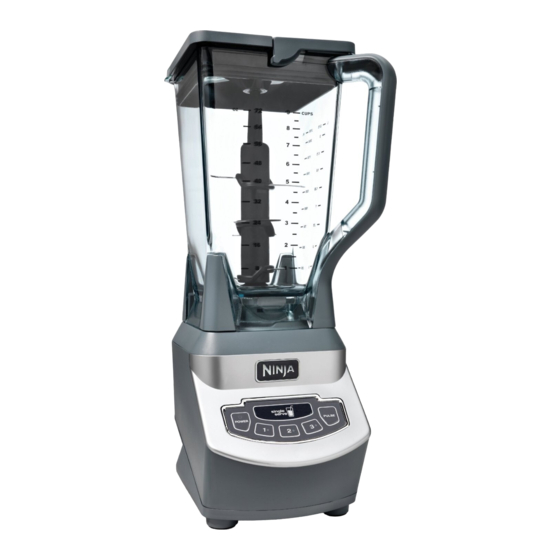
Page 6: Getting To Know Your Ninja Professional Blender With Nutri Ninja Cups
Getting To Know Your Ninja Professional Blender with Nutri Ninja Cups ® ® a Nutri Ninja e Pitcher Lid with Locking Handle Cup (x2) ® b To-Go Lids (x2) f Stacked Blade Assembly c Nutri Ninja Blade Assembly g Motor Base... - Page 7 The Ninja Professional Blender with Nutri Ninja Cups is a high powered innovative tool with a compact design and ® ® outstanding performance. It is perfect for ice crushing, chopping, blending, and Nutrient and Vitamin Extraction*. FEATURES: • Ninja Blade Technology ®...
-
Page 8: Before First Use
Remove all packaging material and labels from the appliance. Separate/remove all parts from each other. Wash the lids, pitcher, Nutri Ninja cups and blade assemblies in warm, soapy water. When washing the blade assemblies, use a dish-washing utensil with a handle to avoid direct hand contact with blades. -
Page 9: Assembly & Use Of The Pitcher
Assembly & Use of the Pitcher WARNING: Handle the Stacked Blade Assembly with care, as the blades are sharp. WARNING: Remove utensils prior to processing. Failure to remove may cause the pitcher to be damaged or to shatter, which may cause personal injury. WARNING: Never leave the appliance unattended while in use. - Page 10 Assembly & Use of the Pitcher - cont. REMOVAL Fig. 6 Fig. 7 Fig. 8 10 Select the speed that best suits your needs. (Fig. 6) 13 Open the pour spout cap and use the spout to empty liquid contents. NOTE: Pulse ingredients for even chopping by pressing down in short intervals.
-
Page 11: Assembly & Use Of The Nutri Ninja ® Cup
WARNING: Handle the Nutri Ninja Blade Assembly with care, as the blades are sharp. WARNING: Remove utensils prior to processing. Failure to remove may cause the Nutri Ninja cup to be damaged or to shatter, which may cause personal injury. -
Page 12: Care & Maintenance
Do not place anything on top. Store the Nutri Ninja Blade CAUTION: DO NOT immerse the motor base into Assembly attached to the Nutri Ninja cup and the rest water or any other liquid. -
Page 13: Speed Chart
Bursts of Power IMPORTANT: Do not run the appliance over 4 minutes at a time to prevent overheating of the appliance. * When blending sauces and soups, make sure they’re cooled to room temperature first - Ninja containers are not intended for ®... - Page 14 Notes 1-877-646-5288...
-
Page 15: Warranty & Registration
(as damage in shipping is not covered by your Limited Warranty). Mark the outside of your package “ATTENTION CUSTOMER SERVICE”. PRODUCT REGISTRATION Please visit ninjakitchen.com or call 1-877-646-5288 to register your new Ninja product within ten (10) days of purchase. ®... - Page 16 Ville St-Laurent, QC H4S 1A7 1-877-646-5288 ninjakitchen.com Ninja and Nutri Ninja are registered trademarks of SharkNinja Operating LLC. Illustrations may differ from actual product. We are constantly striving to improve our products, therefore the specifications contained herein are subject to change without notice.