
Related Manuals for Motorola 2108-N9


Summary of Contents for Motorola 2108-N9
- Page 1 User Manual Gigabit Ethernet Router with HPNA and 802.11n / 2108-N9 Gigabit Ethernet Router with 802.11n / 2108-D9...
-
Page 2: Safety Information
(such as translation, transformation or adaptation) without written permission from Motorola, Inc. Motorola reserves the right to revise this publication and to make changes in content from time to time without obligation on the part of Motorola to provide notification of such revision or change. Motorola provides this guide without warranty of any kind, either implied or expressed, including, but not limited to, the implied warranties of merchantability and fitness for a particular purpose. - Page 3 Checklist ® Thank you for selecting the Motorola Netopia 2108-D9 or -N9 Gigabit Ethernet Gateway. This guide will help you set up and configure your network. Check your package contents. It should contain the items shown here: 1 Yellow RJ-45...
- Page 4 • The Wireless LED should be ON only when a wireless client is connected to this Gateway. • ( 2108-N9 HPNA model only ) The HPNA LED should be ON only when an HPNA device(s) is connected via coaxial cable.
-
Page 5: Rear View
• The Internet LED may initially be OFF. After proper configuration, it should come ON When all of your connections are made, your network may look like this: Ports WAN Port Power Switch Rear View DC Power... - Page 6 The figure below shows how to connect a Motorola 2108-N9 HPNA-enabled Gateway to a home coaxial cable network using a Motorola HPNA Adaptor (purchased separately). Follow the same steps to connect any Ethernet device such as a hub or printer to a coax- ial cable network.
- Page 7 The Wireless Gateway's default settings are as follows. Setting Wireless Gateway Default value: unique to your Gateway SSID This may be changed on the Wireless screen, on the Wireless Gateway's main menu. Default Broadcast SSID: Disabled Wireless Default Security: WEP128 Use the Wireless screen on the main menu to change this as required.
-
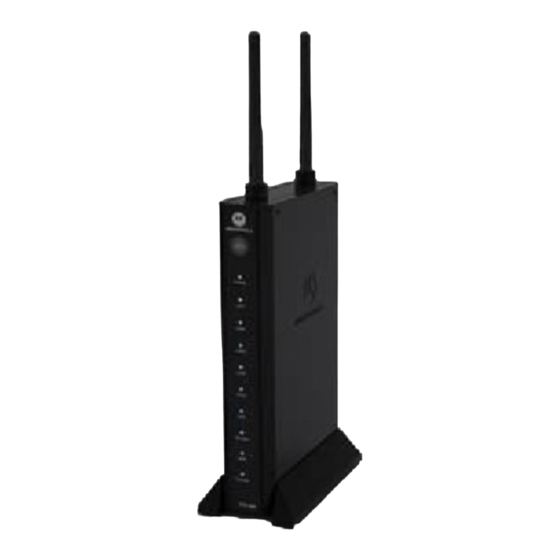
Page 8: Front View
When all of your connections are complete, the status LEDs on the front of your Motorola Neto- ® Gateway will light, in accordance with the following diagram: Front View Power LAN 1~4 HPNA (2108-N9 model only) Wireless Internet LED Definition... - Page 9 LAN 1~4 Solid Green = Connection Blinking Green = traffic Off = No connection HPNA Solid Green = Connection (2108-N9 model only) Blinking Green = traffic Off = No connection Wireless Solid Green = Connection Blinking Green = traffic Off = No action...
-
Page 10: Device Configuration
Device Configuration You can access the configuration pages at any time as follows: Run a Web browser, such as Firefox, Safari, or Microsoft Internet Explorer, and enter http://192.168.1.254 in the URL Address text box. Press Return. When prompted, enter the Username and Password supplied by your ISP, if required. - Page 11 Check your connection. Click the HOME link at the top-left of your browser’s GUI display. View this page to verify that an internet connection has been established. If the connection is not successful, check the data you entered and the cabling connected to Gateway's Ethernet ports. Congratulations! Your connection is up and running and you should be able to browse the Internet by typing a URL address in your browser’s Address text box or by selecting any of your favorite bookmarks.
-
Page 12: Client Configuration
Client Configuration Your Gateway serves Dynamically-assigned IP addresses by default. Be sure to configure each computer connected to your Gateway to accept a Dynamically-assigned IP address, commonly referred to as DHCP. Microsoft Windows: Step 1. Navigate to the TCP/IP Properties Control Panel. a. - Page 13 c. Windows Vista is set to obtain an IP address automatically by default. You may not need to configure it at all. To check, open the Networking Control Panel and select Internet Protocol Version 4 (TCP/ IPv4). Click the Properties button. The Internet Protocol Version 4 (TCP/IPv4) Properties window should appear as shown.
- Page 14 Macintosh Mac OS 9 or Mac OS X: Step 1. Access the TCP/IP or Network control panel. a. Mac OS 9 follows a path like this: Apple Menu -> Control Panels -> TCP/IP Control Panel b. Mac OS X follows a path like this: Apple Menu ->...
-
Page 15: Wall Mounting Instructions (Optional)
Answers to many frequently asked product-related questions, as well as full product documen- tation with advanced configuration instructions, are also available on-line at: http://broadband.motorola.com/consumers/support/default.asp?supportSection=blank Note the serial number (SN:) of your Gateway. It is located on the label on the bottom of the Gateway below the model number. -
Page 16: Recycling Your Motorola Equipment
If collection systems are not available, call Motorola Customer Service for assistance. Please visit http://www.motorola.com/recycle for instructions on recycling. Recyclage de votre équipement Motor- Recyclage pour le respect... - Page 17 This equipment has been tested and found to comply with the limits for a Class B digital device, pursuant to part 15 of the FCC rules. These limits are designed to provide reasonable protection against harmful interference in a residential installation. This equipment generates, uses and can radiate radio frequency energy and, if not installed and used in accordance with the instructions, may cause harmful interference to radio communications.
- Page 18 The user manual of transmitter devices equipped with detachable antennas shall contain the following information in a conspicuous location: This device has been designed to operate with the antennas listed below, and having a maximum gain of [1.8] dB. Antennas not included in this list or having a gain greater than [1.8] dB are strictly prohibited for use with this device.