
Related Manuals for Numatic HT4045


Summary of Contents for Numatic HT4045
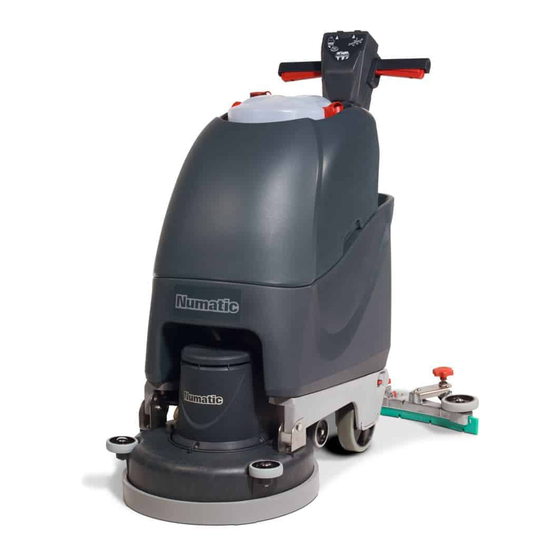
- Page 1 HT4045 TT4045G TT4055G S C R U B B E R D RY E R Owner Instructions Warning! Read instructions before using the machine www.numatic.co.uk...
-
Page 2: Table Of Contents
S C R U B B E R D RY E R HT 4045, TT 4045, TT 4055 Index Machine Overview ........ Pages 2-3 PLEASE READ Machine Set up Guide ........ Page 4-7 BEFORE COMMENCING OPERATION Tilting the Handle ........ Page 4 Fitting the Top Tank ........ -
Page 3: Machine Overview
Machine Overview... -
Page 4: Machine Set Up Guide
Featuring the Nulock brush system. The brush is simply pushed and twisted to lock, making fitting and removal a simple process. The Pad is retained using Numatic’s own PadLoc system (ask your supplier for details). Only use manufacturer supplied brushes / pads. TT 4045G requires a 450mm brush or a 400mm pad. TT 4055G requires a 550mm brush or a 500mm pad. -
Page 5: Tipping The Brush Deck
Machine Set Up Tipping the Brush Deck To tip the deck into the down position (Operating mode). Press To change to brush deck up position, (Transit mode) simply in the brush deck locking pin (Fig.7) and rotate the brush deck lift the deck and the sprung loaded locking pin will activate to (Fig.8). -
Page 6: Fitting The Hose Guide
Great care must be taken to ensure that contaminants (leaves,hair, dirt, etc) are not allowed to enter the clean-water tank during the filling process. If using a bucket or similar, ensure it is always clean and free from debris. www.numatic.co.uk... -
Page 7: Clean Water Level
Pre-cleaning advice Before performing the cleaning operation, place out appropriate warning signs and sweep or dust-mop the floor (Fig.14). Numatic part (629044) Wet Floor sign (available if required) ALWAYS ENSURE THAT THE FLOOR IS PRE-SWEPT AND RELEVANT SAFETY SIGNS ARE DISPLAYED... -
Page 8: Pre Scrubbing
To re-attach the floor-tool blade to its holder, first loosen the retaining knobs on the floor-tool body and slide onto the holding bracket. Tighten retaining knobs to finger tight (See Fig.19). Note: Care must be taken to reduce speed when cornering or when manoeuvring around obstacles. www.numatic.co.uk... -
Page 9: Setting The Cleaning Controls
Setting The Cleaning Controls Ensure your TT machine has been plugged into a suitable power supply. Select the desired function using the on / off switches fitted to the handle. To start: hold down either trigger and press the yellow On / Off Switch once T 01460 68600... -
Page 10: Regular Maintenance
Excess water can be drained using the clear dump hose fitted to the rear of the machine. Located under the left hand side is a clean-water filter, ensure the clean water tap is turned off before removing this filter (Fig.28). Clean and flush with clean-water if required. www.numatic.co.uk... -
Page 11: Changing The Floor-Tool Blades
Changing the Floor Tool Blades ALWAYS ENSURE THAT THE BATTERY IS DISCONNECTED PRIOR TO ANY MAINTENANCE The floor-tool The TT range is provided with the aluminium floor-tool shown. To clean the floor-tool, remove securing-pin and disconnect the lifting strap and remove the floor-tool securing pin pull-free the floor-tool from the rear of the machine. -
Page 12: Off-Aisle Cleaning Kit
Off-Aisle Cleaning Kit (Optional Extra Accessory) In the event of a breakdown contact your Numatic dealer or the Numatic Technical helpline +44 (0)1460 269268 (See back page for company addresses or dealers stamp) Specifications HT 4045 & TT 4045G Gross... -
Page 13: Ht 4045 Face Fitting
Face Fitting Instructions FRONT BACK BOTTOM T 01460 68600... - Page 14 Face Fitting Instructions, For face removal reverse steps 8 to 5. www.numatic.co.uk...
-
Page 15: Trouble Shooting
MAINS CABLE - INDUSTRIAL 16 AMP 208889 206813 Clean Water Filter Mesh SWITCH KEY Failure to rectify the problem or in the event of a breakdown contact your Numatic dealer or Numatic Technical helpline +44 (0)1460 269268 T 01460 68600... -
Page 16: Schematic Diagram
Schematic HT 4045, TT 4045G & TT 4055G Notes www.numatic.co.uk... -
Page 17: Rating Label / Personal Protective Equipment / Recycling
Note: A risk assessment should be conducted to determine which PPE should be worn. In the event of a breakdown contact your Safety Critical Component: Numatic dealer or the Mains lead: H05VV-F - 3 x 1.5mm Numatic Technical help line... -
Page 18: Safety Precautions
• Regularly examine the power cord for damage, such as cracking or ageing. If damage is found, replace the cord before further use. • Only replace the power cord with the correct Numatic approved replacement parts. • Ensure that the work area is clear of obstructions and / or people. -
Page 19: Eu Declaration Document
T 01460 68600... -
Page 20: Company Address
Tel: 0861 686 284 www.numatic.co.za Numatic International Schweiz AG. Sihlbruggstrasse 142, 6340 Baar. SCHWEIZ Tel: 0041 (0) 41 76 80 76 - 0 www.numatic.ch Numatic International ULDA. Rua da Boa Viagem, n.º 177 4470-210 Moreira, Maia PORTUGAL Tel: +351 220 047 700 www.numatic.pt This Product has been comprehensively inspected and checked during every stage of its manufacture.