Table of Contents
Advertisement
Quick Links
Advertisement
Table of Contents

Related Manuals for Belkin Skype F1PP000GN-SK


Summary of Contents for Belkin Skype F1PP000GN-SK
- Page 1 Wi-Fi Phone ® for Skype User Manual F1PP000GN-SK...
-
Page 3: Table Of Contents
1. Introduction ........1 Package Checklist . -
Page 4: Introduction
Introduction The Wi-Fi Phone for Skype (the phone) enables you to use your normal Skype account to make Skype calls without using a computer. This affords you complete mobility, allowing you to talk from any location from which you have an Internet connection through an access point. Package Checklist The phone package includes these items: •... -
Page 5: Ac Power Charger
Introduction 1. Navigation Key—Four-direction user-interface navigation key. 2. Right Soft Key—Selects the option at the bottom right corner of the screen. 3. End/Power Key—Ends an active call. • In OFF mode, turns the power on when held more than 2 seconds. •... -
Page 6: Installing The Battery
Installing the Battery After unpacking the phone, install and charge the battery pack before turning on the phone. 1. Remove Battery-Compartment Cover—Place the phone face down. Push and slide down the battery-compartment cover until it becomes free. 2. Install Battery—Place the battery into the compartment. Be sure the text label on the battery is facing out and the battery’s three metal contacts point to the top of the phone. -
Page 7: Charging The Battery
Charging the Battery 1. Connect the AC Power Charger—Lift up the rubber cover on the mini-USB charger port and connect the power charger to the port. Then, plug the charger into an AC electrical outlet. 2. Fully Charge Battery—For first-time use, allow three hours to fully charge the battery before turning on the phone. -
Page 8: Powering On The Phone
Powering On the Phone Push and hold “End/Power” for more than two seconds to power on the phone. The LCD display turns on showing the Belkin logo. Allow 30 seconds for the phone to start up. Go to the “Getting Started”... -
Page 9: Getting Started
Getting Started 1. Getting Started The phone requires a wireless connection to a Wi-Fi access point in order to make Skype calls. You can configure the phone to connect to specific wireless networks or search for “open” networks. Wireless-network information is stored in the phone’s memory as “Preferred Networks”. - Page 10 Getting Started Getting Started 1.2 Connect to a Network After you have selected a language and accepted the Skype agreement, your phone searches for available networks. This also occurs whenever you power on the phone. 1. The Phone scans for available wireless networks. 2.
- Page 11 Getting Started 1.3 Create a New Skype Account After you have successfully accessed a wireless network, you can sign in to Skype. If you do not have an existing Skype account, then: 1. Create a new account. 2. Create a Skype name. 3.
- Page 12 Getting Started Getting Started • Passwords can be 4–20 characters. You can use any mix of upper- and lowercase characters, numbers, and punctuation marks. You cannot use spaces, start your name with a number or punctuation mark, or use your Skype name as a password. 1.4 Sign In to Skype When you have a Skype account, you can sign in to Skype.
- Page 13 Getting Started 1.5 Skype Features After you have created your Skype account, you can call other people with Skype accounts for free. Skype also offers additional features, including: SkypeOut SkypeOut allows you to place calls to ™ traditional landline and mobile phones. SkypeIn SkypeIn is a subscription feature that ™...
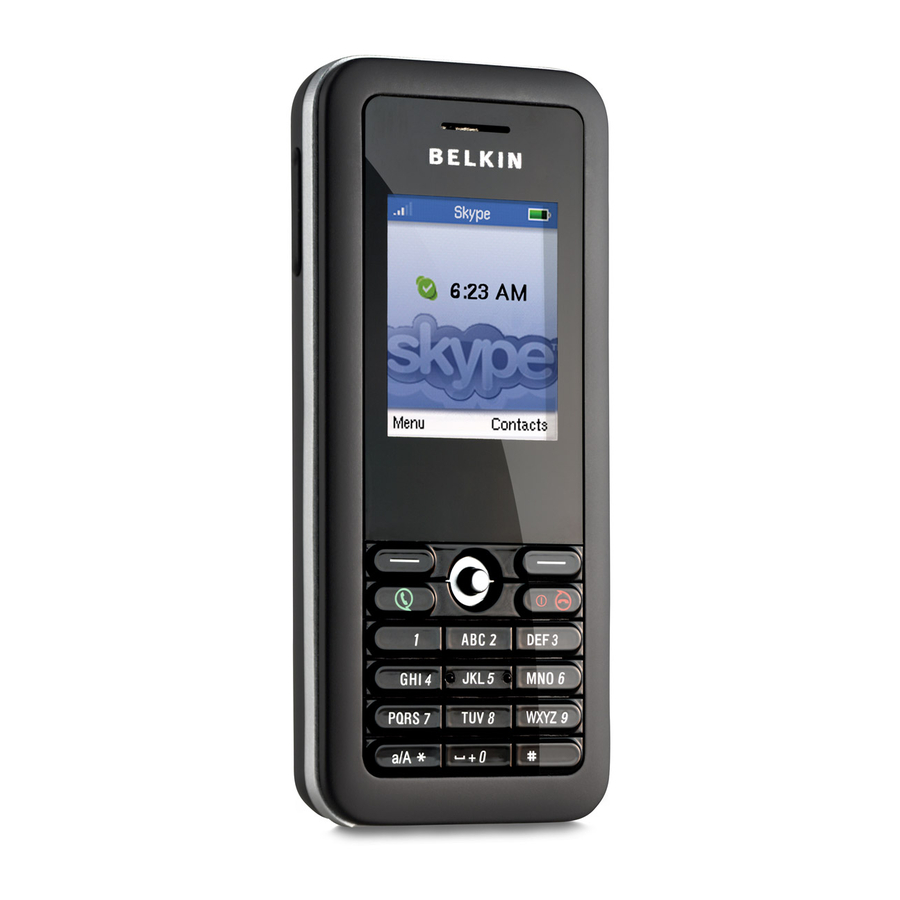
- Page 14 Getting Started Getting Started 1.6 LCD Display The phone’s LCD display provides various status indicators and access to the menu-based interface. The illustration below shows the main screen and its elements. Wireless-Signal Status Skype Online Status Skype Credit Left Soft Key Action Right Soft Key Action Battery Status Notifications...
- Page 15 Getting Started Wireless-Signal Indicates the strength of the wireless-network signal. Status Battery Status Indicates the status of the battery. Notifications Displays notification icons. Skype Online Indicates your current Skype online status. Status Current Time The currently set time. Skype Credit Your current Skype-credit balance.
- Page 16 Getting Started Getting Started 1.7 Main Menu The main menu provides easy access to all of your Skype and phone settings. The menus are easy to navigate using the 4-way navigation key. Just move the navigation key up or down to highlight a menu item, then push down on the key to select the item.
- Page 17 Getting Started 1.8 Power-Key Menu Access the power-key menu by pressing “End/Power” for more than two seconds and then releasing it. Be sure not to press the key for more than four seconds—this immediately switches the phone OFF. The items listed in the power-key menu depend on your current network connection and Skype sign-in status.
-
Page 18: Contacts
Contacts Contacts Your Contact list displays all of the names to which you can make calls. If you have an existing Skype account, your Contact list is automatically downloaded when you sign in. If you are new to Skype and have just created an account, your Contact list will be empty. You will need to add contacts to your list. - Page 19 Contacts 2.1 Add a Skype Contact To add a Skype contact, select “Menu”, then: 1. Select “Add Contact”. 2. Select “Skype”. 3. Enter the Skype name or full name. 4. Select “OK”. Note: • After you select “OK” in step 4, an authorization request is sent to the contact.
- Page 20 Contacts 2.2 Add a SkypeOut Contact To add a SkypeOut contact, select “Menu”, then: 1. Select “Add Contact”. 2. Select “SkypeOut number”. 3. Enter contact’s name. 4. Enter full phone number. 5. The number is added to your contact list.
- Page 21 Contacts Notes: • SkypeOut allows you to make calls to traditional landline and mobile phones. Go to www.skype.com to learn more about SkypeOut. • SkypeOut numbers (even local numbers) must be entered in the following format: “00” + “country code” + “area code” + “number”. You can also use “+”...
- Page 22 Contacts 2.3 Search for Contacts To search for contacts, select “Menu”, then: 1. Select “Search”. 2. Enter the Skype name or full name. 3. Select a name. 4. Select “Options” then select “Add to Contacts”. Notes: • Other options available during a search include: More results—Displays the next 20 names in the list.
- Page 23 Contacts 2.4 Advanced Options Advanced options allow you to perform actions related to your contacts. To use advanced options while in your Contact list, select “Options”, then: 1. Select “Advanced”. 2. Select an option. Options: • Rename — Changes the name of the contact in your Contact list. •...
- Page 24 Contacts 3. Make and Receive Calls This chapter tells you how to make and receive calls on your phone. It also provides information on using voicemail and call history. The procedures for making and receiving calls apply to any type of call—Skype-to-Skype calls, directly dialed calls, SkypeOut calls you receive or send, and SkypeIn calls you receive.
-
Page 25: Make And Receive Calls
Make and Receive Calls 3.2 Dial a Direct Call To call a number directly: 1. Dial the number and then press 2. Wait for the call to connect, ring, and be answered. 3. Press Notes: • SkypeOut allows you to make calls to traditional landline and mobile phones. - Page 26 Make and Receive Calls 3.3 Receive a Call When someone calls you, the ringtone sounds and the incoming-call message is displayed. To receive a Skype or SkypeIn call: 1. Press 2. Press Options (during a call): • Hold — Places the call on hold. •...
- Page 27 Make and Receive Calls 3.4 Divert a Call You can divert calls to another phone or to your voicemail. To divert calls, select “Menu”, then: 1. Select “Settings”. 2. Select “Call divert”. 3. Select “Call forwarding”. 4. Select “Yes”. 5. Enter the number.
- Page 28 Make and Receive Calls Notes: • You can select the “Forward To” option to change or delete the number you specified in step 5. User can also select this option to forward to another Skype name. Please note that the phone will only “forward”...
- Page 29 Make and Receive Calls 3.5 Send Voicemail You can send voicemail to contacts who have Skype Voicemail To send a voicemail, select “Contacts”, then: 1. Select a contact. 2. Select “Options” and then select “Send voicemail”. 3. Record your voicemail. Select “End” when you have finished.
- Page 30 Make and Receive Calls 3.6 Listen to Voicemail If you have subscribed to a Skype Voicemail to your voicemail, select “Menu”, then: 1. Select “History”. 2. Select “Voicemail”. 3. Select an available voicemail to which to listen. 3.7 Record a Voicemail Greeting To record a greeting for your Skype Voicemail 1.
- Page 31 Make and Receive Calls Your phone stores a history of missed, incoming, and outgoing calls, as well as voicemail and authentications. To view your history, select “Menu”, then: 1. Select “History”. 2. Select the history you want to view. Note: •...
-
Page 32: Connect To Networks
Connect to Networks 4. Connect to Networks When you power on your phone, it searches for wireless networks in range. This chapter tells you how to manually configure the settings your phone uses to search and connect to wireless networks. 4.1 Wireless Networks To search for wireless networks, select “Menu”, then: 1. - Page 33 Connect to Networks Notes: • Networks that display the • If no networks are found, an error message is displayed. Try changing your location and then search again. • You can also search for networks from the power-key menu. “Un-broadcast” or “Hidden” networks can be manually entered by selecting “Add network manually”...
- Page 34 Connect to Networks Connect to Networks Preferred-Network Options: • Add current—Adds the network that is currently connected to your preferred list. This is a good way to add open networks you may frequent. • Add network manually—Adds a new network to your preferred list. You must manually define the network name, security options, and other settings.
- Page 35 Connect to Networks 3. Select “Auto-connect”. 4. Select “Yes” to auto-connect. Select “No” to turn off auto-connect. 4.4 Define a New Network You can manually define a new wireless network to which to connect. Select “Menu”, then: 1. Select “Settings”. 2.
- Page 36 Personal Settings Connect to Networks 4. Select “Options”. 5. Select “Add network manually”. 6. Enter a network name and press “OK”. 7. Configure the settings of the new network.
-
Page 37: Personal Settings
Personal Settings 5. Personal Settings This chapter tells you how to define your personal settings, including your personal-profile details, password, privacy settings, and notification settings. Your Skype profile displays details about you that other Skype users can see. While the details in your profile are optional, you may want to define (at least) your country and city details to help confirm your identity. - Page 38 Personal Settings 4. Select the profile detail you want to change. Notes: • Select “Private details” in step 3 to change your email address. • Use the *a/A button to change to lowercase, uppercase, or numeric entry when entering your profile details. •...
- Page 39 Personal Settings 5.2 Change Status You can view and change the status of account-login details that other Skype users can see. 1. Select “Status”. 2. Select “Change status”. 3. Select from the following account-status options. Skype Online Indicates your current Skype online status. Status Online Offline (not signed in)
- Page 40 Personal Settings 5.3 Mood Messages You can view and change your mood-message details that other Skype users can see. 1. Select “Status”. 2. Select “Mood message”. 3. Enter your preferred mood message.
- Page 41 Personal Settings You can sign out from your Skype account following the procedure below. 1. Select “Status”. 2. Select “Sign out”. 3. Click “Sign out”. 5.4 Sign Out...
- Page 42 Personal Settings 5.5 Password To change your password, select “Menu”, then: 1. Select “Settings”. 2. Select “General”. 3. Select “Change password”. 4. Enter your old password. 5. Enter your new password.
- Page 43 Personal Settings Notes: • Use the *a/A button to change to lowercase, uppercase, or numeric entry when entering your Skype name and password. • Passwords can be 4–20 characters. You can use any mix of upper- and lowercase characters, numbers, and punctuation marks.
- Page 44 Personal Settings 4. Select a privacy setting. Note: • Select “SkypeIn calls” in step 3 to change your privacy settings for SkypeIn calls.
-
Page 45: General Settings
General Settings 6. General Settings This chapter tells you how to define general phone settings, such as the displayed language, display settings, time, and date. You can display the phone-settings information. 6.1 Language To change your language settings, select “Menu”, then: 1. - Page 46 General Settings General Settings Note: • After you select a language, a message appears advising that you must power off the Phone and power it back up again for the change to take effect. To change your display settings, select “Menu”, then: 1.
- Page 47 General Settings To change the tone settings, select “Menu”, then: 1. Select “Settings”. 2. Select “Tones”. 3. Select a setting. Tone Settings: • Incoming call alert—Set this as “Ringing”, “Ring once”, “Beep once”, or “Off”. • Ringing tone—Select the ringtone from the displayed list. •...
- Page 48 General Settings General Settings 6.4 Time and Date To change the time and date settings, select “Menu”, then: 1. Select “Settings”. 2. Select “Time and Date”. 3. Select the setting you want to change. Note: • Use the navigation key left and right or up and down to change the settings.
- Page 49 General Settings 6.5 Phone Information To display phone information, select “Menu”, then: 1. Select “Settings”. 2. Select “Information”. 3. Scroll to view information. Note: • You can reset all the phone’s settings from the “Settings > General > reset” menu.
-
Page 50: Appendix A: Specifications
Appendix A: Specifications Appendix A: Specifications Battery Life Use Time: 3 hours Standby Time: 50 hours LiIon 3.7V minimum 1100mAh Physical Size 4.53 x 1.93 x 0.71 in. (115 x 49 x 18mm) Temperature Operating: 32° to 104° F (0° to 40° C) Storage: -4°... - Page 51 Appendix A: Specifications Emissions FCC Part 15B Class B VCCI Class B EN61000-3-2 EN61000-3-3 Radio-Signal Certification FCC Part 15C EN 300-328 EN 301 489-1 EN 301 489-17 ARIB STD-T66 ARIB STD-33 DGT LP0002 Temperature IEC 68-2-14 Vibration IEC 68-2-36, IEC 68-2-6 Shock IEC 68-2-29 Drop...
-
Page 52: Compliances
Compliances Compliances Federal Communication Commission Interference Statement This equipment has been tested and found to comply with the limits for a Class B digital device, pursuant to Part 15 of the FCC Rules. These limits are designed to provide reasonable protection against harmful interference in a residential installation. - Page 53 Compliances EC Conformance Declaration Marking by the above symbol indicates compliance with the Essential Requirements of the R&TTE Directive of the European Union (1999/5/EC). This equipment meets the following conformance standards: • EN 60950-1 (IEC 60950-1) - Product Safety • EN 300 328 - Technical requirements for 2.4GHz radio equipment •...
- Page 54 Express Business Park, Shipton Way Rushden, NN10 6GL, United Kingdom +44 (0) 1933 35 2000 +44 (0) 1933 31 2000 fax © 2007 Belkin International, Inc. All rights reserved. All trade names are registered trademarks of respective manufacturers listed. Wi-Fi Phone ®...