Casio TE2200 Operation Manual
Hide thumbs
Also See for TE2200:
- Dealer's manual (240 pages) ,
- User manual (116 pages) ,
- Service manual (107 pages)
Advertisement
Quick Links
Advertisement

Related Manuals for Casio TE2200


Summary of Contents for Casio TE2200
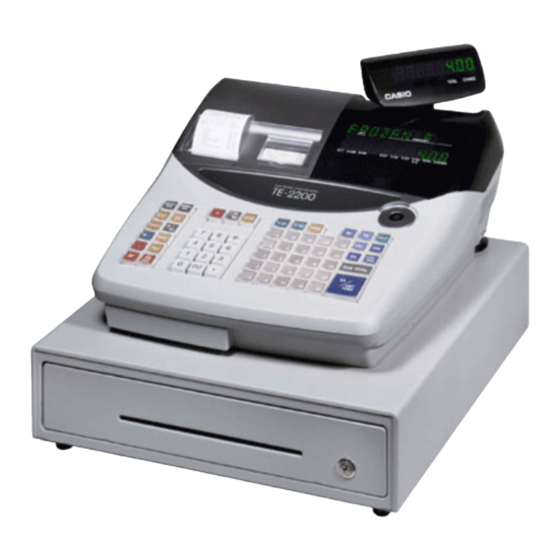
- Page 1 CASIO TE2200 OPERATION MANUAL...
-
Page 2: Table Of Contents
BASIC FUNCTIONS INDEX Making a Sale Multiple Tender Multiple Sales of Same Product Corrections Refunds Holiday Premium Percentage Discount Dollar Discount Whole Transaction Discount 10. Receipts 11. EFTPOS Cash Out 12. Clerks 13. Correction Keys 14. Tables/Tabs... -
Page 3: Making A Sale
Ensure register is turned to REG mode 1. Making a Sale 1. Press the key that corresponds to the item purchased, or use the keys to enter in the amount and then the department. Do not use the decimal point key when entering $ amounts! 2. -
Page 4: Corrections
4. Making Corrections To A Transaction 1. To clear the last transaction (before the subtotal key is entered) press the ERR CORR key. 2. Press the CANCEL key to cancel the entire transaction 3. The C key clears the screen but does not delete items already entered. - Page 5 8. To Give A $ Discount (eg $5) 1. Press the key that corresponds to the item purchased, or use the keys to enter in the amount and then the item 2. Enter the amount to be discounted (eg 500) 3.
-
Page 6: Refunds
12. Assigning A Clerk To assign a clerk press one of the clerk keys above the keyboard (eg CLERK 1 or CLERK 2 etc) 13. Explanation Of Correction Keys ERROR CORRECT Used to take off last item before CASH key has been pressed. Only takes off last sale item. -
Page 7: Receipts
14. Tables/TABS Opening and Adding Items to Tabs ENTER Table Number PRESS OPEN TABLE button ENTER Items to be charged PRESS CLOSE TABLE Printing Out Tab Accounts ENTER Table Number PRESS Print Bill button Cashing Table Off ENTER Table Number PRESS OPEN TABLE button ENTER... -
Page 8: Clerks
11. Reports Programming Notes: The new Casio range of cash registers are the most advanced ECR system on the market, it incorporates easy programmability with complex functions, to form a system that can suit any retail requirements. While basic programming changes can be performed by the end user (price changes and descriptions), it is advised that more advanced features should be programmed by an authorised CASIO dealer. - Page 9 1. Changing Prices TURN Turn key to the PROGRAM position DISPLAY Should show P01 SIGN ON Press Clerk key (if necessary) ENTER New price (without using decimal point) PRESS Preset item button that you wish to change REPEAT Steps 3 to 4 until finished PRESS Subtotal button to finish TURN...
- Page 10 PRESS Subtotal button DISPLAY Should show P02 TYPE New description (using the instructions on page 90 of the Casio manual) of up to 16 characters PRESS 00 button PRESS Preset item button that you wish to change REPEAT Steps 6 to 8 until finished...
- Page 11 3. Clerk Name Changing Turn key to the PROGRAM position TURN Press Clerk key SIGN ON (if necessary) ENTER Subtotal button PRESS Should show P02 DISPLAY XX07 ENTER Where XX stands for the memory number of each clerk. Ie. 01 Jeannie, 02 Leanne, 03 Holly, 04 Tania Subtotal button PRESS TYPE...
- Page 12 4. Group Read When it comes to programming a new item onto the keyboard, or when making changes to the category or type of keyboard item, you may need to also change the group and department code to which the sales figures are entered into.
- Page 13 5. Adding/Changing Group and Departments This job will set up Groups & Department Names. TURN Turn key to the PROGRAM position ENTER PRESS Subtotal ENTER 0105 01 = That it is the 1st Department PRESS Subtotal key ENTER Department description ie Haircuts using alpha keysheet ( up to 12 characters ) PRESS 00 key Then CASH key...
- Page 14 6. Group and Department Linking TURN Turn key to the PROGRAM position SIGN ON Press Clerk Key (if necessary) ENTER PRESS Subtotal button DISPLAY Should show PGM3 ENTER 1166 PRESS Subtotal ENTER Group code XX, Department code XX (ie to set as linking to group 5 and department 2 enter 0502) PRESS Item button to be linked...
- Page 15 7. Printer Linking TURN Turn key to the PROGRAM position SIGN ON Press Clerk Key (if necessary) ENTER PRESS Subtotal button DISPLAY Should show PGM3 ENTER 1666 PRESS Subtotal ENTER PRESS Item button to be linked to the printer 10. REPEAT Press all buttons to be linked 11.
- Page 16 8. Linking clerks for end of night reports. You will need to have a report of what items are already coming up on the end of night reports. TURN Turn key to the PROGRAM position SIGN ON Press Clerk Key (if necessary) ENTER PRESS...
- Page 17 9. Adding / Changing items on clerk reports for end of night reports. Once you have the report you can then add or change what is coming up on the reports TURN Turn key to the PROGRAM position SIGN ON To clerk number that needs to be changed You will need to individually do every clerk.
- Page 18 10. Date and Time Programming TURN Turn key to the PROGRAM position SIGN ON Press the Clerk Key (if necessary) ENTER PRESS Subtotal key DISPLAY Should show PGM1 ENTER Date in the following format:- (for days 1 to 9, be sure to enter them as 01 to 09.
- Page 19 11. Reports X Report - Daily Read TURN Turn key to the X1 position SIGN ON Press Clerk Key (if necessary) PRESS CASH button TURN Key back to REG Z Report - Daily Read & Reset TURN Turn key to the Z1 position SIGN ON Press Clerk Key (if necessary) PRESS...
- Page 20 Turn key to the X2/Z2 position SIGN ON (if necessary) ENTER PRESS CASH button TURN Key back to REG Troubleshooting – when an error occurs, please see the list of error messages and solutions on page 104 of the Casio manual.