Advertisement
Quick Links
INSTALLATION
INSTRUCTIONS
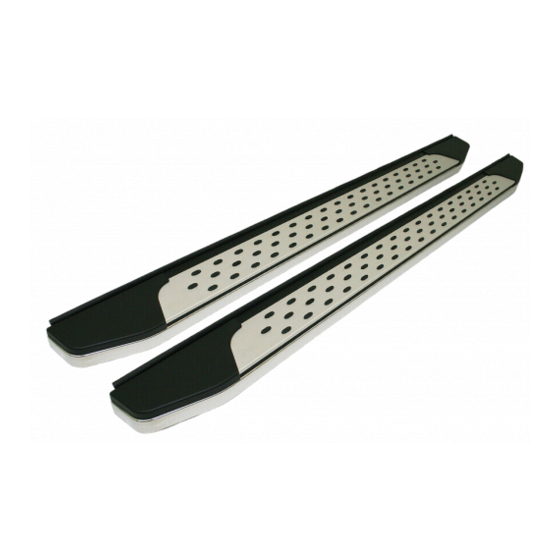
PARTS LIST
Left running board
Right running board
2
Support brackets A
2
Support brackets B
Left bracket A
Left bracket B
Left bracket C
Right bracket A
© 2016 American Honda Motor Co., Inc. – All Rights Reserved.
Accessory
RUNNING BOARDS
P/N 08L33-TZ5-200B
P/N 08L33-TZ5-200C
Right bracket B
Right bracket C
Left front frame protector
Left center frame protector
Left rear frame protector
Right front frame protector
Right center frame protector
Right rear frame protector
BII03445-31 (1606)
Application
2017 MDX
08L33-TZ5-2B00-90
Publications No.
VERSION 1
Issue Date
JUN 2016
1 of 9
Advertisement

Related Manuals for Acura 08L33-TZ5-200B


Summary of Contents for Acura 08L33-TZ5-200B
-
Page 1: Installation Instructions
Accessory Application Publications No. INSTALLATION VERSION 1 RUNNING BOARDS 2017 MDX P/N 08L33-TZ5-200B Issue Date INSTRUCTIONS P/N 08L33-TZ5-200C JUN 2016 PARTS LIST Right bracket B Left running board Right bracket C Right running board Left front frame protector Support brackets A... -
Page 2: Tools And Supplies Required
Utility knife File Touch-up paint The following tools are available through the Acura Tool and Equipment Program. On the iN, click on: Service > Service Bay > Tool and Equipment Program, then enter the number under “Search”. Or, call 888-424-6857. - Page 3 Remove the two self-tapping screws from the left Remove the support from the left side sill panel. rear inner fender. LEFT SIDE SILL PANEL SUPPORT LEFT REAR INNER FENDER FRONT CLIP 2 SELF-TAPPING SCREWS QED0804AH QB02911AK Transfer the support to the left running board with Open both left doors.
- Page 4 Remove the one spring nut from the left side sill 10. Install 10 of the side clips removed in step 9 to the panel and transfer it to the left running board. left running board. LEFT Release. LEFT SIDE RUNNING SILL PANEL BOARD (Do not reuse.)
- Page 5 13. Remove the rear under cover. 16. Close both left doors. Secure the left front frame protector, left center frame protector, and left rear frame protector to the vehicle panel with seven clips REAR UNDER COVER as shown. LEFT REAR FRAME LEFT CENTER PROTECTOR...
- Page 6 17. Remove the undercoating as shown. Apply touch-up 18. Loosely secure the left bracket A and left bracket C paint to the areas where you removed the to the vehicle panel with four flange bolts. undercoating and allow them to dry thoroughly. FRONT VEHICLE PANEL...
- Page 7 20. Loosely secure support bracket B to left bracket C 22. Remove left bracket A and left bracket C. with two flange bolts as shown. LEFT REAR DOOR FRONT VEHICLE PANEL FLANGE LEFT BOLT BRACKET C (Loosely LEFT install.) BRACKET C FLANGE BOLT SUPPORT (Loosely install.)
- Page 8 24. Close both left doors. Loosely secure left bracket A, 26. Torque the 14 flange bolts to 27 N·m (20 lb·ft). left bracket B, and left bracket C to the vehicle panel with eight flange bolts. FRONT 4 FLANGE BOLTS Torque to 27 N·m (20 lb·ft) FRONT...
- Page 9 27. Secure the front of the left running board with the one 29. Secure the rear of the left running board with the two clip removed in step 2. self-tapping screws removed in step 3. FRONT FRONT LEFT REAR INNER FENDER 2 SELF-TAPPING SCREWS...