Advertisement
Your new router has been engineered and manufactured to our Ryobi's high standard for dependability, ease of
operation, and operator safety. When properly cared for, the router will give you years of rugged, trouble-free
performance.
WARNING:
To reduce the risk of injury, the user must read and understand the operator's manual before using this product.
Thank you for buying a Ryobi product.
SAVE THIS MANUAL FOR FUTURE REFERENCE
OPERATOR'S MANUAL
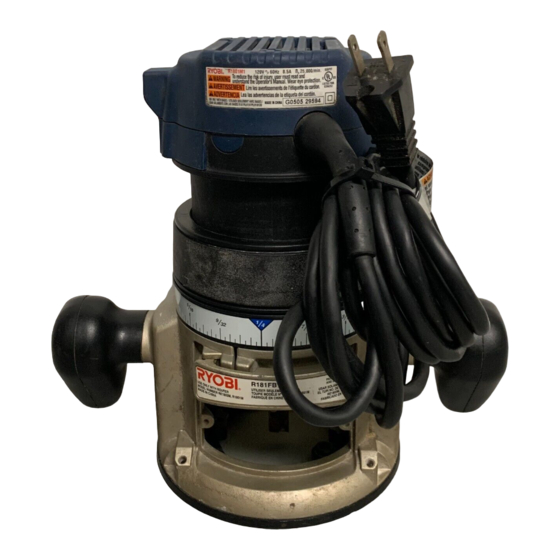
R1801M ROUTER
With R181FB Fixed Base
Double Insulated
Advertisement
Table of Contents

Related Manuals for Ryobi R1801M


Summary of Contents for Ryobi R1801M
- Page 1 Your new router has been engineered and manufactured to our Ryobi’s high standard for dependability, ease of operation, and operator safety. When properly cared for, the router will give you years of rugged, trouble-free performance. WARNING: To reduce the risk of injury, the user must read and understand the operator’s manual before using this product.
-
Page 2: Table Of Contents
I Parts, Ordering, and Service ... 20 Your router has many features for making the use of this product more pleasant and enjoyable. Safety, performance, and dependability have been given top priority in the design of this tool making it easy to maintain and operate. -
Page 3: General Safety Rules
WARNING: Read and understand all instructions. Failure to follow all instructions listed below, may result in elec- tric shock, fire and/or serious personal injury. SAVE THESE INSTRUCTIONS WORK AREA I Keep your work area clean and well lit. Cluttered benches and dark areas invite accidents. I Do not operate power tools in explosive atmo- spheres, such as in the presence of flammable liquids, gases, or dust. -
Page 4: Specific Safety Rules
SERVICE I Tool service must be performed only by qualified repair personnel. Service or maintenance performed by unqualified personnel could result in a risk of injury. I Hold tool by insulated gripping surfaces when performing an operation where the cutting tools may contact hidden wiring or its cord. -
Page 5: I Symbols
Important: Some of the following symbols may be used on your tool. Please study them and learn their meaning. Proper interpretation of these symbols will allow you to operate the tool better and safer. SYMBOL NAME Volts Amperes Hertz Watt Minutes Alternating Current No Load Speed... -
Page 6: I Electrical
For service, we suggest you return the tool to your nearest authorized service center for repair. When servicing, use only identical Ryobi replacement parts. WARNING: The double insulated system is intended to protect the user from shock resulting from a break in the tool's internal wiring. -
Page 7: I Features
LOCKING ARM The locking arm secures the motor housing in the base. CHIP SHIELD A plastic chip shield on the base of the router provides protection against flying dust and chips. FEATURES ERGONOMIC DESIGN The design of this tool provides for easy handling. It is designed for comfort and ease of grasp when operating in different positions and at different angles. -
Page 8: I Unpacking
I Do not discard the packing material until you have care- fully inspected and satisfactorily operated the tool. I If any parts are damaged or missing, please call 1-800-525-2579 for assistance. PACKING LIST Router Router Base Collet Wrench Tool Bag FEATURES UNPACKING WARNING: If any parts are missing do not operate the tool until the missing parts are replaced. -
Page 9: I Operation
TURNING THE ROUTER ON/OFF See Figure 2. I To turn on the router: Toggle the switch to the I position. I To turn off the router: Toggle the switch to the O position. OPERATING THE ROUTER See Figure 3. - Page 10 WARNING: Failure to unplug the tool could result in accidental starting causing serious injury. 2. Place the router upside down with the Ryobi label away from you. 3. Loosen the locking arm on the base. 4. Depress and hold the spindle lock button on the motor.
- Page 11 2. Place the router upside down on a workbench in order to gain easy access to collet nut. 3. Depress the spindle lock button.
-
Page 12: Adjusting Depth Of Cut
Based on these considerations, choose a depth of cut that will not place excessive strain on the router motor. If you find that extra force is needed or that the motor speed slows down considerably, turn off the router and reduce the depth of cut. - Page 13 See Figure 8. When routing, the cutter rotates clockwise. Therefore, you should feed the router into the workpiece from left to right. When you feed the router from left to right, the rotation of the cutter pulls the router against the workpiece.
- Page 14 The best rate of feed is one that does not slow down the router motor more than one-third of its no-load speed. If the router is fed too fast, it will take large chips out of the wood and leave gouge marks. If the router is fed too slow, it will scorch or burn the wood.
- Page 15 This will also assure a uniform depth when the final pass is completed. ROUTING Your router is a versatile tool and can be used for many different applications. You may rout grooves, carve designs using a template, carve designs by freehand, taper table and chair legs, mortise door jambs, or create joints.
- Page 16 When using a router table, large router bits should be used for edging only. Do not use router bits that are larger in diameter than the opening in router subbase for any purpose.
- Page 17 Then, slowly back the router to shape the corner. Next, move the router forward to shape the rest of the edge. Be careful to keep the pilot pressed against the uncut edge.
-
Page 18: I Maintenance
WARNING: When servicing use only identical Ryobi replacement parts. Use of any other parts may create a hazard or cause product damage. GENERAL Avoid using solvents when cleaning plastic parts. Most plastics are susceptible to damage from various types of commercial solvents and may be damaged by their use. - Page 19 NOTES...
-
Page 20: I Parts, Ordering, And Service
Now that you have purchased your tool, should a need ever exist for repair parts or service, simply contact your nearest Ryobi Authorized Service Center. Be sure to provide all pertinent facts when you call or visit. Please call 1-800-525-2579 for your nearest Ryobi Authorized Service Center.