Advertisement
Quick Links
Epson
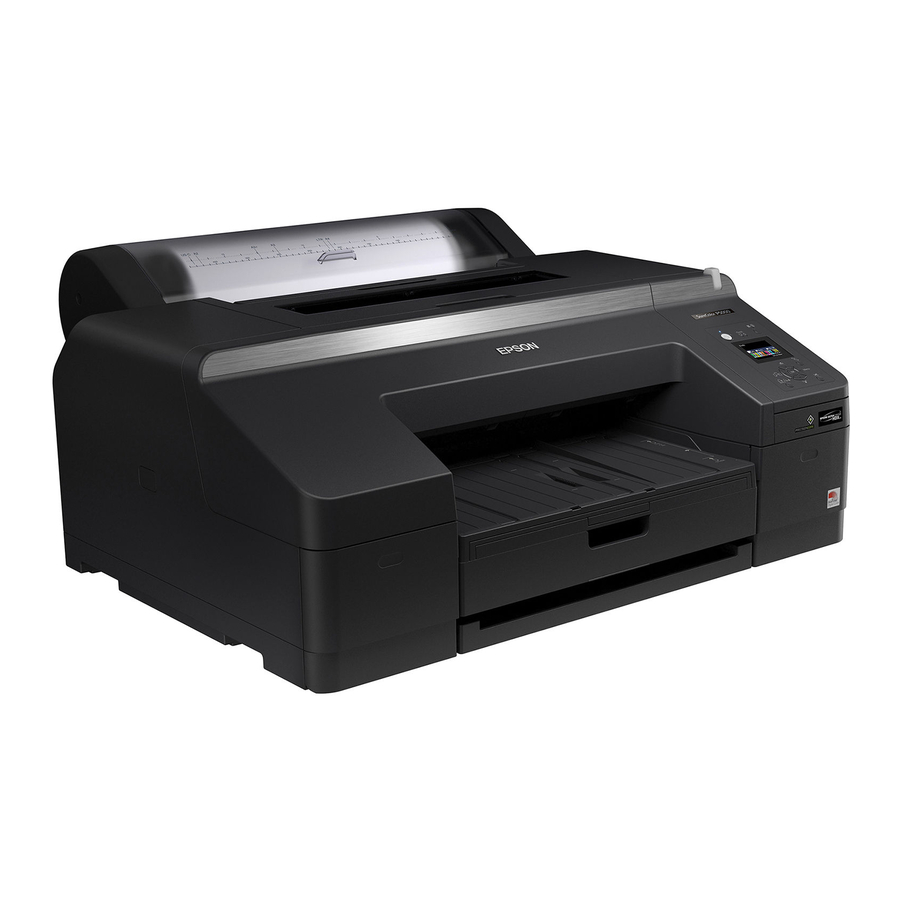
SureColor
P5000 Series
®
®
Start Here
Read these instructions before using your product.
Unpack
1
Make sure you have these items:
Note:
Do not open ink cartridge packages until you are ready to install the
ink. Cartridges are vacuum packed to maintain reliability.
Warning:
The product is heavy and should be lifted and moved by two
people.
2
Remove the tape from the front of the printer.
3
Lift the edge of the output tray and pull it out to remove it.
4
Remove all packing materials and tape from the output tray.
5
Pull out the paper cassette and open the top cover. Remove all packing
materials and tape from inside the product, then close the top cover.
6
Replace the paper cassette and output tray.
7
Remove the tape from the back of the printer.
Turn on and configure
1
Connect the power cable.
Caution:
Do not connect the printer to your computer yet.
2
Press the
power button to turn on the printer.
3
Select the ink set that was included with your printer on the
control panel.
Note:
• This setting cannot be changed once the initial ink charging process begins.
• Initialization takes about one minute. Do not install ink cartridges before this
process is complete.
Install ink cartridges
Use the ink cartridges that came with your printer for initial ink charging.
1
Press the left and right ink compartment covers to open them.
2
Remove the packing materials inside the ink compartments.
3
Remove the ink cartridges from their packages, then gently shake each
cartridge for about 15 seconds.
Caution:
Do not touch the green chip on the cartridge.
4
Insert the cartridges in the slot for each color. Push the cartridges in
until they click.
5
Close the ink cartridge covers.
6
The printer begins charging the ink. This takes about 20 minutes.
Do not turn off the printer, load paper, or open any covers until the
process is complete.
Caution:
Don't turn off or interrupt the printer while the ink is charging or
you'll waste ink.
Note:
• The printer is designed for use with Epson
cartridges only, not third-party
®
cartridges or ink.
• The cartridges included with the printer are designed for printer setup and
not for resale. After some ink is used for charging, the rest is available for
printing.
Load paper
Note:
For instructions on using the rear manual feed or loading thick paper, see the
Quick Reference Guide.
Paper cassette
You can load a stack of paper of the same size and type in the paper cassette.
For available paper types and instructions on loading paper larger than A3 size,
see the online User's Guide.
1
On the control panel, press the
button and press the
button to
select Cut Sheet. Press the OK button. The
icon appears on the LCD
screen.
2
Lift the edge of the output tray to remove it.
3
Slide out the paper cassette, then pull it out.
4
Slide the edge guides outward.
5
Thumb through a stack of paper, then gently tap it on a flat surface to
even the edges.
6
Load the paper with the printable side facedown and short edge first.
Place the paper all the way back in the paper cassette and next to the
right edge. Make sure the paper fits under the arrow on the left edge
guide.
Note:
When loading paper sized 13 x19" or larger, make sure you install the
paper cassette cover to prevent dust from entering the cassette.
Advertisement

Summary of Contents for Epson SureColor P5000 Series
-
Page 1: Start Here
Don’t turn off or interrupt the printer while the ink is charging or you’ll waste ink. Select the ink set that was included with your printer on the Note: control panel. • The printer is designed for use with Epson cartridges only, not third-party Note: ® cartridges or ink. - Page 2 Call (562) 276-1305 (U.S.) or (905) 709-3481 (Canada), 6 to 6 EPSON and SureColor are registered trademarks and EPSON Exceed Your Vision is a registered logomark of Seiko Epson Corporation. Designed for Excellence is a trademark of Epson America, Inc.


