Advertisement
Quick Links
NOTICE: This document contains references to Varian. Please note that Varian, Inc. is now part of
NOTE
Agilent Technologies. For more information, go to www.agilent.com/chem.
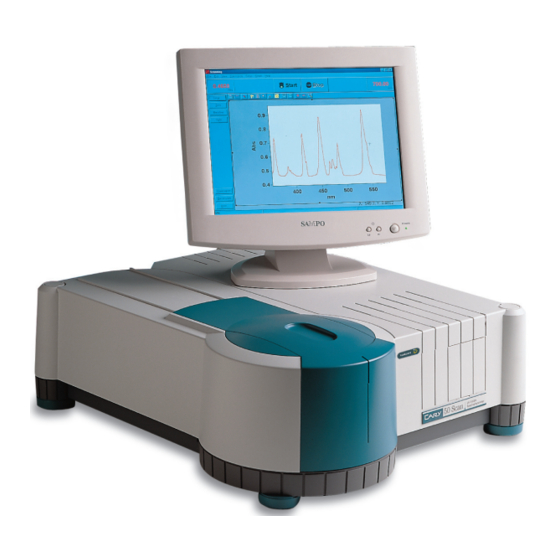
Unpack your Cary
WARNING
Heavy Weight Hazard
The instrument weighs approximately 25 kilograms (55 pounds). To avoid injury to personnel,
damage to the instrument or damage to other equipment, ALWAYS use at least two people to lift
it into position.
To unpack the Cary 50:
1
Remove the packaging and any loose items.
2
Use two people to lift the instrument onto the bench.
3
Remove the adhesive tape. Remove the front panel by sliding it up. Unscrew
and remove the cell holder and base.
Cary 50 Installation Instructions
Advertisement

Related Manuals for Agilent Technologies Cary 50


Summary of Contents for Agilent Technologies Cary 50
- Page 1 Cary 50 Installation Instructions NOTICE: This document contains references to Varian. Please note that Varian, Inc. is now part of NOTE Agilent Technologies. For more information, go to www.agilent.com/chem. Unpack your Cary WARNING Heavy Weight Hazard The instrument weighs approximately 25 kilograms (55 pounds). To avoid injury to personnel, damage to the instrument or damage to other equipment, ALWAYS use at least two people to lift it into position.
- Page 2 Cary 50 Installation Instructions Remove the items packed in the instrument sample compartment. Check that you have all of these components: 1 x Cary 50 1 x Cary PCI card 1 x Cary cable 2 x power supply connectors 1 x hexagonal wrench...
- Page 3 Check whether Cary 50 PCI-Rev03 is listed. If the Cary 50 PCI is not listed, close the dialog box and then close the Control Panel. If the Cary 50 PCI is listed, right-click it and then select ‘Uninstall’ to delete the device.
- Page 4 Cary 50 Installation Instructions Ensure the software registration is completed by the User of the Agilent Cary UV-Vis NOTE spectrophotometer. For further information, refer to the Software Registration Instructions,. Complete all the fields on the ‘Customer Details’ page. Click Next.
- Page 5 Do not touch the components or the gold connectors. Handle the board only by the edges. CAUTION To install the Cary 50 PCI card: Remove the grounding wrist strap from the packaging. Wrap the adhesive side around your wrist.
- Page 6 Cary 50 Installation Instructions Attach the alligator clip of the grounding wrist strap onto a bare metal part of the computer chassis. Locate a vacant PCI slot. Remove the blank plate. Insert the Cary PCI card. Press firmly into the slot and fasten the screws if your...
- Page 7 Cary 50 Installation Instructions The Cary 50 does not have its own power supply; it uses the power supply from the computer. You will need to connect the Cary 50 to the computer power supply. To do this, you must first determine whether there is a spare power connector coming from your computer power supply.
- Page 8 (against failure to strike). If you need to replace or realign the lamp, refer to the section ‘Replacing lamps’ in the Cary WinUV Help. It is possible the lamp may have become misaligned in transit. If your Cary 50 fails any of the NOTE validation or calibration tests, refer to ‘How to align the source mirror’...
- Page 9 Cary 50 Installation Instructions Warm up the Cary 50 Allow half an hour for the Cary 50 instrument to warm up to ensure that the temperature is stable. If the Cary 50 fails any of the instrument performance tests, it may be because the temperature of the instrument has not stabilized.
- Page 10 Cary 50 Installation Instructions This information is subject to change without notice. *8510185100* Part Number: 8510185100 © Agilent Technologies, Inc. 2000-2002, *8510185100* 2004, 2007, 2010 and 2012 8510185100 Edition 03/12 Agilent Technologies Issue 11 679 Springvale Road Mulgrave, VIC 3170...