Advertisement
inSTrUcTiOn ManUaL
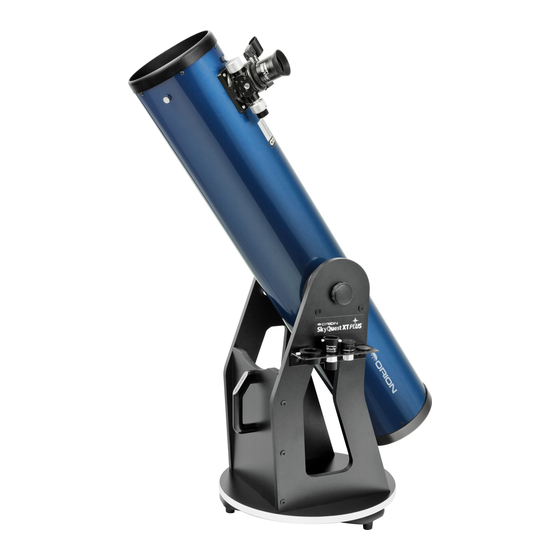
Orion SkyQuest
#8985 XT6 PLUS, #8974 XT8 PLUS, #8987 XT10 PLUS
Providing Exceptional Consumer Optical Products Since 1975
All Rights Reserved. No part of this product instruction or any of its contents may be reproduced, copied, modified or adapted,
without the prior written consent of Orion Telescopes & Binoculars.
Dobsonians
Copyright © 2013-2014 Orion Telescopes & Binoculars
XT PLUS
™
#8974
Customer Support:
www.OrionTelescopes.com/contactus
Corporate Offices:
89 Hangar Way, Watsonville CA 95076 - USA
IN 493 Rev. C 07/14
Advertisement

Related Manuals for Orion 8985 XT6 PLUS


Summary of Contents for Orion 8985 XT6 PLUS
- Page 1 ManUaL Orion SkyQuest XT PLUS ™ Dobsonians #8985 XT6 PLUS, #8974 XT8 PLUS, #8987 XT10 PLUS #8974 Customer Support: www.OrionTelescopes.com/contactus Corporate Offices: 89 Hangar Way, Watsonville CA 95076 - USA Providing Exceptional Consumer Optical Products Since 1975 Copyright © 2013-2014 Orion Telescopes & Binoculars All Rights Reserved.
- Page 2 25mm 10mm Sirius Plössl Sirius Plössl Finder II eyepiece, eyepiece, 28mm 1.25" 1.25" DeepView Solar (XT6 only) Shorty 2x EZ Finder II eyepiece filter Barlow lens 28mm DeepView eyepiece, 2" Dual-speed (XT8 and Crayford XT10) focuser (XT8 and 2" Extension Course XT10) adapter (XT8...
-
Page 3: Table Of Contents
Front brace scope needs to be shipped to another location, or returned to Top baseplate (round) Orion for warranty repair, having the proper shipping boxes will Ground baseplate (triangular) help ensure that your telescope will survive the journey intact. Base assembly screws (length 2") Make sure all the parts in the Parts List below are present. -
Page 4: Telescope Assembly
2. Telescope assembly assembly of the Dobsonian Base Now that you have unpacked the boxes and familiarized your- self with all the parts in front of you, it’s time to begin assembly. The optics of the telescope are already installed in the tube, so most of the required assembly concerns the Dobsonian base. - Page 5 Figure 4. Three plastic bushings used in the assembly of the XT PLUS. Figure 6. Use the two included open-end wrenches as shown to attach the bottom groundplate to the top groundplate. Low- 33.75mm friction bushing washer Figure 5. Assembly of the groundplates. tightening the lock nut will make the base difficult to rotate in the azimuthal (horizontal) direction.
- Page 6 Low-friction washer Telescope side bearings Metal washer Bearing Figure 9. Assembling the tensioning knob. First place a cylinders metal washer on the bolt, then thread on the white, low- (x4) friction washer until it is all the way on. Both washers will now be held captive on the bolt.
-
Page 7: Using Your Telescope
Power knob Azimuth adjustment knob Altitude adjustment knob Battery casing Thumbscrews Dovetail mounting bracket Figure 11. The EZ Finder II reflex sight. Thumbscrew Dovetail mounting shoe Figure 12. Slide the EZ Finder II into the dovetail shoe and secure it with the thumbscrew. Note the correct orientation of the EZ Finder. - Page 8 1.25" Collar Thumbscrew (x2) Focus Focus 2" accessory knob knob collar 1.25" adapter Focus lock 2" accessory thumbscrew collar Drawtube tensioning setscrew 2" extension adapter Figure 15. (a) Removing the 2" accessory collar (XT8 PLUS only), (b) Thread the 2" extension adapter into the Fine focus focuser drawtube.
- Page 9 Using the EZ Finder ii The EZ Finder II works by projecting a tiny red dot (it’s not a laser beam!) onto a lens mounted in the front of the unit. When you look through the EZ Finder II, the red dot will appear to float in space, helping you locate your target object (Figure 16).
- Page 10 Figure 18. Do not attempt to carry the fully assembled telescope by the handle on the base! The front of the optical tube could contact the ground and damage the tube, the focuser, and any attached accessories. (XT8 PLUS shown) Figure 17.
- Page 11 DO NOT LOOK THROUGH THE You just insert the Barlow into the 1.25" adapter and secure TELESCOPE! Permanent eye damage could result. Call Orion it with the thumbscrew. Then insert a 1.25" eyepiece into Customer Support for assistance.
-
Page 12: Collimation
Figure 21. The quick collimation cap, which features a reflective inner surface, helps in centering reflections of the optics in the focuser during the collimation process. Figure 22. The telescope ready for collimation, with the tube oriented horizontally, the collimation cap in place on the focuser, and a piece of white paper placed inside the tube opposite the focuser. - Page 13 Figure 23a. If anything is off-center, as in devices, such as Orion’s LaserMate Deluxe Laser Collimator. Figure 23b, proceed with the following collimation procedure. Note: The center ring sticker need not ever be removed Aligning the Secondary Mirror from the primary mirror.
- Page 14 Locking thumbscrew Figure 27. A star test will determine if a telescope’s optics are properly collimated. An unfocused view of a bright star through the eyepiece should appear as illustrated on the right if the optics are perfectly collimated. If the circle is unsymmetrical, as in the illustration on the left, the scope Collimation needs collimation.
-
Page 15: Specifications
5. Specifications Optical tube SkyQuest XT6 PLUS material: Rolled steel Primary mirror Eyepieces: 10mm Sirius Plössl, 1.25" barrel dia. focal length: 1200mm 28mm DeepView, 2" barrel dia. Primary mirror diameter: 150mm Magnification with supplied eyepieces: 120x (10mm Sirius) Minor axis of secondary mirror: 34mm 43x (28mm DeepView) - Page 16 One-Year Limited Warranty This Orion product is warranted against defects in materials or workmanship for a period of one year from the date of purchase. This warranty is for the benefit of the original retail purchaser only. During this warranty period Orion Telescopes & Binoculars will repair or replace, at Orion’s option, any warranted instrument that proves to be defective, provided it is returned postage paid.