Table of Contents
Advertisement
Quick Links
Download this manual
See also:
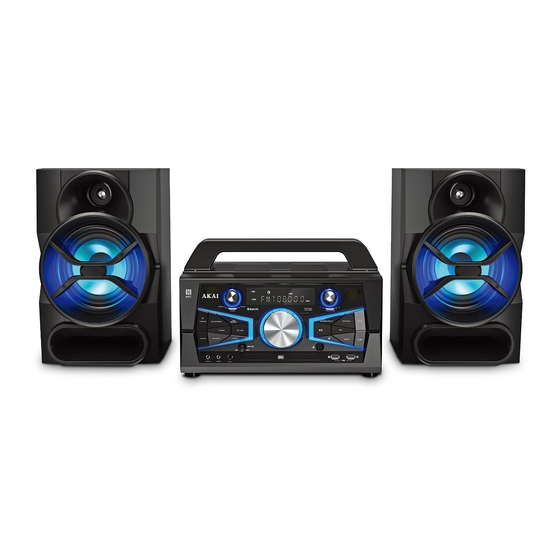
Instruction Manual
Advertisement
Table of Contents

Related Manuals for Akai CEU5000-BT


Summary of Contents for Akai CEU5000-BT
- Page 1 Stereo Mini System INSTRUCTION MANUAL CEU5000-BT Thank you for purchasing this Stereo Mini System. Please read this instruction manual carefully before using this product to ensure proper use. Keep this manual in a safe place for future reference. www.AKAI-USA.com...
- Page 2 Warning: Changes or modifications to this unit not WARNING: TO REDUCE THE RISK OF expressly approved by the party responsible for compliance could void the user’s authority to FIRE OR SHOCK HAZARD, DO NOT EXPOSE operate the equipment. THIS PRODUCT TO RAIN OR MOISTURE. FCC RADIATION EXPOSURE CAUTION STATEMENT...
- Page 3 NOTE: This equipment has been tested and found to comply with the limits for a Class B digital device, pursuant to part 15 of the FCC Rules. These limits are designed to provide reasonable protection against harmful interference in a residential installation. This equipment generates, uses and can radiate radio frequency energy and, if not installed and used in accordance with the instructions, may cause harmful interference to radio communications.
- Page 4 WARNINGS: To reduce the risk of fire or electric shock, do not expose this apparatus to rain or moisture. Avertissement: pour réduire le risque d’incendie ou de choc électrique, ne pas exposer cet appareil sous la pluie et l’humidité. The apparatus shall not be exposed to dripping or splashing and that no objects filled with liquids, such as vases, shall be placed on apparatus.
- Page 5 Contents CEU5000-BT (Main Unit) AM Antenna CEU5000-BT (Speaker x 2) Instruction Manual Warranty Card Remote Controller ADT Digital LLC FM Antenna If you are missing any parts above, please contact ADT Digital LLC. Tel: 561 922 6886 Fax: 561 922 6159...
-
Page 6: Control Location
CONTROL LOCATION FRONT PANEL 31 30 29 28 2. VFD DISPLAY 12. CD REC 23. USB 2 3. NFC FUNCTION 13. CD-USB 24. USB 1 4. VOLUME 14. RECORD STOP 25. OPEN/CLOSE 5. TONE CONTROL 15. PREVIOUS 26. DISC TRAY 6. -
Page 7: Back Panel
CONTROL LOCATION BACK PANEL 32. FM ANTENNA 33. AM ANTENNA 34. SPEAKER LIGHT OUTPUT 35. AC CORD INPUT 36. VIDEO OUTPUT 37. SPEAKER TERMINAL EN - 6... - Page 8 CONTROL LOCATION 19. BLUETOOTH 10. MEM. DN/ BACK 1. POWER 20. FUNCTION 11. NUMERIC KEYS 2. SLEEP 21. EQ 12. CLOCK 3. FOLDER+ 22. PLAY/ PAUSE 13. MUTE 4. FOLDER – 23. MEM. UP/ NEXT 14. FAST FORWARD 5. ID3 ON 24.
-
Page 9: Power Connection
POWER CONNECTION Connecting AC Power Plug the AC power cord into a standard AC socket. The unit is designed to operate from a main supply of AC120V~ 60Hz. CAUTION: The supplied AC power cord has a polarized plug that fits into the wall outlet only one way. -
Page 10: Volume Control
VOLUME CONTROL Adjust the volume, press “+” to increase or “-“ to decrease the volume on remote control or rotate the “VOLUME” knob on main unit. To prevent possible hearing damage, do not listen at high volume level for long periods of time. PRESET EQUALIZER/ TREBLE/ BASS You can choose 7 different preset EQ while you are listening music. -
Page 11: Listen To Radio
LISTEN TO RADIO 1. Press “TUNER” on unit or “FUNCTION” on remote control to “AM” or “FM”. 2. To launch auto-searching, press and hold the T-UP / T-DN button several seconds and then release. When a station is found the unit will stop auto-searching and start broadcasting. 3. -
Page 12: Normal Play
NORMAL PLAY 1. Set “FUNCTION” to “DISC” on remote control or press “CD” on the unit. 2. Open the CD tray by pressing “OPEN/ CLOSE” button “ ”, place a CD on the tray and press the same button to close the CD door. Press “PLAY/PAUSE” button to start playing. 3. -
Page 13: Usb Play Operation
NOTES ON HANDLING COMPACT DISCS To keep the disc clean, handle the disc by its edge. Do not touch the disc surface. Do not stick paper nor write anything on the surface. After playing, store the disc in its case. USB PLAY OPERATION There are 2 USB inputs in the front panel on the unit “USB1”... - Page 14 COPY FUNCTION (ONLY FOR ITEMS RECORDED ON THE CD) This feature allows you, for example, record a song from a CDA file or a MP3 file to a USB device. 1. Connect the device (such as a Pen Drive) to the USB socket 1 or 2 on the front panel. 2.
-
Page 15: Troubleshooting Guide
TROUBLE SHOOTING GUIDE If you have followed the instructions and are having difficulty operating the unit, locate the PROBLEM in the left column below. Check the corresponding POSSIBLE CAUSE column to locate and remedy the problem. PROBLEM REMEDY POSSIBLE CAUSE No sound in general Adjust the volume knob.