Xerox WorkCentre 3215 Quick Use Manual
Hide thumbs
Also See for WorkCentre 3215:
- Service manual (186 pages) ,
- Quick use manual (16 pages) ,
- Installation manual (2 pages)
Advertisement
Advertisement
Table of Contents

Related Manuals for Xerox WorkCentre 3215


Summary of Contents for Xerox WorkCentre 3215
-
Page 1: Quick Use Guide
Xerox WorkCentre 3215/3225 Multifunction Printer 3215/3225 Xerox WorkCentre ® ® Quick Use Guide... -
Page 2: Table Of Contents
Troubleshooting ............16 Basic Printing .............. 7 Control Panel..............4 Paper Jams..............16 Scanning from a computer using Windows XP.. 12 Copying.................8 Xerox Easy Printer Manager........5 Basic Copying .............. 8 CentreWare Internet Services........5 Scanning from a computer using Macintosh 10.5 and later........13... -
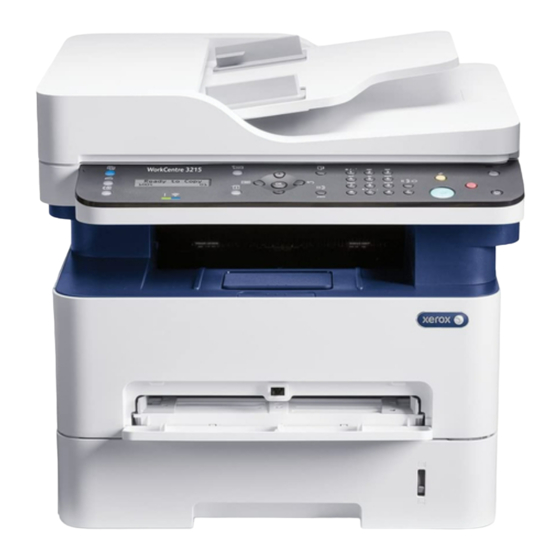
Page 3: Printer Tour
Printer Tour Jam Access Automatic Document Feeder (ADF) Manual feed slot Exit Tray Toner Cartridge Drum Cartridge Main Tray Scanner... - Page 4 Select copy, scan, or fax Enter the feature menus Access the address book Power Saver on, off Redial a fax, or enter a pause Enter the system menus Select scan to email Clear all changed settings Power On, Off Clear a character Arrow buttons scroll up, down, forward, and back through the menus Cancel the current job Manual dial...
-
Page 5: Xerox Easy Printer Manager
CentreWare Internet Services enables you to access printer configuration details, paper and supplies status, Printer Manager. You can also scan from the printer to your computer. You can find the Xerox Easy Printer job status, and diagnostic functions over a TCP/IP network. You can also manage fax, email, and network scanning address books. -
Page 6: Control Panel
C6 ........114 x 162 mm Windows Macintosh Custom W: 105–216 mm (4.1–8.5 in.) L: 127–356 mm (5–14 inches) 110 v 220 v Select printing options in the Xerox print driver ® Letter W: 76–216 mm (3–8.5 in.) Legal L: 127–356 mm (5–14 inches) Folio... -
Page 7: Basic Printing
Basic Printing Letter......8.5 x 11 in. Legal ......8.5 x 14 in. Folio ......8.5 x 13 in. Oficio ......8.5 x 13.5 in. A4 ........210 x 297 mm Windows Macintosh Select paper size and type in the print driver. -
Page 8: Copying
Basic Copying 60–105 g/m (16–28 lb. Bond) X: 148–216 mm (5.8–8.5 in.) Y: 148–356 mm (5.8–14.0 in.) Press the Copy button Load the original Select the number of copies Press the Start button Navigate the menus to select copying options The Clear All button restores default settings. - Page 9 Scanning Ethernet Wi-Fi Loading the original 60–105 g/m (16–28 lb. Bond) X: 148–216 mm (5.8–8.5 in.) Y: 148–356 mm (5.8–14.0 in.) When connected with USB, Ethernet, or Wi-Fi you can send scanned files from the printer control panel to a connected computer.
-
Page 10: Scanning To A Computer
Scanning to a Computer Ethernet Wi-Fi Scroll to select a profile if desired, then press OK Press the Scan button Select Scan to PC, then press OK Scroll to select a destination, then press OK Press the Start button The Clear All button restores default settings. Navigate the menus to select scanning options... -
Page 11: Scanning From A Computer Using Windows 7
Scanning from a Computer using Windows 7 Launch Windows Fax and Scan application, then click New Scan Confirm the scanner Click Preview, and confirm or change settings Click Scan... -
Page 12: Scanning From A Computer Using Windows Xp
Scanning from a Computer using Windows XP Launch the scan application (import method can vary) Select the scan settings Click Preview and select the scan area Click Scan... -
Page 13: Scanning From A Computer Using Macintosh 10.5 And Later
Scanning from a Computer using Macintosh 10.5 and later Launch Image Capture application Click Overview, and select the scan area Confirm or change other scan settings Click Scan... -
Page 14: Faxing
Faxing Loading the original 60–105 g/m (16–28 lb. Bond) X: 148–216 mm (5.8–8.5 in.) Y: 148–356 mm (5.8–14.0 in.) You can enter fax numbers manually or store them in an address book. To set up an address book see the User Guide >... -
Page 15: Basic Faxing
Basic Faxing Press the Menu button to change settings if desired Press OK, then the Back/Return button Press the Fax button Enter a Fax number The Clear button clears characters. Press the Start button The Clear All button restores default settings. -
Page 16: Troubleshooting
Paper Jams See: User Guide > Troubleshooting Buy quality computers and hardware in our online store.