Asus RT-AC66U Quick Start Manual
Dual band
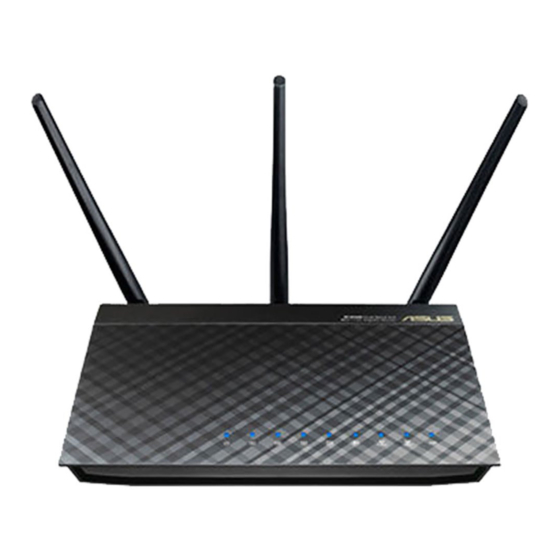
3x3 802.11ac gigabit router
Hide thumbs
Also See for RT-AC66U:
- Quick start manual (194 pages) ,
- User manual (131 pages) ,
- Setup manual (6 pages)

Related Manuals for Asus RT-AC66U


Summary of Contents for Asus RT-AC66U
-
Page 1: Quick Start Guide
® RT-AC66U Dual Band 3x3 802.11AC Gigabit Router Quick Start Guide WEU8262 / second Edition / April 2014... -
Page 2: Package Contents
Package contents RT-AC66U AC adapter Network cable Quick Start Guide Support CD (User Manual/utilities) Warranty card Stand NOTE: If any of the items is damaged or missing, contact your retailer. A quick look 1) Power LED 5) 5GHz LED USB 2.0 ports 2) LAN LED 6) USB 2.0 LED... - Page 3 Incorrect removal of the USB disk may cause data corruption. • For the list of file system and hard disk partitions that the wireless router supports, visit http://event.asus.com/networks/ disksupport • For the list of printers that the wireless router supports, visit...
-
Page 4: Positioning Your Wireless Router
• For optimum performance, adjust the internal cooling system. Refer to the user manual for details. • Always update to the latest firmware. Visit the ASUS website at http://www.asus.com to get the latest firmware updates. -
Page 5: Mounting To The Stand
Mounting to the stand • Align and insert the stand’s mounting hooks to the wireless router’s mounting holes. Before you proceed 1. Unplug and disconnect the wires/cables from your existing modem setup and release your computer’s outmoded IP address. a: Unplug the AC adapter from the power outlet and disconnect it from your cable/ADSL modem. - Page 6 WARNING! Before disconnecting the wires/cables, ensure that your cable/ADSL modem has been turned off for at least two minutes. If your modem has a backup battery, remove it as well. 2. Set up your wireless environment. Wall Power Outlet RT-AC66U Power Modem Computer Power a: Insert your wireless router’s AC adapter to the DC-IN port and plug it to a...
-
Page 7: Getting Started
3. Disable some settings on your computer. A. Disable the proxy server, if enabled. B. Set the TCP/IP settings to automatically obtain an IP address. C. Disable the dial-up connection, if enabled. NOTE: For more details on disabling your computer settings, refer to Frequently Asked Questions (FAQs). - Page 8 NOTE: If QIS does not launch automatically, follow these steps to manually launch QIS: • On your web browser, key in http://192.168.1.1 and run the Quick Internet Setup (QIS) Wizard again. • Disable the proxy settings, dial-up connection, and set your TCP/IP settings to automatically obtain an IP address.
-
Page 9: Frequently Asked Questions (Faqs)
Ensure that your PC's proxy settings are disabled and your PC'S IP address is obtained from the DHCP server automatically. for details on disabling the proxy settings, visit the ASUS Support site at http://support.asus.com. For details on using the DHCP server to obtain IP addresses automatically, refer to your Windows®... - Page 10 • Factory default settings: User name / Password: IP address: SSID: admin / admin 192.168.1.1 ASUS Where can I find more information about the wireless router? • User Manual in the support CD http://support.asus.com/faq • Online FAQ site: http://support.asus.com • Technical Support site:...
- Page 11 SUPPORT HOTLINE Area Hotline Number Support Availability Languages Mon. to Fri. Taiwan 0800-093-456; Traditional Chinese 02-81439000 9:00-12:00; 13:30-18:00 Mon. to Fri. USA/ 1-812-282-2787 English Canada 8:30-12:00am EST (5:30am-9:00pm PST) Sat. to Sun. 9:00am-6:00pm EST (6:00am-3:00pm PST) Brazil 4003 0988 (Capital) Portuguese Mon.
- Page 12 Broadband and Telephony Opening hours: Customer service Phone Live chat Weekdays ....08 - 20 Weekdays ....08 - 20 Saturday ..... 10 - 14 Saturday ..... 10 - 14 Sunday ....Sunday ....10 - 14 10 - 14 E-mail All days ....