
Related Manuals for iRobot Roomba 4100


Summary of Contents for iRobot Roomba 4100
- Page 1 roomba_knowledge_4100.qxp 7/6/2004 8:43 PM Page 1...
-
Page 2: Roomba Anatomy
roomba_knowledge_4100.qxp 7/6/2004 8:43 PM Page 3 Roomba Anatomy Main Power Button Bin Release Button Battery Indicator Battery Charger Socket Cliff Sensor Openings Contact Points for Drive-on-Charger/ Charging Edge-Cleaning Wall Mount Side Brush Brush Guard Release Buttons Main Cleaning Brushes Vacuum Inlet... - Page 3 roomba_knowledge_4100.qxp 7/6/2004 8:44 PM Page 4 Roomba Set-up Place battery into Roomba Robotic Floorvac. (press down on both ends) Charge for 7 hours while — you’re waiting, load batteries into your Virtual Wall. Set up your Virtual Wall to keep Roomba where you want it and away from where you don’t.
-
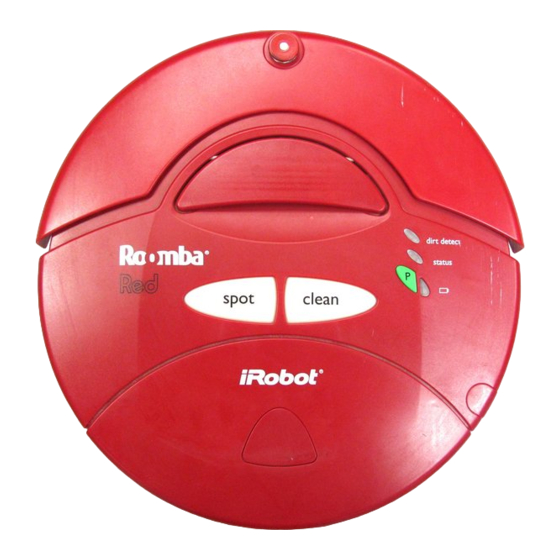
Page 4: Battery Indicator
roomba_knowledge_4100.qxp 7/6/2004 8:44 PM Page 5 Roomba Set-up Battery indicator Power on Go clean! - Page 5 roomba_knowledge_4100.qxp 7/6/2004 8:45 PM Page 6 Roomba at Work Place Roomba in the center of the room and press “Clean.” Roomba will automatically calculate how long it needs to clean your entire room. Works great on spills or in Use “Spot” to intensively clean a 3 ft. diameter area. high traffic areas.
- Page 6 roomba_knowledge_4100.qxp 7/6/2004 8:45 PM Page 7 Roomba at Work If my mission is abandoned, pick me up and examine my brushes. When Roomba stops, check the indicator light. Remove any obstructions before restarting. Roomba stops for 3 reasons Mission Complete Battery Depleted Mission Abandoned Yellow...
- Page 7 roomba_knowledge_4100.qxp 7/6/2004 8:46 PM Page 8 Keep Roomba Running Remove and clean the brushes Empty the bin over a trash barrel after each every 10 uses. use. Don’t forget to remove the filter assembly and empty the 2nd chamber. Inspect and wipe the sensors clean. (when you clean brushes) Cotton swabs work great!
- Page 8 Please visit us at www.irobot.com call 877-855-8593 iRobot, Roomba, Roomba Red, Virtual Wall and “if it’s down there, we’ll get it” are trademarks of iRobot Corporation. © 2004 iRobot Corporation. All Rights Reserved US Pat Nos 6,594,844 and 6,690,134. Additional Patents Pending...
- Page 9 roomba_knowledge_4100.qxp 7/6/2004 8:46 PM Page 10 Model 4100...