Pioneer CDJ-800 Operating Instructions Manual
Pioneer compact disc player operating instructions cdj-800
Hide thumbs
Also See for CDJ-800:
- Operating instructions manual (96 pages) ,
- Service manual (78 pages) ,
- Documentation update (4 pages)
Table of Contents
Advertisement
Quick Links
Advertisement
Table of Contents

Related Manuals for Pioneer CDJ-800


Summary of Contents for Pioneer CDJ-800
- Page 1 COMPACT DISC PLAYER CDJ-800 Operating Instructions...
- Page 2 NOTE: THE NO USER-SERVICEABLE PARTS COMPARTMENT WARNING IS LOCATED ON THE APPLIANCE BOTTOM. <DRB1333>...
- Page 3 [For U.S. model] IMPORTANT NOTICE H006AEn The serial number for this equipment is located in the rear panel. Please write this serial number on your enclosed warranty card and keep it in a secure area. This is for your security. WARNING: Handling the cord on this product or cords associated with accessories sold with the product will expose...
-
Page 4: Table Of Contents
CD Lens Cleaner The player’s pickup lens should not become dirty in normal use. If for some rea- son, the lens becomes soiled and malfunctions, contact your nearest PIONEER authorized service center. Lens cleaners for CD players are commercially available, but special care should be exercised in their use as some may cause damage to the lens. -
Page 5: Storing Discs
Storing Discs ÷ Discs are made of the same kinds of plastic used for conventional analog au- dio records. Be careful not to allow discs to warp. Always store discs in their cases vertically, avoiding locations with high heat, humidity, or extremely low temperatures. -
Page 6: Features
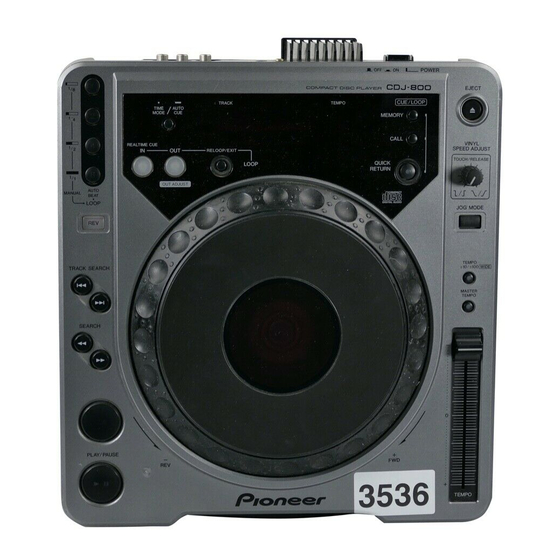
BEFORE OPERATIONS FEATURES The CDJ-800 compact disc player is designed for use by DJs providing all the func- tions and performance required in disco clubs while offering performance, sound quality and functionality superior to any analog player. JOG DIAL The large 206 mm diameter Jog dial enables better handling than an analog turntable. -
Page 7: Connections
CONNECTIONS ÷ Before making or changing the connections, switch off the power and disconnect the power cord from the AC outlet. 1. Connecting to a DJ mixer (DJM-300, DJM-500, DJM-600, DJM-3000) (sound output and CONTROL terminal connection) Use the supplied audio cables. Connect the white plug to the L (left) terminal and the red plug to the R (right) terminal. Connect the supplied control cord to enable control of the unit from the mixer to allow fader start play and back cue. -
Page 8: Connecting To Other Devices
BEFORE OPERATIONS: CONNECTIONS 3. Connecting to other devices A Connecting to other mixers Connect the AUDIO OUT terminals on the unit with the Line In terminals or AUX terminals on the mixer. (Do not use the Phono terminals. Otherwise the sound will become distorted and prevent normal playback.) B Connecting to a stereo amplifier (when not using a DJ mixer) Connect to the AUX input terminals. -
Page 9: Panel Facilities
PANEL FACILITIES Top Panel 1 2 3 4 5 1 TIME MODE/AUTO CUE button (*) TIME MODE: Each time this button is pressed, the time display changes between elapsed play- back time and remaining playback time (REMAIN) of each track. ÷... -
Page 10: Display
BEFORE OPERATIONS: PANEL FACILITIES Display 51 TRACK number display Displays TRACK numbers. 52 Auto cue indicator (A. CUE) Lights when auto cue is on. 53 QUICK RETURN indicator Lights when QUICK RETURN function is ON. 54 REMAIN indicator Indicates that track remaining time is being displayed. 55 Time display (min) (M) 56 Time display (sec) (S) 57 Frame display (F) -
Page 11: Disc Loading / Unloading
DISC LOADING / UNLOADING Label surface up Insert straight 1. Set the rear-panel POWER switch to ON. Do not force a disc into the unit when the POWER switch is set to OFF as this may damage the disc and the unit. 2. -
Page 12: Stopping Playback
Stopping Playback Press the EJECT button (0). ÷ Playback will stop and the disc will be ejected. ÷ Note that the CDJ-800 does not come with a stop button. To Pause Play During playback, press the PLAY/PAUSE button (6). ÷ The PLAY/PAUSE button [6] indicator and [CUE] indicator will flash, and play will be paused. -
Page 13: Changing Playback Speed
÷ If you set the cue point by pressing and holding to the surface of the Jog dial, releasing your finger from the Jog dial will cause playback to start from the selected cue point. [Amending the Cue point] 1. During playback, press the CUE button. ÷... -
Page 14: Advanced Operations
BASIC OPERATION: DJ PLAYER OPERATION ÷ When the DJ Mixer’s CROSS FADER slider has moved all the way to the right side, the sound heard from the speaker will have changed from track A to track B, and the operation is complete. 7 Long mix play If the BPM rates match, mixing of tracks A and B will sound good even if the CROSS FADER slider is in the middle position. -
Page 15: Reverse Playback
The supplied control cord may be used to connect the CONTROL terminal on the CDJ-800 to a CONTROL terminal on a DJM-300, DJM-500, DJM-600 or DJM-3000 mixer, thus making it possible to exit from cueing standby mode and to start play- back immediately by raising the DJ mixer channel fader. -
Page 16: Cue Point / Loop Point Memory
Cue and loop-point data recorded in one player can be copied to another player. 1. Use a mini plug cord to connect the DATA IN/OUT connectors of two CDJ-800 players (without loaded CDs). ÷ The supplied control cord can be used. -
Page 17: Troubleshooting
÷ The BPM value measured by the CDJ-800 may differ from the BPM value recorded on a CD or from our DJ mixer, but this difference is a result of differences in the BPM value measurement method; not a result of a fault with the player. -
Page 18: Error Message Display
OTHERS: TROUBLESHOOTING Error Message Display When the CDJ-800 CD player is unable to operate properly, an error code is dis- played on the display panel. Check the error code displayed against the following table and take the recommended action to correct the error. If an error code other... -
Page 19: Specifications
SPECIFICATIONS 1. General System ... Compact disc digital audio system Power requirements ... AC 120 V, 60 Hz Power consumption ... 18 W Operating temperature ... +5˚C – +35˚C Operating humidity ... 5% – 85% (There should be no condensation of moisture.) Weight ... - Page 20 PIONEER CORPORATION 4-1, Meguro 1-Chome, Meguro-ku, Tokyo 153-8654, Japan PIONEER ELECTRONICS (USA) INC. Multimedia and Mass Storage Division: PIONEER ELECTRONICS OF CANADA, INC. Industrial Products Department: 300 Allstate Parkway, Markham, Ontario L3R OP2, Canada <DRB1333> <TSZRW/02I00000> 2265 East 220th Street, Long Beach, CA 90810, U.S.A.