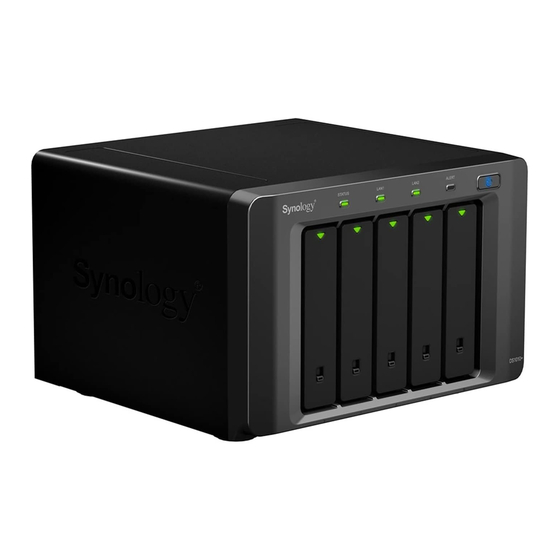
Synology DiskStation DS1010+ Hardware Installation Manual
Replacing cr1220 battery
Hide thumbs
Also See for DiskStation DS1010+:
- User manual (71 pages) ,
- Quick installation manual (19 pages)
Advertisement
Quick Links
Download this manual
See also:
User Manual
DiskStation DS1010+ - Hardware Installation Guide
This Installation Guide provides a steps-by-step instructions on replacing CR1220
battery of Synology DiskStation DS1010+.
1) Loose the 5 screws as marked in circle on the back.
2) Remove the Top Cover Case.
3) Loose the 2 screws as marked in circle.
Advertisement

Summary of Contents for Synology DiskStation DS1010+
- Page 1 DiskStation DS1010+ - Hardware Installation Guide This Installation Guide provides a steps-by-step instructions on replacing CR1220 battery of Synology DiskStation DS1010+. 1) Loose the 5 screws as marked in circle on the back. 2) Remove the Top Cover Case. 3) Loose the 2 screws as marked in circle.
- Page 2 4) Again, loose another 2 screws at the button as marked in circle. 5) Remove the following Power Connectors. 6) Remove the Rear Cover Case as illustrated below.
- Page 3 7) Loose the 6 screws as marked in circle 8) Unplug Power Connector, and remove PCBA from the Connecting Fingers. 9) Slightly remove Transfer Cable attached to the PCBA.
- Page 4 10) You may now replace the CR1220 battery on the PCBA. 11) When installing PCBA back to the chassis, be aware of the sockets have fully attached to the Connecting Fingers.


