Philips PET707 User Manual
Philips portable dvd player user manual pet707
Hide thumbs
Also See for PET707:
- Specifications (2 pages) ,
- User manual (32 pages) ,
- Service manual (29 pages)

Related Manuals for Philips PET707


Summary of Contents for Philips PET707
- Page 1 Portable DVD Player PET1002 User manual Manuel d'utilisation Manual del usuario Benutzerhandbuch...
- Page 3 FRONT VIEW REAR VIEW...
-
Page 4: Functional Overview
English Main unit controls 3, 4, 1, 2 ...Up / down / left / right cursor OK ...Confirm selection ;..Pause playback 2..Start / resume playback 9..Press twice to stop playback ∞ / §..For previous (∞) or next (§) chapters, tracks or titles J / K...Search backward (J) or search forward (K) MENU ...Display MENU page MONITOR ...Selection display... - Page 5 Left of player ( see figure ON . POWER . OFF ...Switch the player on / off Right of player ( see figure VOLUME F ... Volume control. PHONE 1 & 2... Headphones jack AV/OUT ... Audio/Video output jack AV/IN... Audio/Video input jack COAXIL...Digital audio output jack DC IN 9V.
- Page 6 REMOTE CONTROL Remote controls ( see figure 3, 4, 1, 2 ...Up / down / left / right cursor OK ...Confirms selection VOL+ / - ...Volume control J( / §..For previous (J( ) or next (§) chapters, tracks or titles ;...
-
Page 7: Your Portable Dvd Player
Your portable DVD player Your portable DVD player plays digital video discs conforming to the universal DVD Video standard. With it, you will be able to enjoy full-length movies with true cinema picture quality, and stereo or multichannel sound (depending on the disc and on your playback set-up). -
Page 8: Playable Disc Formats
INTRODUCTION Playable disc formats In addition to DVD-Video disc, you will also be able to play all Video CDs and audio CDs (including CDR, CDRW,DVD±R and DVR±RW). DVD-Video Depending on the material on the disc (a movie, video clips, a drama series, etc.) these discs may have one or more Titles, and each Title may have one or more Chapters. - Page 9 • Hearing safety: listen at a moderate volume. Using headphones at high volume can impair your hearing. • Important (for models with by-packed headphones): Philips guarantees compliance with the maximum sound power of its audio players as determined by relevant regulatory bodies only with the original model of provided headphones.
-
Page 10: Handling Discs
Handling discs • Do not attach paper or tape to the disc. • Keep the disc away from direct sunlight or heat sources. • Store the disc in a disc case after playback. • To clean, wipe the disc outwards from the center with a soft, lint-free clean cloth. -
Page 11: Power Supply
Power supply Using the AC / DC adaptor Connect the supplied adapter to the set and the main power supply (as shown). ✔ To avoid damage to the player, switch off before plugging or unplugging the AC adaptor. Using the car adapter Connect the supplied car adapter to the set and the car cigarette lighter outlet. -
Page 12: Detaching The Battery Pack
Attaching and charging the battery pack* 1 Switch off the set. Attach the battery pack as shown. 2 Connect the supplied adapter to the set and the main power supply (as shown). Charge until the red indicator turns off (approximately 4.5 - 6.5 hours when unit is charged from power off). -
Page 13: Connecting Headphones
Connections Connecting headphones Connect the headphones into the PHONE 1 or the PHONE 2 jack of your set. Connecting additional equipment • Turn off your set before connecting to any additional equipment. • You can connect the player to a TV or an amplifier to enjoy DVDs or karaoke. AV OUT You can connect the player to a TV. - Page 14 Digital Audio Out ✔ • You can also make use of the COAXIAL jack for digital audio output. • Please refer to the user manuals of your additional equipment for more information about connection. • Players support NTSC/PAL/AUTO television sets. PREPARATIONS Yellow...
-
Page 15: Menu Navigation
About this manual This manual gives the basic instructions for operating this DVD player. Some DVD discs however are produced in a way that requires specific operation or allows only limited operation during playback. In these cases the player may not respond to all operating commands. When this occurs, please refer to the instructions in the disc inlay. -
Page 16: Basic Functions
Switching on for OSD language setup English is the default language of your player’s on screen display. You may choose to use English, French, Spanish, German, Simplified Chinese or Traditional Chinese for your player’s on screen display. Countries OSD Language Options European English, French, German American... -
Page 17: Playing A Dvd Disc
Playing a DVD disc After switching on, inserting the disc and closing the door, playback starts automatically. The screen shows the type of disc loaded. The disc may invite you to select an item from a menu. Use the 3, 4, 1, 2 keys to highlight your selection,and press OK. - Page 18 BASIC FUNCTIONS Playing a MP3-CD The following playback features are available for MP3-CDs. Please refer to the corresponding sections for more information. Volume control, skipping tracks, searching, repeat, shuffle, etc. Use the 3, 4, 1, 2 keys to highlight your selected music folder. Press OK to play.
- Page 19 Moving to another title / track / chapter When a disc has more than one title or track, you can move to another title/track/chapter as follows: • Press § briefly during play to select the next title/ track / chapter. •...
-
Page 20: Slow Motion
Slow motion Press > once or more for the following slow play options: 1/16 Press OK or 2 to resume normal playback. *for DVDs only Changing the audio output Press AUDIO repeatedly for the following audio options. Mono left Mixed mono ZOOM The Zoom function allows you to enlarge the video image and to pan through the enlarged image. -
Page 21: General Features
Repeat A > B To repeat or loop a sequence in a title: • Press A > B at your chosen starting point; A appears on the screen. • Press A > B again at your chosen end point; AB appears on the display, and the repeat sequence begins. •... -
Page 22: Special Dvd Features
SPECIAL DVD FEATURES Checking the contents of DVD-Video discs: Menus. For titles and chapters, selection menus may be included on the disc. The DVD’s menu feature allows you to make selections from these menus. Press the appropriate numerical key; or use the 3, 4, 1, 2 keys to highlight your selection, and press OK. -
Page 23: Osd Operations
In addition to using remote control keys, you can also change disc playback options from OSD. Press OSD during disc playback. A list of features is shown. Use the 3 4 keys to highlight your selection. When the cursor highlights these settings, press OK to: FILE key in desired file number TITLE... -
Page 24: Setup Operations
To maximize your playback experience, use SETUP to fine tune your settings. Use the 3,4,1, 2 keys to highlight your selection, and press OK. 1 Press SETUP. A list of features is shown. 2 Use the 3 4 keys to highlight your selection. When the cursor highlights these settings, press OK to: GENERAL SETUP AUDIO SETUP... -
Page 25: Audio Setup
Audio Setup When the cursor highlights these settings, press OK to: SPEAKER SETUP DOLBY DIGITAL SETUP CHANNEL EQUALIZER 3D PROCESSING Press 1 to abort current setting or go back to previous menu level Preferences When the cursor highlights these settings, press OK to: AUDIO SUBTITLE DISC MENU... -
Page 26: Troubleshooting
If it appears that the DVD-Video player is faulty, first consult this checklist. It may be that something has been overlooked. WARNING Under no circumstances should you try to repair the set yourself as this will invalidate the guarantee. If a fault occurs, first check the points listed, before taking the set for repair. - Page 27 Disc can’t be played The player does not respond to the remote control Distorted or B/W picture with DVD No audio at digital output Player does not respond to all operating commands during playback Player feels warm Display goes dimmer when AC is unplugged This set complies with the radio interference requirements of the European Union.
- Page 28 Audio out (analog audio) Load impedance: Video out Output level: Load impedance: PHILIPS reserves the right to make design and specification changes for product improvement without prior notice. Modifications not authorized by the manufacturer may void users authority to operate this device.
- Page 29 Important notes for users in the UK (for /05 version only) Mains plug This apparatus is fitted with an approved 13 Amp plug. To change a fuse in this type of plug proceed as follows: 1. Remove fuse cover and fuse. 2.
-
Page 30: Copyright Information
The making of unauthorized copies of copy-protected material, including computer programmes, files, broadcasts and sound recordings, may be an infringement of copyrights and constitute a criminal offence. This equipment should not be used for such purposes. DISPOSAL OF YOUR OLD PRODUCT Your product is designed and manufactured with high quality materials and components, which can be recycled and reused. - Page 31 CLASS 1 LASER PRODUCT Specifications are subject to change without notice. Trademarks are the property of Koninklijke Philips Electronics N.V. or their respective owners 2005 © Koninklijke Philips Electronics N.V. All rights reserved. http://www.philips.com Printed in China WK0622.2...
-
Page 32: User Manual
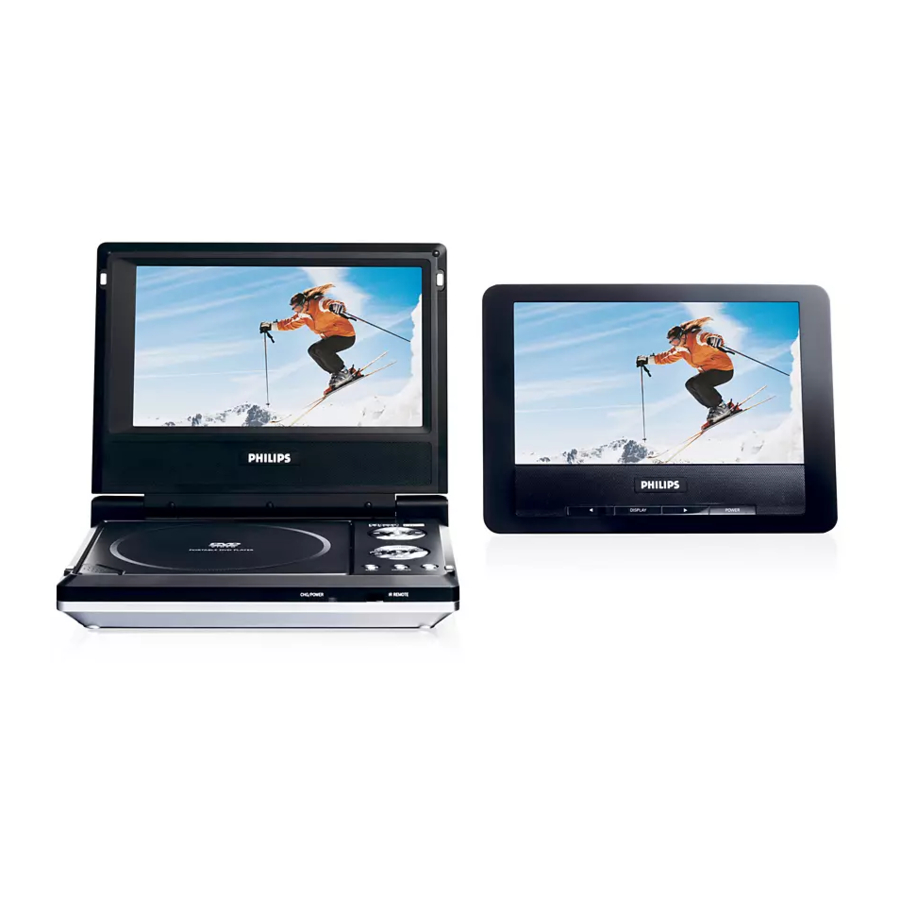
Second LCD screen Register your product and get support at www.philips.com/welcome User manual PAC130 PAC131... -
Page 33: Table Of Contents
English Congratulations on your purchase and welcome to Philips! To fully benefit from the support that Philips offers, register your product at www.philips.com/welcome. Content Control elements and functional com- ponents 1.1 Left side of the player 1.2 Front of the player 1.3 Right side of the player... -
Page 34: Control Elements And Functional Components
3.4 Connect to camcorder Enjoyment 4.1 Power on 4.2 Volume control 1 Control elements and functional components 1.1 Left side of the player (see figure 1 DC IN 2 DC OUT 3 VIDEO IN 4 AUDIO IN 1.2 Front of the player (see figure 5,71 / 2 6 DISPLAY 8 y POWER... -
Page 35: Safety And Maintenance
• Unplug the AC adaptor from the outlet or remove the battery pack when the unit is not used for long periods of time. • Hold the plug to disconnect the AC adaptor. Do not pull the power cord. Please always use supplied AC/DC adaptor (AY4130) Safety and maintenance •... - Page 36 • Important (for models with by-packed headphones): Philips guar- antees compliance with the maximum sound power of its audio players as determined by relevant regulatory bodies only with the original model of provided headphones.
-
Page 37: Connection
• Apparatus shall not be exposed to dripping or splashing. Do not place any sources of danger on the appartus (e.g. liquid filled objects,lighted candles) • Do not touch the lens! When the player is in use for a long period of time, the sur- face will be heated.This is normal. -
Page 38: Use In A Car
Primary DVD player 1 Mount the devices to the headrest with the mounting kits 2 Connect the power plug of the car adaptor to PAC13X 3 Connect the power source to the primary DVD player using the power cord 4 Connect the audio/visual cables to the devices 3.2 Use at home Primary DVD player 1 Connect the AC/DC power adaptor to PAC13X... -
Page 39: Connect To Headphone
3 Connect the audio/visual cables to the devices 3.3 Connect to headphone Connect the headphones to the right side of the player for private listening. 3.4 Connect to camcorder You can connect the player to your camcorder to view video on a bigger screen. -
Page 40: Volume Control
3 PAC13X will automatically playback the video content 4 Power off all the devices after viewing 4.2 Volume control Adjust the volume control on the right side of the player. 4.3 Screen brightness and contrast 1 Press DISPLAY repeatedly to set brightness or contrast. 2 Press 1 or 2 key to adjust the settings. - Page 41 Power supply Power Consumption Operating temperature range Video system PHILIPS reserves the right to make design and specification changes for product improvement without prior notice. Modifications not authorized by the manufacturer may void users authority to operate this device. All rights reserved.
- Page 42 Your product is designed and manufactured with high quality materials and components, which can be recycled and reused. When this crossed-out wheeled bin symbol is attached to a product, it means the product is covered by the European Directive 2002/96/EC. Please be informed about the local separate collection system for electrical and electronic products.
- Page 43 Specifications are subject to change without notice. Trademarks are the property of Koninklijke Philips Electronics N.V. or their respective owners 2008 © Koninklijke Philips Electronics N.V. All rights reserved. Printed in China ZYL-0813...