LG CJ98 Owner's Manual
Hide thumbs
Also See for CJ98:
- Simple manual (4 pages) ,
- Service manual (85 pages) ,
- Service bulletin (26 pages)

Related Manuals for LG CJ98


Summary of Contents for LG CJ98
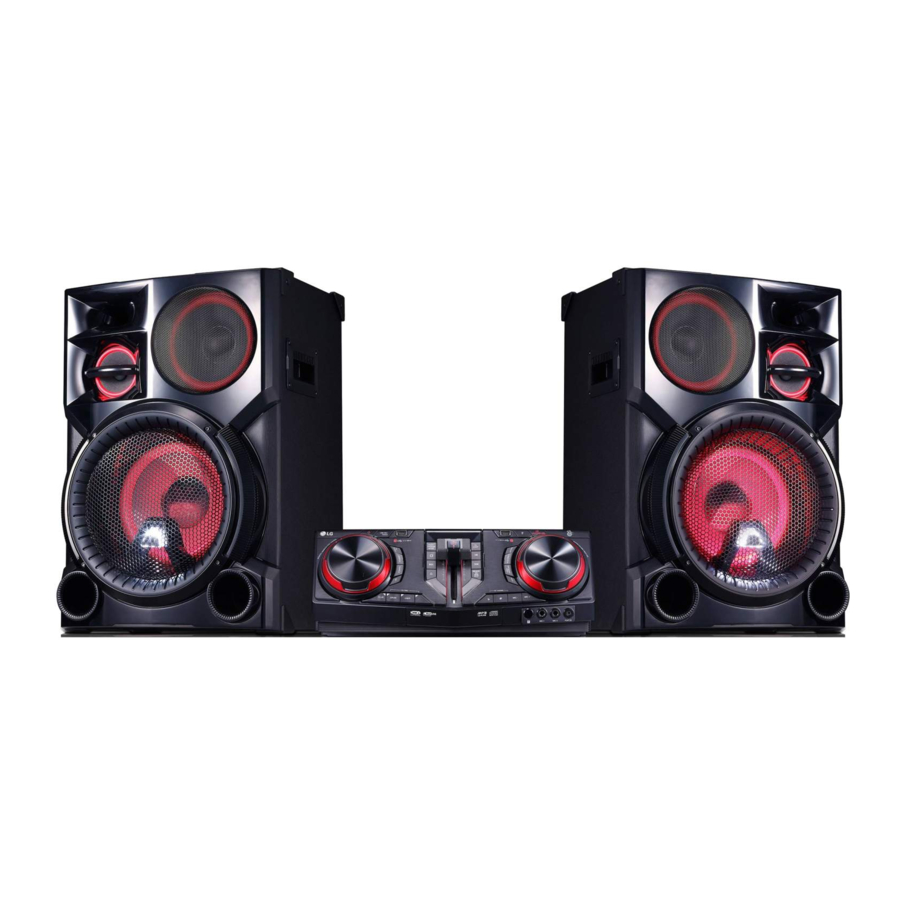
- Page 1 OWNER’S MANUAL Mini Hi-Fi System Please read this manual carefully before operating your set and retain it for future reference. MODEL CJ98 (CJ98, NJ98F) *MFL00000000* www.lg.com...
- Page 2 Getting Started Safety Information CAUTION RISK OF ELECTRIC SHOCK DO NOT OPEN CAUTION: This product employs a Laser System. CAUTION: TO REDUCE THE RISK OF ELECTRIC To ensure proper use of this product, please read SHOCK DO NOT REMOVE COVER (OR BACK) this owner’...
- Page 3 Getting Started CAUTION concerning the Power Cord This device is equipped with a portable battery or accumulator. Most appliances recommend they be placed upon a dedicated circuit; Safety way to remove the battery or the battery from the equipment: Remove the old battery or That is, a single outlet circuit which powers only battery pack, follow the steps in reverse order than that appliance and has no additional outlets or...
-
Page 4: Table Of Contents
Table of Contents Table of Contents Getting Started Operating Safety Information Basic Operations Table of Contents – CD/USB Operations Unique Features – Auto Play Playable file Requirement – Selecting a folder and – Music file requirement an MP3/WMA file – Compatible USB Devices –... - Page 5 – Setting the Clock through “Music Flow General specifications Bluetooth” App Speakers specifications – Using your player as an alarm clock Trademarks and Licenses LG Sound Sync Maintenance WIRELESS PARTY LINK Connection – Notes on Discs – Handling the Unit...
-
Page 6: Getting Started
Records music to your USB device. Music Flow Bluetooth Music Flow Bluetooth is an app designed to let you take control of some of LG’ s latest audio devices. (Page 25) LG Sound Sync Controls volume level of this unit by the remote control of your LG TV that is compatible with LG Sound Sync. -
Page 7: Playable File Requirement
You have to set the disc format option to [Mastered] The unit cannot be used as a storage device. in order to make the discs compatible with the LG players when formatting rewritable discs. When y Some USB may not work with this unit. -
Page 8: Remote Control
Display Disc USB1 / USB2 AUX input Portable input PORTABLE Bluetooth LG Sound Sync (Wireless) LG TV Radio (Mute) : Mutes the sound. PRESET·FOLDER W/S : - Chooses a preset number for a radio station. (Page 27) - Searches for a folder of MP3/WMA files. When a CD/USB containing MP3/WMA files in several folders is being played, press PRESET·FOLDER... - Page 9 Getting Started • • • • • • • • • • • • • • b • • • • • • • • • • • • • • • • • • • • • • • • • • • c • • • • • • • • • • • • • REPEAT : Listens to your tracks/files repeatedly or 0 to 9 numerical buttons : Selects numbered tracks, randomly.
-
Page 10: Front Panel
F (Function) Selects the function and input source. R (Open/Close) Opens and closes the disc tray. Input source / Function Display e Display window Disc USB1 / USB2 AUX input Portable input PORTABLE Bluetooth LG Sound Sync (Wireless) LG TV Radio... - Page 11 Getting Started p PARTY THRUSTER lever WIRELESS LINK Slide up the lever to create a party atmosphere. - Selects MASTER or SLAVE on WIRELESS PARTY LINK mode. q Disc tray - Enable or disable WIRELESS PARTY LINK mode. r CLUB, DRUM, USER (DJ PRO) j LIGHTING Selects CLUB, DRUM or USER sound effect to Turns on/off the lighting effects.
-
Page 12: Rear Panel
Getting Started Rear panel a Power cord b ANTENNA (FM) c AUX IN (L/R) > Caution Connect an auxiliary device. y Connect the power cord to wall outlet d SPEAKER LIGHTING SYSTEM directly if possible. Or when you use an Connect the speaker lighting cables. -
Page 13: Connecting
Connecting How to affix the ferrite core Ferrite core may not be provided depending on each nation’ s regulations. Affix the ferrite core for power cord You must affix a ferrite core in order to reduce or eliminate electrical interference. 1. -
Page 14: Connecting To Speakers
Connecting > Caution Connecting to speakers y Do not try to lift the speaker alone. It needs two persons to lift the speaker. Otherwise Connect the speaker cable plugs to the SPEAKERS it may result in the speaker malfunction connector. Make sure to connect the speaker’ s plug and cause personal injury and/or property to the corresponding colored speaker connector damage. -
Page 15: Optional Equipment Connection
Connecting Optional Equipment PORT. IN Connection Connection Connect an output (earphone or line out) of portable device (MP3 or PMP etc) to the PORT. IN (3.5 mm) connector. AUX IN Connection Connect an output of auxiliary device (Camcorder, TV, Player, etc) to the AUX IN (L/R) connector. If your device has only one output for audio(mono), connect it to the left(white) audio jack on the unit. -
Page 16: Usb Connection
Connecting USB Connection Antenna Connection Connect a USB device (or MP3 player, etc.) to the Connect the supplied FM antenna for listening to the USB ports on the unit. radio. Connect the FM wire antenna to the FM antenna USB device connector. -
Page 17: Operating
Operating Note Basic Operations y The display changes in the following order. MP3/WMA CD AUDIO CD CD/USB Operations *RPT 1 RPT 1 RPT 1 1. Insert the disc by pressing B on the remote RPT**DIR RPT DIR control or R on the unit. RPT ALL RPT ALL RPT ALL... -
Page 18: Selecting A Folder And An Mp3/Wma File
Operating Note Selecting a folder and an MP3/WMA file y CD/USB Folders/Files are recognized as below. On the unit 1. Press SEARCH and rotate SCRATCH / SEARCH & LEVEL CONTROL until a desired file appears. You can also search a folder if you press SEARCH again. -
Page 19: Deleting A File/Folder Or Format
Operating Playback Effect Deleting a file/folder or format You can delete file, folder on your USB or format the USB. The unit supports various sound and playback effects: 1. Select USB function by pressing F. DJ EFFECT, SCRATCH, DJ PRO, AUTO DJ, DJ LOOP, 2. -
Page 20: Auto Dj
Operating AUTO DJ DJ PRO Auto DJ blends the end of one song into the It allows you to mix CLUB, DRUM or USER sound beginning of another for seamless playback. effect. Each mode has up to 4 sounds effect. It equalizes volume across tracks/files for 1. -
Page 21: Dj Loop
Operating DJ LOOP The certain section (about 1 sec) of sound is repeatedly played. (CD, USB only) During playback, press and hold DJ LOOP on the unit at the point you want. And you can cancel DJ LOOP function by releasing it. Note This function is released after operating 10 times or releasing DJ LOOP on the unit. -
Page 22: Using Bluetooth® Wireless Technology
Bluetooth device y Version : 4.0 display depending on the type of Bluetooth y Codec : SBC device. Your unit appears as “LG CJ98 (XX)” . Note Bluetooth Profiles y XX means the last two digits of In order to use Bluetooth wireless technology, Bluetooth address. - Page 23 4. Listen to music. You can limit Bluetooth connection to only To play a music stored on your Bluetooth device, BT (Bluetooth) and LG TV function to prevent refer to your Bluetooth device’ s user guide. unintended Bluetooth connection. Note...
- Page 24 Bluetooth device. y If a Bluetooth device is connected when using LG TV, LG TV is disconnected and the Bluetooth device is connected. y When you connect Bluetooth device (iOS device etc.) to this unit or operate the device, the volume level can be synchronized with each other.
-
Page 25: Using The Music Flow Bluetooth App
Operating Using the Music Flow Install “Music Flow Bluetooth” App onto Your Bluetooth Device Bluetooth App There are two ways to install “Music Flow Bluetooth” app onto your Bluetooth device. Note y Only Android OS is available to use “Music Install “Music Flow Bluetooth”... -
Page 26: Activate Bluetooth With "Music Flow Bluetooth" App
Operating Activate Bluetooth with “Music Install “Music Flow Bluetooth” App through “Google Android Market Flow Bluetooth” App (Google Play Store)” “Music Flow Bluetooth” app helps to connect your 1. Tap the “Google Android Market (Google Play Bluetooth device to this unit. Store)”... -
Page 27: Radio Operations
Operating Radio Operations Presetting the Radio Stations You can preset 50 stations for FM. Before tuning, make sure to turn down the volume. Be sure that both FM aerials are connected. (Page 16) 1. Press F until FM appears in the display window. 2. -
Page 28: Seeing Information About A Radio Station
Operating Seeing information about a Radio station The FM tuner is supplied with the RDS (Radio Data System) facility. This shows information about the radio station being listened to. Press RDS/SET on the remote control repeatedly to cycle through the various data types: (Programme Service Name) The name of the channel will appear in... -
Page 29: Sound Adjustment
Operating Sound adjustment You can select a desired sound mode by using REGION EQ on the remote control or REGION EQ / BASS BLAST on the unit. Setting the sound mode On Display Region Description This system has a number of pre-set surround sound FUNK, REGUETON, fields. -
Page 30: Advanced Operations
Operating Advanced Operations Pausing recording During CD/USB playback or pause, or external sound source recording, press USB REC on the remote control or USB REC / DEMO on the unit to pause Recording to USB recording. Press it again to restart recording. You can record a various sound source to USB. - Page 31 Operating Note Note y You can record various sound using DJ y For stable recording, the output sound level EFFECT, SCRATCH, DJ PRO or MIC. goes down on its own when you record music (Except when recording USB/ CD that are in from CD to USB.
-
Page 32: Juke Box Playback
Operating JUKE BOX Playback Editing JUKE BOX 1. Press and hold JUKEBOX/MEMORY on the JUKE BOX function enables you to make a playlist of remote control to enter the edit mode. your favorite tracks/files from a disc or USB device. (Playing will be stopped when you press A playlist of up to 100 tracks/files can be entered. -
Page 33: Other Operations
Operating Other Operations DEMO In the power off state, press USB REC / DEMO on the unit once. The unit will power on and display the each of functions with demo sound in the display Turn off the sound temporarily window. -
Page 34: Using Microphone
Operating Using Microphone VOICE CANCELLER You can enjoy the function while playing the music, 1. Connect your microphone to the MIC jack. by reducing singer vocal of music in the various 2. Play the music you want. source. 3. Sing along with the accompaniment. Adjust the Press the VOICE CANCELLER and “ON”... - Page 35 Operating KEY CHANGER VOCAL EFFECTS You can adjust the key to 9 steps (4 steps higher, When you connect your microphone to the MIC jack, 4 steps lower and the original key). you can enjoy karaoke function by changing voice in the various source.
-
Page 36: Lighting
Operating LIGHTING ECHO When you connect your microphone to the MIC jack, This function offers a party atmosphere by operating you can give an echo effect to the sound from the speaker lighting and beat of music. microphones by pressing ECHO. Press LIGHTING on the unit. -
Page 37: Sleep Timer Setting
Operating Sleep Timer Setting Auto power down Press SLEEP on the remote control repeatedly to This unit will turn itself off to save electricity in the select delay time between 10 and 180 minutes. case were the main unit is not connected to an After the delay time, the unit will be turned off. -
Page 38: Auto Power On
This function is not available during recording unit is turned on. or deleting. y If you turn on the unit using LG TV or y This function only works with devices that Bluetooth function, proper function of this were previously connected. -
Page 39: Setting The Clock
Operating Setting the Clock Using your player as an alarm clock 1. Turn the unit on. 1. Turn the unit on. 2. Press and hold CLOCK on the remote control. 2. Press and hold ALARM on the remote control. 3. Select time mode by pressing C/V on the 3. -
Page 40: Lg Sound Sync
Note LG Sound Sync y You can also use the remote control of this unit while using LG Sound Sync. If you use TV’ s remote control again, the unit synchronizes with the TV. y If the connection fails, check the conditions of You can control some functions of this unit by this unit and your TV : power, function. -
Page 41: Wireless Party Link Connection
Operating Note WIRELESS PARTY LINK y If you using the LG Sound Sync, this function Connection is not available. If you connect the LG TV function, “NOT SUPPORT” appears in the display window. The output sound of (MASTER) unit is expanded (SLAVE) unit. -
Page 42: Troubleshooting
Troubleshooting Troubleshooting General Problem Cause & Solution y Turn off the power of this unit and the connected external device (TV, Woofer, DVD-player, Amplifier, etc.) and turn them on again. The unit does not work y Disconnect the power cord of this unit and the connected external device (TV, properly Woofer, DVD-player, Amplifier, etc.) and then try connecting again. - Page 43 Connect the speaker light cables to the unit correctly. No speaker light y Check the speaker light effects by pressing LIGHTING on the unit. y Check whether your LG TV supports LG Sound Sync. LG Sound Sync does not y Check connection of LG Sound Sync.
-
Page 44: Appendix
Appendix General specifications General Power requirements Refer to the main label on the unit. Refer to the main label on the unit. Power consumption Networked standby : 0.5 W (If all network ports are activated.) Dimensions (W x H x D) Approx. -
Page 45: Speakers Specifications
Design and specifications are subject to change without notice. Trademarks and Licenses The Bluetooth® word mark and logos are owned by the Bluetooth® SIG, Inc. and any use of such marks by LG Electronics is under license. Other trademarks and trade names are those of their respective owners. -
Page 46: Maintenance
Appendix Maintenance Handling the Unit When shipping the unit Notes on Discs Please save the original shipping carton and packing materials. If you need to ship the unit, for maximum protection, re-pack the unit as it was originally Handling Discs packed at the factory.