
Related Manuals for Homemaker ZS998

Summary of Contents for Homemaker ZS998
- Page 1 Evaporative Cooler User Manual Read and Save These Instructions Note: The specifications and/or components of this appliance are subject to change without prior notice Model No.: ZS998 Item No.: 900596 230 - 240Va.c. 50Hz 70W Rev 1...
-
Page 2: Table Of Contents
Safety Instructions ................3 Guide to Evaporative Air Coolers ............5 Components – Change Images ............6 Preparation ..................6 Controls .................... 7 Evaporative Cooler ..............7 Remote Control ................8 Operation ..................8 ON/OFF ..................8 Memory ..................8 Mode.................. -
Page 3: Safety Instructions
1 Safety Instructions When using electrical appliances, basic safety precautions should always be followed, including the following: • Carefully read this instruction manual before using appliance. • Keep appliance out of reach of young children. • This appliance is not intended for use by persons (including children) with reduced physical, sensory or mental capabilities, or lack of experience and knowledge, unless they have been given supervision or instruction concerning use of the appliance by a person responsible for their safety. - Page 4 • Do not operate appliance underneath or near flammable or combustible materials (e.g. curtains). Keep at least 300mm clearance around sides, back, front and top. • Unplug this apparatus during lightning storms or when unused for long periods of time. •...
-
Page 5: Guide To Evaporative Air Coolers
2 Guide to Evaporative Air Coolers The performance of evaporative systems deteriorates as the humidity increases. Consequently, evaporative systems are not suitable for high humid regions. They are generally suitable for areas with dry summers, although their effectiveness will be reduced during the occasional periods of humid weather that these areas can experience. -
Page 6: Components - Change Images
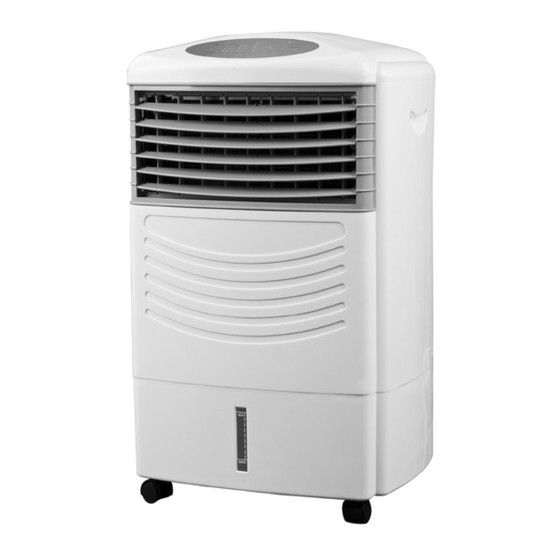
3 Components – Change Images Control Panel Water Level Window Left-Right Louver Remote Control Up-Down Louver Rear Mesh Filter Castor Wheels Drain Plug Note: 2 x AAA batteries for the Remote Control are not included 4 Preparation • When ready to use the cooler, make sure that the power switch is set to OFF and the unit is disconnected from the power point. -
Page 7: Controls
Fill until the level has reached the Maximum mark on the water level indicator • which is located on the lower front of the unit. DO NOT OVERFILL. Ice blocks can also be added which will help cool the water / air. •... -
Page 8: Remote Control
5.2 Remote Control Note: 2 x AAA batteries are not included. The Cooler comes with a remote control for your convenience. The functions on the remote control are the same as the buttons on the evaporative cooler. To install the batteries, first remove the back of the remote control by sliding the back battery cover off. -
Page 9: Speed
b. Sleep: The "Sleep" variable speed wind allows you to set the product so that the wind speed will decrease gradually from a high speed to low (depending on the original fan speed selected by the user). The variable speed wind speed will simulate the flow of an evening breeze slowing to a light variable speed night breeze. -
Page 10: Cool
To select the Off time, press the “TIMER” button once. It will advance • to 0.5h as indicated by the indicator lights above the “TIMER” button. The cooler will turn off after approximately 0.5 hours Each consecutive press will advance the timer at 0.5h increments until •... -
Page 11: Care And Cleaning
7 Care and Cleaning Turn off and unplug the unit prior to cleaning. • Remove any water which is left in the water tank. Take the appliance outside • and remove the rubber drain plug in the rear of the unit. Water will pour out from the bottom of the appliance. -
Page 12: Warranty Against Defect
9 Warranty Against Defect 12 Month Warranty Thank you for your purchase from Kmart. Kmart Australia Ltd warrants your new product to be free from defects in materials and workmanship for the period stated above, from the date of purchase, provided that the product is used in accordance with accompanying recommendations or instructions where provided.