Philips HTS3410D User Manual
Philips user manual dvd video home theater system hts3400, hts3410d
Hide thumbs
Also See for HTS3410D:
- Specifications (2 pages) ,
- User manual (36 pages) ,
- Quick use manual (4 pages)
Table of Contents
Advertisement
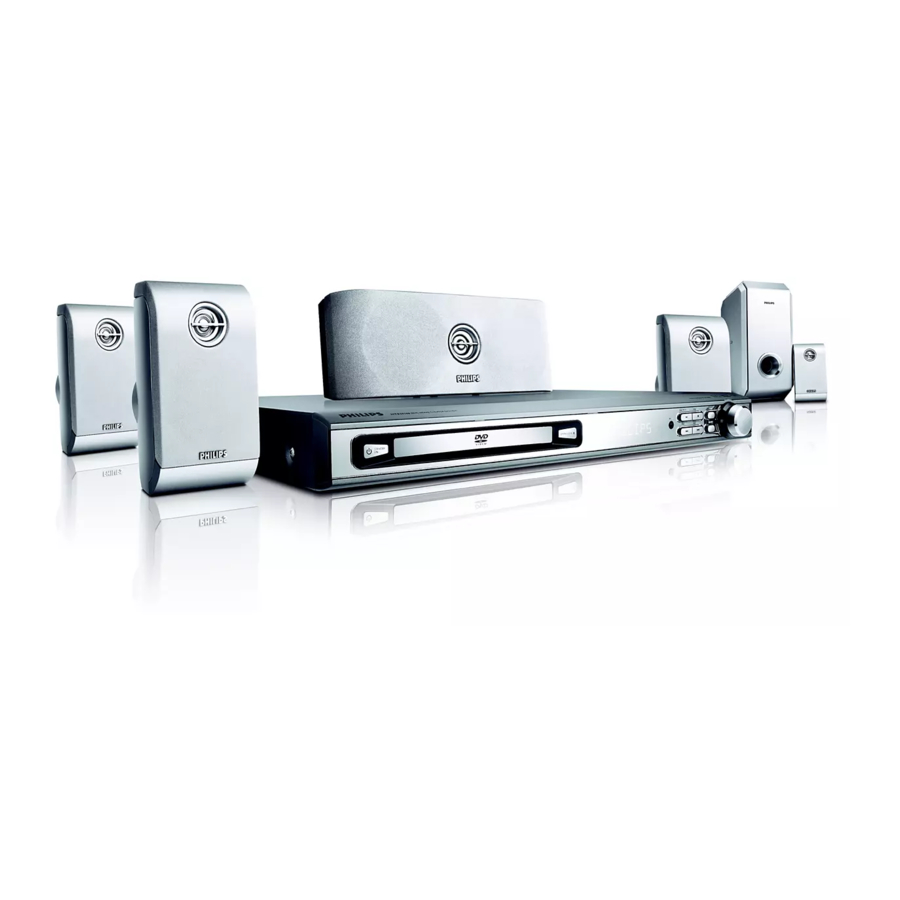
DVD VIDEO HOME THEATER SYSTEM
User manual
Thank you for choosing Philips.
Need help fast?
Read your Quick Use Guide and/or
Owner's Manual first for quick tips
that make using your Philips product
more enjoyable.
If you have read your instructions
and still need assistance,
you may access our online help at
www.philips.com/support
or call
1-888-PHILIPS (744-5477)
while with your product.
Philips vous remercie de
votre confiance.
Besoin d'une aide
rapide?
Les Guide d'utilisation rapide et Manuel de
l'utilisateur regorgent d'astuces destinées à
simplifier l'utilisation de votre produit Philips.
Toutefois, si vous ne parvenez pas à résoudre
votre probléme, vous pouvez accéder à
notre aide en ligne à l'adresse
www.philips.com/support
ou formez le
1-800-661-6162 (Francophone)
1-888-PHILIPS (744-5477) (English speaking)
Veillez à avoir votre produit à
portÈe de main.
HTS3400
HTS3410D
Gracias por escoger Philips
Necesita ayuda
inmediata?
Lea primero la GuÌa de uso rápido o el
Manual del usuario, en donde encontrar·
consejos que le ayudarán a disfrutar
plenamente de su producto Philips.
Si después de leerlo aún necesita ayuda,
consulte nuestro servicio de
asistencia en lÌnea en
www.philips.com/support
o llame al teléfono
1-888-PHILIPS (744-5477)
y tenga a mano el producto.
1
8239 300 30551
Advertisement
Table of Contents
Troubleshooting

Related Manuals for Philips HTS3410D


Summary of Contents for Philips HTS3410D
- Page 1 Les Guide d'utilisation rapide et Manuel de Owner's Manual first for quick tips l'utilisateur regorgent d'astuces destinées à that make using your Philips product simplifier l'utilisation de votre produit Philips. more enjoyable. Toutefois, si vous ne parvenez pas à résoudre...
- Page 2 Return your Product Registration Card today to get the very most from your purchase. Registering your model with PHILIPS makes you eligible for all of the valuable benefits listed below, so don't miss out. Complete and return your Product Registration Card at once to ensure:...
-
Page 3: Important Safety Instructions
IMPORTANT SAFETY INSTRUCTIONS Read these instructions. Keep these instructions. Heed all warnings. Follow all instructions. Do not use this apparatus near water. Clean only with dry cloth. Do not block any ventilation openings. Install in accordance with the manufacturer´s instructions. Do not install near any heat sources such as radiators, heat registers, stoves, or other apparatus (including amplifiers) that... -
Page 4: Important Note
Due to the numerous versions of new CD-Audio copy protection or enhanced CD-Audio protection recently available on certain discs, Philips is unable to guarantee that this DVD system is fully compatible with such new discs. Should you have difficulty playing such CD- Audio discs, kindly refer them to your CD-Audio disc retailer. - Page 5 Index English ----------------------------------------- 8 Français -------------------------------------- 41 Español -------------------------------------- 77 8239 300 30551...
- Page 6 This product incorporates copyright protection technology that is protected by method claims of certain U.S. patents and other intellectual property rights owned by Macrovision Corporation and other rights owners. Use of this copyright protection technology must be authorized by Macrovision Corporation, and is intended for home and other limited viewing uses only unless otherwise authorized by Macrovision Corporation.
-
Page 7: Table Of Contents
Sound Control ... 33 Selecting surround sound ... 33 Selecting digital sound effects ... 34 Volume Control ... 34 Dimming system’s display screen ... 34 Using the remote to operate ‘Philips’ television ... 34 Specifications ... 35 Troubleshooting ... 36–37 Glossary ... -
Page 8: General Information
– Do not operate the DVD system in an enclosed cabinet and allow about 10 cm (4 inches) of free space all around the player for adequate ventilation. 10 cm (4 inches) PHILIPS 10 cm 10 cm (4 inches) (4 inches) DVD Home Cinema System Care of disc –... -
Page 9: Connections
Step 1: Placing the speakers and subwoofer Front Speaker (Left) Rear Speaker (Left) For best possible surround sound, all the speakers (except subwoofer) should be placed at the same distance from the listening position. Place the front left and right speakers at equal distances from the TV and at an angle of approximately 45 degrees from the listening position. -
Page 10: Step 2: Connecting Speakers And Subwoofer
Connections Step 2: Connecting speakers and subwoofer Front Speaker Front Speaker (Right) FRONT R REAR R Rear Speaker Rear Speaker (Right) Connect the supplied speaker systems using the fixed speaker cables by matching the colors of the jacks and speaker cables. Helpful Hint: –... -
Page 11: Step 3: Connecting Tv
Step 3: Connecting TV Option 1 IMPORTANT! – You only need to make one video connection from the following options, depending on the capabilities of your TV. – Connect the DVD system directly to the TV. Using Composite Video jack Use the supplied composite video cable (yellow) to connect the DVD system’s VIDEO OUT jack to the video input... -
Page 12: Using S-Video Jack
RF modulator in order to view DVD playback on the TV. See your electronics retailer or contact Philips for details on RF modulator availability and operations. Using an accessory RF modulator Use the supplied composite video cable (yellow) to connect the DVD system’s... -
Page 13: Step 4: Connecting Fm/Am Antennas
Step 4: Connecting FM/AM antennas fix the claw into the slot antenna ➠ Connect the supplied AM loop antenna to the AM jack. Place the AM loop antenna on a shelf or attach it to a stand or wall. Connect the supplied FM antenna to the FM (75Ω) jack. -
Page 14: Connections (Optional)
Connections (optional) Connecting a VCR or Cable/Satellite Box VCR or Cable/ Satellite Box Viewing and listening to the playback Connect the VCR or Cable / Satellite Box to the TV as shown. Connect the DVD system’s AUDIO IN- AUX jacks to the AUDIO OUT jacks on the VCR or cable/satellite box. -
Page 15: Functional Overview
– TUNER: tunes the radio frequency up/down. – TV: selects previous/next channel on Philips TV (on remote only.) 7 Ç STOP – Exits an operation. – DISC: stops playback or clears a program. – TUNER: *erases a preset radio station. -
Page 16: Control Buttons Available On The Remote Only
– Confirms a selection. § Numeric Keypad (0-9) – Enters a track/title number of the disc. – Enters a number of a preset radio station. ≥ B – Switches to standby mode. – In TV mode, switches Philips TV on/off. -
Page 17: Getting Started
Step 1: Inserting batteries into the remote control Open the battery compartment. Insert two batteries type R06 or AA, following the indications (+-) inside the compartment. Close the cover. Using the remote control to operate the system Aim the remote control directly at the remote sensor (iR) on the front panel. -
Page 18: Selecting The Color System That Corresponds To Your Tv
Getting Started Selecting the color system that corresponds to your TV In order for a DVD to play on this DVD system, the color system of the DVD, the TV and the DVD player should match. Before changing the TV system, ensure that your TV supports the selected color system. -
Page 19: Step 3: Setting The Speakers
Step 3: Setting the speakers You can adjust the delay time (center and rear speakers only) and volume level for individual speakers. These adjustments let you optimize the sound according to your surroundings and setup. Test Tone - Turning on/off If you have turned on the test tone, the test signal will be automatically generated to help you judge the sound level of each... -
Page 20: Step 4: Setting Language Preferences
Getting Started Step 4: Setting language preferences You can select your preferred language settings so that this DVD system will automatically switch to the language for you whenever you load a disc. If the language selected is not available on the disc, the disc’s default setting language will be used instead. -
Page 21: Progressive Scan
OPEN/CLOSE 0, press the numerical keypad “1” on the remote control. ➜ The blue Philips DVD background appears on the TV. To return to the previous menu, press 1. TIPS: To eixt the menu, press SYSTEM MENU. -
Page 22: Disc Operations
Turn on the TV power and set to the correct Video In channel. (See page 17 “Setting the TV”.) ➜ You should see the blue Philips DVD background screen on the TV. Press the OPEN/CLOSE 0 to open the disc tray and load a disc, then press the button again to close the disc tray. -
Page 23: Using The Disc Menu
Using the Disc Menu Depending on the disc, a menu may appear on the TV screen once you load in the disc. To select a playback feature or item Use the 1 2 3 4 keys or numeric keypad (0-9) on the remote, then press OK to start playback. -
Page 24: Repeating A Section Within A Title/Track
Disc Operations Repeating a section within a title/ track While playing a disc, press REPEAT A-B at the starting point. Press REPEAT A-B again to end the section. ➜ The section A and B can be set only within the same title/track. ➜... -
Page 25: Playing Mp3/Picture Disc (Kodak, Jpeg)
Playing MP3/ Picture disc (Kodak, JPEG) IMPORTANT! You have to turn on your TV and set to the correct Video In channel. (See page 17 “Setting the TV”.) MP3/ JPEG picture disc Load an MP3/JPEG picture disc. ➜ The disc reading time may exceed 30 seconds due to the complexity of the directory/ file configuration. -
Page 26: Dvd Setup Menu Options
DVD Setup Menu Options Using the menu bar You can continue a number of operations directly via the multiple menu bars on the TV screen without interrupting the disc playback. The exception is when you enter (SETUP MENU), after which the playback will pause. -
Page 27: Using The Setup Menu
Using the Setup Menu This DVD setup is carried out via the TV, enabling you to customize the DVD system to suit your particular requirements. In disc mode, press SYSTEM MENU. ➜ Playback will pause. Highlight icon and press 4 to enter the setup menu. -
Page 28: Progressive Scan - Turning On/Off
DVD Setup Menu Options Progressive Scan - turning on/off To select this item, you must set “Video Output” to Y PR PB and ensure that your TV has progressive scan (See page 11.) Follow the steps of “Using the Setup Menu”... -
Page 29: Smart Power - Turning On/Off
Smart power – turning on/off When in “Stop” or “No Disc” mode, the DVD system will switch to standby mode, after 15 minutes of inactivity for energy saving. Follow the steps of “Using the Setup Menu” and select : > MART OWER TV SHAPE... -
Page 30: Restoring The Original Settings
DVD Setup Menu Options Restoring the original settings Setting the DEFAULT function will reset all options and your personal settings to the factory defaults, except your password for Parental Control and Video Output. Follow the steps of “Using the Setup Menu”... -
Page 31: Changing The Password
Rating explanations NO PARENTAL – It will play all discs. 8 ADULT – Mature material; should be viewed only by adults due to graphic sexual material, violence, or language. 7 NC-17 – No children under age 17; not recommended viewing for children under age 17. -
Page 32: Tuner Operations
Tuner Operations IMPORTANT! Make sure the FM and AM antennas are connected. Tuning to radio stations Press TUNER on the remote (or press SOURCE control on front panel) to select “FM” or “AM.” Press and hold S / T on the remote until the frequency indication starts to change, then release. -
Page 33: Other Functions
Setting the Sleep Timer The sleep timer enables the system to switch to standby mode automatically at a preset time. Press SLEEP repeatedly until it reaches the desired preset turn-off time. ➜ The selections are as follows (time in minutes): 15 ™... -
Page 34: Selecting Digital Sound Effects
In any active mode, press DIM to select desired brightness : HIGH, MID or LOW. Using the remote to operate ‘Philips’ television Press TV. Press S / T or use the numeric keypad (0-9) to select the TV’s channel. -
Page 35: Specifications
Frequency Response 4 Hz – 20 kHz (44.1 kHz) 4 Hz – 22 kHz (48 kHz) 4 Hz – 44 kHz (96 kHz) Digital Output SPDIF (Sony Philips digital interface) Coaxial - PCM IEC 60958 - Dolby Digital IEC 60958, IEC 61937... -
Page 36: Troubleshooting
Do not open the system as there is a risk of electric shock. If a fault occurs, first check the points listed below before taking the system for repair. If you are unable to remedy a problem by following these hints, please consult your dealer or Philips for help. Problem No power. -
Page 37: Troubleshooting
1) Press STANDBY ON on the front panel to switch on the DVD system. 2) Press OPEN/CLOSE 0 on the front panel, while pressing down OPEN/CLOSE 0, press numerical key pad “1” on the remote control. The blue Philips DVD background appears on the TV screen. -
Page 38: Glossary
Glossary Analog: Sound that has not been turned into numbers. Analog sound varies, while digital sound has specific numerical values. These jacks send audio through two channels, the left and right. Aspect ratio: The ratio of vertical and horizontal sizes of a displayed image. The horizontal vs. -
Page 39: Glossary
Glossary S-Video: Produces a clear picture by sending separate signals for the luminance and the color. You can use S-Video only if your TV has an S-Video In jack. Sampling Frequency: Frequency of sampling data when analog data is converted to digital data Sampling frequency numerically represents how many time the original analog signal is sampled per second. -
Page 40: Limited Warranty
Ship product via a traceable carrier. When it is necessary for you to ship the product to Philips for repair, you will pay the shipping cost for shipment to Philips. Philips will pay the ship- ping costs when returning the product to you.