Advertisement
®
Dedication to Quality
We warrant this product to be free from all
defects in material and workmanship when used
according to the manufacturer's instructions.
See Limited Warranty Card for details.
Save your sales receipt.
(You may wish to staple it into this manual.)
OWNER'S MANUAL
F
OR
AND
O
WNER
E
12/15/05
DGE
M
E
AXIMUM
FFECTIVENESS
S
, P
R
T
AFETY
LEASE
EAD
HIS
'
M
B
U
Y
S
ANUAL
EFORE
SING
OUR
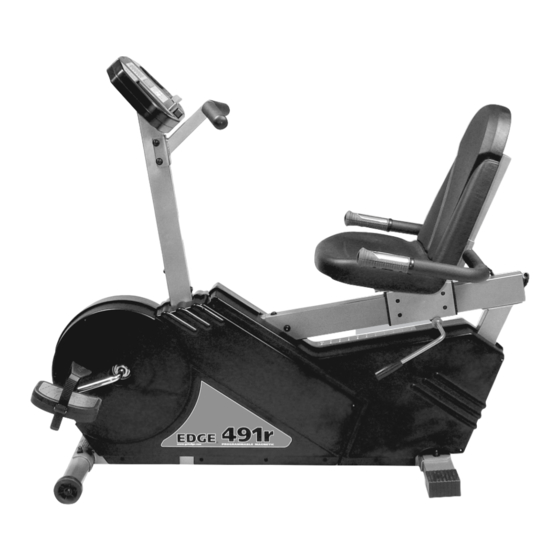
491r Recumbent Bike.
491r
Recumbent
Bike
Advertisement
Table of Contents

Related Manuals for Fitness Quest Recumbent Bike


Summary of Contents for Fitness Quest Recumbent Bike
- Page 1 See Limited Warranty Card for details. Save your sales receipt. (You may wish to staple it into this manual.) 12/15/05 491r Recumbent OWNER’S MANUAL AXIMUM FFECTIVENESS AFETY LEASE ’ WNER ANUAL EFORE SING 491r Recumbent Bike. Bike...
-
Page 2: Table Of Contents
Clothing ...17 Tips to Keep You Going...17 Heart Rate Target Zone Chart...18 Warm Up & Cool Down Stretches ...19-20 Care & Storage Of Your Recumbent Bike...21 Workout Progress Charts ...22-23 Exercise Data Charts ...24 ® ©2004 and ©2005 Fitness Quest Inc. All rights reserved. Made in China. -
Page 3: Important Safety Instructions
IMPORTANT SAFETY INSTRUCTIONS Read all instructions before using this equipment CAUTION: Exercise of a strenuous nature, as is customarily done on this equipment, should not be undertaken without first consulting a physician. No specific health claims are made or implied as they relate to the equipment. -
Page 4: Unit Warning Labels
WORKOUT PROGRESS CHARTS Use the charts below and on the following pages to keep track of your progress over time. Before writing on them, make as many copies as you think you’ll need. We suggest you keep these in a notebook. You Measuring Sites will find it both informative and motivational to look back at what you’ve done, and this data will help you... -
Page 5: Introduction
All details depicted in this Owner’s Manual, and of the product itself, are subject to change without notice. CARE & STORAGE OF YOUR RECUMBENT BIKE Storing Directions Caring For Your Bike Your bike is portable. If you need to change the Your Recumbent Bike has been carefully designed to require minimum maintenance. -
Page 6: Assembly Instructions
4. Back Stretch Stand with your legs shoulder length apart and your knees slightly bent. Bend forward from your waist with your arms extending loosely in front of your body. Gently bend from the waist flexing your body as far forward as it will go. Hold for 20 to 30 seconds. - Page 7 STEP 3 – Seat Carriage Assembly a) Remove (1) Allen Bolt and (1) Washer from Carriage Tube. b) Push Locking Arm up, insert Carriage Tube into Seat Carriage and release Locking Arm. This will hold Carriage Tube in place. The rear of the Carriage Tube has only one hole and should face down.
- Page 8 HEART RATE TARGET ZONE FOR CARDIOVASCULAR FITNESS TABLE 1 Heart Rate (Beats/ Min) AGE (YRS) TABLE 2 Exercise Warm Up THR% Cool Down Total Week Period Minutes Period Time &1 & 2 5 min 60-65% -8 5 min 17 min &3 &...
- Page 9 3) Keep a log to record your progress and make Remember, your Recumbent Bike also comes with pulse sensors located on the Rear Handlebar. sure to keep it up-to-date. See pages 22 - 24.
-
Page 10: Edge 491R Parts List
a certain degree on your age, and is determined described previously. Each workout should begin by measuring your heart rate in beats per minute. with a warm up and end with a cool down. As a Refer to the “Measuring Your Heart Rate” section general rule, space your workouts throughout below and on page 17 for more information on the week and avoid consecutive days of... -
Page 11: Exercise Guidelines
EXERCISE GUIDELINES IMPORTANT Please review this section before you begin exercising. KNOWING THE BASICS IMPORTANT: Physical fitness is most easily understood by If you are over 35 and have been inactive examining its components, or "parts". for several years, you should consult your There is widespread agreement that these physician, who may or may not recommend five components comprise the basics of... -
Page 12: Getting Started
PROGRAM 9 Once your Recumbent Bike is assembled, make sure that your workout space has a solid, level surface with INTERVALS plenty of space around it. We recommend placing a mat under your bike to protect your flooring. -
Page 13: Operating The Computer
OPERATING THE COMPUTER WARNING The batteries must be installed as instructed on page 8. Do not carry batteries loosely, such as in a purse or pocket. The batteries may explode or leak and cause injury if installed improperly, misused, disposed of in a fire or recharged.