Advertisement
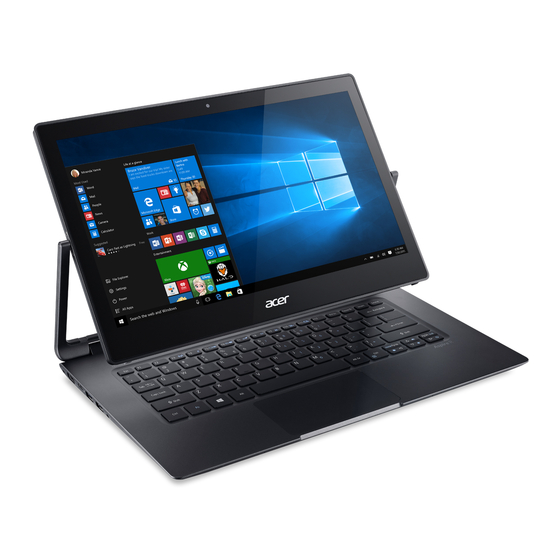
Aspire R 13
Quick Guide
Enjoy the benefits of having an Acer ID
With an Acer ID, you can:
• Build Your Own Cloud with Acer BYOC.
• Get the latest offers and product information.
• Register your device for warranty service.
How to sign up for an Acer ID
1. Ensure you are connected to the Internet.
2. Open the Acer Portal app.
3. Install any required updates.
4. Sign up for an Acer ID or sign in if you already have an Acer ID.
Register your Acer product
You can register your product from Acer Portal directly by selecting
Also use this Acer ID to register this product.
After we receive your product registration, you will be sent a confirmation email with
important data. Keep this email in a safe place.
Manage your registered products
Once you have completed the registration process, you can log onto account.acer.com
using your Acer ID and password to see and manage all your registered products.
Note: It may take a few days for your information to be updated to the database.
Obtaining Acer accessories
We are happy to inform you that Acer's warranty extension program and notebook
accessories are available online. Come and visit our online shop and find what you need
at store.acer.com.
The Acer Store is being progressively rolled out, and may not yet be available in some
regions. Please check regularly to see when it will be available in your country.
Advertisement
Table of Contents

Related Manuals for Acer Aspire R 13


Summary of Contents for Acer Aspire R 13
-
Page 1: Quick Guide
2. Open the Acer Portal app. 3. Install any required updates. 4. Sign up for an Acer ID or sign in if you already have an Acer ID. Register your Acer product You can register your product from Acer Portal directly by selecting Also use this Acer ID to register this product. - Page 2 © 2015. All Rights Reserved. Aspire R 13 Covers: Aspire R7-372T This revision: August 2015 Model number: ____________________________________________ Serial number: _____________________________________________ Date of purchase: __________________________________________ Place of purchase: __________________________________________ NVIRONMENT Temperature: - Operating: 5 °C to 35 °C - Non-operating: -20 °C to 65 °C...
-
Page 3: First Things First
First things first We would like to thank you for making an Acer notebook your choice for meeting your mobile computing needs. Your guides To help you use your Acer notebook, we have designed a set of guides: First off, the Setup Guide helps you get started with setting up your computer. - Page 4 Having these items to hand when contacting us will ensure better and quicker service. Acer website Remember to visit www.acer.com and refer to the support section for up-to-date information, help, drivers and downloads. Warranty and contact information You can find information about the warranty for your computer and how to contact technical support in your computer’s Warranty.
-
Page 5: Your Acer Notebook Tour
Your Acer notebook tour After setting up your computer as illustrated in the Setup Guide, let us show you around your new Acer computer. Screen view Icon Item Description Web camera for video communication. Webcam A light next to the webcam indicates that the webcam is active. -
Page 6: Keyboard View
Your Acer notebook tour Keyboard view Icon Item Description For entering data into your computer. Keyboard See "Using the keyboard" on page 8. Touch-sensitive pointing device. The touchpad and selection buttons form a single surface. Touchpad Press down firmly on the touchpad surface to perform a left click. -
Page 7: Right View
Icon Item Description USB port Connects to USB devices. Connects to audio devices (e.g., speakers, Headset/speaker jack headphones) or a headset with microphone. Information on USB 3.0 • USB 3.0 compatible ports are blue. • Compatible with USB 3.0 and earlier devices. •... -
Page 8: Base View
Using the keyboard Base view Icon Item Description Ventilation and cooling Allows the computer to stay cool. Do not cover or obstruct the openings. Speakers Deliver stereo audio output. Simulates removing and reinstalling the battery. Battery reset pinhole Insert a paperclip into the hole and press for four seconds. - Page 9 Hotkey Icon Function Description Switches display output between the <Fn> + <F5> Display toggle display screen, external monitor (if connected) and both. Turns the display screen backlight off to <Fn> + <F6> Display off save power. Press any key to return. <Fn>...