
Related Manuals for Audiovox PLV16081


Summary of Contents for Audiovox PLV16081
-
Page 1: Instruction Manual
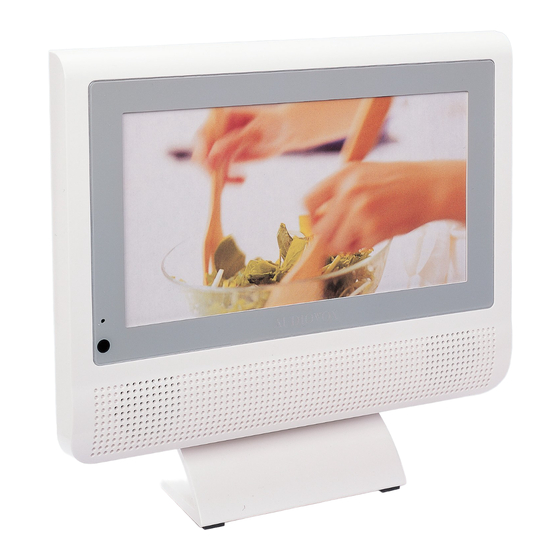
PLV16081 8” LCD Television Instruction Manual Need More Help? DO NOT RETURN THIS PRODUCT TO THE STORE Please visit online help at http//www.1800customersupport.com/audiovox... -
Page 2: Safety Precautions
SAFETY PRECAUTIONS AVIS WARNING : TO REDUCE THE RISK OF ELECTRIC SHOCK, DO NOT REMOVE COVER (OR BACK). NO USERSERVICEABLE PARTS INSIDE. REFER SERVICING TO QUALIFIED SERVICE PERSONNEL. The lightning flash with arrowhead symbol, within an equilateral triangle, is intended to alert the user to the presence of uninsulated “dangerous voltage”... -
Page 3: Important Safety Instructions
IMPORTANT SAFETY INSTRUCTIONS Read these instructions. Keep these instructions. Heed all warnings. Follow all instructions. Do not use this apparatus near water. Clean only with dry cloth. Do not block any ventilation openings. Install in accordance with the manufacturer’s instructions. Do not install near any heat sources such as radiators, heat registers, stoves, or other apparatus Including amplifiers) that produce heat. -
Page 4: Table Of Contents
CONTENTS SAFETY PRECAUTIONS ... 1 IMPORTANT SAFETY INSTRUCTIONS ... 2 CONTENTS ... 3 ACCESSORIES ... 4 USING THE REMOTE CONTROL ... 4 CONTROL REFERENCE GUIDE .. 5-6 CONNECTIONS ... 7-8 Connecting a TV Antenna ... 7 Connecting Equipment with Video Output (VCR, Camcorder, Video Game System, Cable, Satellite System, etc.) ... -
Page 5: Accessories
ACCESSORIES Please check and identify the supplied accessories. AC Adapter... x 1 Remote Control (with Battery)... x 1 USING THE REMOTE CONTROL USING THE REMOTE CONTROL • This remote control is magnetic and can be attached to most refrigerators. Some refrigerator panels are not metallic. -
Page 6: Control Reference Guide
CONTROL REFERENCE GUIDE REMOTE CONTROL FUNCTION Button Press to switch between TV / AV IN. Number (0 - 9) Buttons • [dot] Button Digital TV channels (i.e. 11.3 or 12.7) EXIT Button Press to exit the TV menu and return directly to normal viewing. - Page 7 CONTROL REFERENCE GUIDE FRONT & BACK VIEWS Color LCD Screen – VOL + Controls Adjusts the volume level and highlights selections (Left & Right) on the menu screen. CHANNEL Buttons Press to confirm selections on the TV menu screen and to move the TV channels.
-
Page 8: Connections
CONNECTIONS CONNECTING TV ANTENNA To view television channels correctly, a signal must be received from one of the following sources: - An indoor or outdoor aerial antenna - A cable system - A satellite system To TV Antenna terminal NOTE For receiving over-the-air TV broadcasts, we recommend that you use an external fixed antenna. -
Page 9: Connecting The Ac Adapter
CONNECTIONS CONNECTING THE AC ADAPTER This AC adapter operates on AC 100-240V. 1. Connect the AC adapter a wall outlet. 2. Press the /ON button to turn on the unit. 3. Use the button to select NO, then press ENTER button. (Only apply to the first time POWER ON.) 4. -
Page 10: Using Headphones
USING HEADPHONES (NOT INCLUDED) • Turn down the volume before connecting headphones to the unit, then adjust the volume to your desired level. • When headphones are connected, no sound will come from the front speakers. NOTE Avoid listening to sound at high levels for prolonged periods of time. -
Page 11: Using The Tv
USING THE TV Connect an antenna or CATV cable or Satellite system to the TV antenna terminal before searching TV channels. Searching for TV channels automatically (Only appears to the first time Power ON) When this unit is connected to an antenna, or a CATV cable or satellite system, it can automatically search for channels with adequate signal strength. -
Page 12: Tv Setup
TV SETUP PICTURE SETTING 1. Press the MENU button. 2. Use the button to select the options (Picture Mode / Contrast / Brightness / Sharpness / Tint / Color). 3. Use button to make adjustment. The screen will change to your selected mode immediately. -
Page 13: Timer Setting
TV SETUP TIMER SETTING 1. Press the MENU button. 2. Use the button to select TIMER SETTING. 3. Use the button to select the options (OSD Duration / Sleep Timer / Time Zone / Day Saving Time). 4. Use the button to make adjustment. -
Page 14: Tv Channel Setting
TV SETUP TV CHANNEL SETTING 1. Press the MENU button. 2. Use the button to select TV CHANNEL SETTING. 3. Use the button to select the options (Antenna / Auto Scan / Auto Scan Add CH / Channel Skip / Channel No. / Channel Label). -
Page 15: Troubleshooting Guide
TROUBLESHOOTING GUIDE S Y M P T O M No power. The remote does not function. Bad Picture (snow, multipe images, distortion, blurry) Black and white picture. No picture or sound. Colored patches of picture. CAUSE (AND REMEDY) • Check that the AC power adapter is connected. •... - Page 16 Unit : INCH 2 3/4 9 1/8 3 15/16 WALL MOUNTING HOLES : 35 X 75 MM 3 1/8 6 1/8 Printed in China 811-160891W010...