Table of Contents
Advertisement
Quick Links
Download this manual
See also:
User Manual
Advertisement
Table of Contents

Related Manuals for Synology DS409slim


Summary of Contents for Synology DS409slim
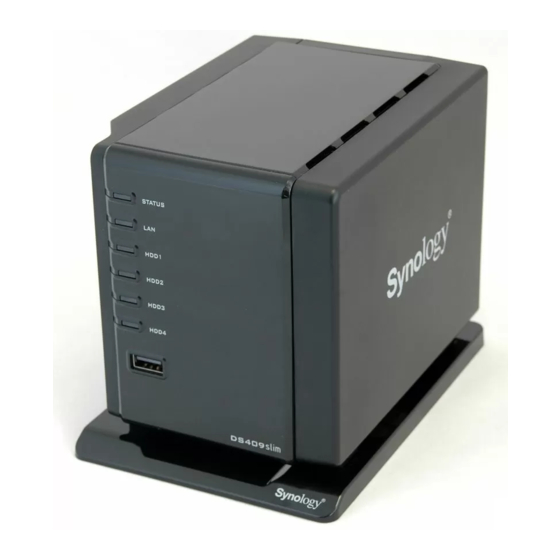
- Page 1 DS409slim Quick Installation Guide...
-
Page 2: Safety Instructions
Before cleaning, Do not place the The power cord unplug the power Synology product on must plug in to the cord first. Wipe a cart, table, or right supply voltage. Synology product desk, which is not... -
Page 3: Package Contents
Package Contents Before installation, please check the package contents to verify that you have received the items below. DS409slim X 1 Installation CD X 1 2M RJ-45 LAN cable X 1 AC power cord X 1 Adapter X 1 Base X 1... -
Page 4: Installing Hard Drives
Installing Hard Drives Warning! If you use a hard drive with data on it to install, system will format the hard drive and erase all data in some cases. Please back up the data if you need it in the future. 1. - Page 5 Label the hard disk trays with the stickers provided to help you identify the hard disks. Place DS409slim on the base for better ventilation and to avoid foreign objects from entering the fan.
- Page 7 Turn On Sever 1. Connect the AC power adapter to the server and plug in the AC power cord to the power outlet. 2. Use the LAN cable to connect the server to your switch/router/hub. 3. Press the power button on the front panel to power up the server. Wait for the POWER LED to be constant blue.
-
Page 8: Install System Software
Windows User 1. Insert the installation CD to your computer. 2. Choose Set up the Synology Server on the autorun menu. 3. Click Browse to select the “.pat” installation file in the installation 4. Follow the on-screen instructions to complete the setup process. - Page 9 2. Double click on the CD-Rom Drive thumbnail. 3. Double click MacOSX. 4. Double click Synology Assistant-SYNOLOGY.dmg. 5. Double click on the automatically generated thumbnail Synology Assistant-SYNOLOGY. dmg on the desktop. 6. Double click Synology Assistant to run the Setup Wizard.
- Page 10 7. Click Browse to select the “.pat” installation file in the installation 8. Follow the on-screen instructions to complete the setup process. Note: If you choose One-Click Setup, the admin password will be blank.
- Page 11 Congratulations! Server has been set up. Refer to the User’s Guide in the installation CD for advanced settings and management. For more information or online resources, please visit http://www.synology.com.