
Related Manuals for Bissell AEROSWIFT 1009 SERIES


Summary of Contents for Bissell AEROSWIFT 1009 SERIES
-
Page 1: User Guide
AEROSWIFT ™ Vacuum ___________ USER GUIDE 1009 SERIES More of a video person? Look for this icon and go online for an instructional how-to video at www.BISSELL.com... -
Page 2: Safety Instructions
If the plug does not fit fully in the outlet, reverse the plug. If it still does not fit, contact a qualified electrician to install a proper outlet. Do not change the plug in any way. SAVE THESE INSTRUCTIONS FOR FUTURE USE This model is for household use only. www.BISSELL.com... -
Page 3: Table Of Contents
Thanks for buying a BISSELL vacuum! We love to clean and we’re excited to share one of our innovative products with you. We want to make sure your vacuum works as well in two years as it does today, so this guide has tips on using (pages 6-7), maintaining (pages 7-9), and if there is a problem, troubleshooting (page 10). -
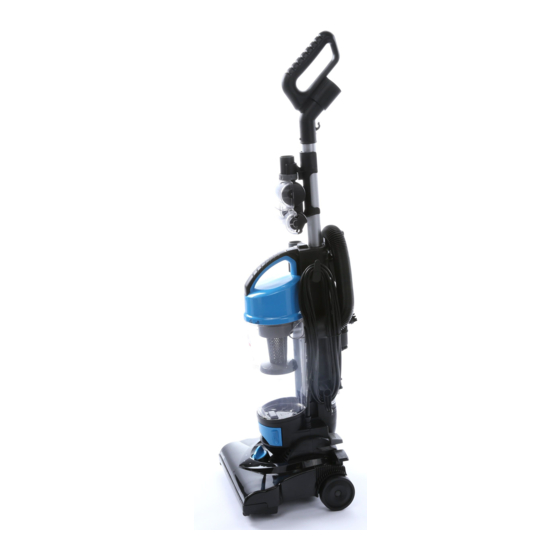
Page 4: Product View
Quick Release Handle Lever Upholstery Tool (select models) Power Cord Hose Wand Base Bottom Empty Dirt Bin Power Foot Pedal Filter Tray Handle Release Lever Height Adjustment Knob Cord Release and Storage Twist Cord Release down to quickly remove cord www.BISSELL.com... -
Page 5: Assembly
NOTICE With brushroll on, do not allow cleaner to sit in one location for an extended period of time, as damage to floor can result. www.BISSELL.com... -
Page 6: Operations
Febreze® and related trademarks are owned by the Procter & Gamble Company, Cincinnati, Ohio and used under license by BISSELL Homecare, Inc. www.BISSELL.com... -
Page 7: Maintenance & Care
“click”. twist clockwise to lock. NOTE: Let parts dry completely before returning them to vacuum for use. www.BISSELL.com... - Page 8 Slide in the filter tray. WARNING Do not operate vacuum with damp or wet filters, as well as without filters or the Dirt Container in place. Allow components to dry before reassembling the Dirt Container. www.BISSELL.com...
- Page 9 3 screws. Spin the brush end opposite of the belt to line up with tab. The by hand one revolution to end closest to the belt will slide in the tab without self-center the belt. needing any rotation. www.BISSELL.com...
-
Page 10: Troubleshooting
Place knob on highest setting and hard to push too low of a setting determine if there is any difference Parts & Supplies For Parts and Supplies, go to www.BISSELL.com and enter your model number in the search field. www.BISSELL.com... -
Page 11: Warranty
Service If your BISSELL product should require service: Contact BISSELL Consumer Care to locate a BISSELL Authorized Service Center in your area. If you need information about repairs or replacement parts, or if you have questions about your warranty, contact BISSELL Consumer Care. -
Page 12: Product Registration
NOTE: Please keep your original sales receipt. It provides proof of purchase date in the event of a warranty claim. See Warranty on page 11 for details. For cleaning tips and more visit www.BISSELL.com or find us at: BISSELL BISSELLClean...