
Related Manuals for Pentair Pump


Summary of Contents for Pentair Pump
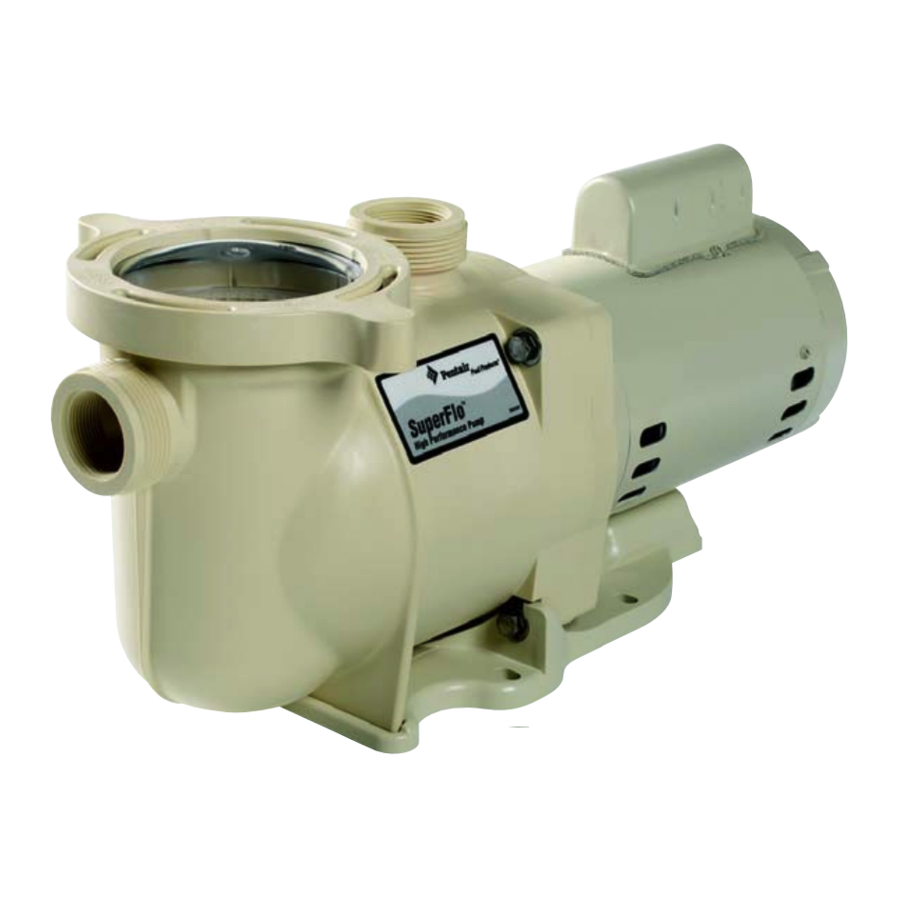
- Page 1 ™ SuperFlo High Performance Pump Installation User's Guide IMPORTANT SAFETY INSTRUCTIONS READ AND FOLLOW ALL INSTRUCTIONS SAVE THESE INSTRUCTIONS...
- Page 2 Trademarks and Disclaimers: SuperFlo is a trademark of Pentair Water Pool and Spa, Inc. The Pentair Pool Products logo is a registered trademark of Pentair Water Pool and Spa, Inc. Other trademarks and trade names may be used in this document to refer to either the entities claiming the marks and names or their products.
-
Page 3: Table Of Contents
Section 2: Electrical Requirements ... 3 Wiring Installation ... 3 Pump Strainer Basket ... 4 Section 3: Maintenance ... 5 Cleaning the Pump Strainer Basket ... 5 Winterizing ... 6 Electric Motor Care ... 6 Section 4: Servicing ... 7 Pump Disassembly ... -
Page 4: Important Safety Precautions
Ensure that the disconnected circuit is locked out or properly tagged so that it cannot be switched on while you are working on the pump. Failure to do so could result in serious injury or death to serviceman, pool users or others due to electric shock. - Page 5 CAUTION — This pump is for use with permanently installed pools and may also be used with hot tubs and spas if so marked. Do not use with storable pools. A permanently installed pool is constructed in or on the ground or in a building such that it cannot be readily disassembled for storage.
- Page 6 SuperFlo Pump Installation and User’s Guide...
-
Page 7: Section 1: Introduction
All pumps from Pentair Water Pool and Spa incorporate innovative hydraulic engineering that has been refined for over 40 years. SuperFlo reflects the latest and best Pentair technology, to move water more efficiently for lower operational costs. Compact, rugged, and easy to maintain, SuperFlo will deliver years of reliable service. -
Page 8: General Features
1/2 Hp to 2 Hp configurations to accommodate a wide range of applications • Self-priming for quick, easy start-up • Every SuperFlo pump is performance and pressure tested prior to shipment to ensure superior quality • UL/CUL/NSF SuperFlo Pump Installation and User’s Guide... -
Page 9: Section 2: Electrical Requirements
Electrical Requirements and Wiring When pump is mounted permanently within 5 ft. of the inside walls of a swimming pool, you MUST use a No. 8 AWG or larger conductor to connect to bonding conductor lug. Wiring Installation WARNING —... -
Page 10: Pump Strainer Basket
8. Connect the pump permanently to a circuit. Make sure no other lights or appliances are on the same circuit. It is important that the O-ring be kept clean and well lubricated. We recommend a silicone base lubricant for best results. -
Page 11: Section 3: Maintenance
Cleaning the Pump Strainer Basket WARNING — DO NOT open the strainer pot if pump fails to prime or if pump has been operating without water in the strainer pot. Pumps operated in these circumstances may experience a build up of vapor pressure and may contain scalding hot water. -
Page 12: Winterizing
Protect from the weather. c. If a motor has become wet - let it dry before operating. Do not allow the pump to operate if it has been flooded. d. If a motor has been damaged by water it voids the motor warranty. -
Page 13: Section 4: Servicing
Read all servicing instructions before working on the pump. WARNING — DO NOT open the strainer pot if pump fails to prime or if pump has been operating without water in the strainer pot. Pumps operated in these circumstances may experience a build up of vapor pressure and may contain scalding hot water. -
Page 14: Pump Reassembly/Seal Replacement
7. Grease the diffuser quad ring and seal plate o-ring prior to reassembly. 8. Grease the bolt threads, assemble the motor sub-assembly to the strainer pot-pump body by using the two through bolts for proper alignment. Do not tighten the through bolts until all 4 bolts are in place and finger tightened. -
Page 15: Section 5: Restart Instructions
Make sure to reopen valves prior to operating. CAUTION — DO NOT run the pump dry. If the pump is run dry, the mechanical seal will be damaged and the pump will start leaking. If this occurs, the damaged seal must be replaced. ALWAYS maintain proper water level in your pool (half way up skimmer opening). -
Page 16: Section 6: Troubleshooting
Corrective Action Check suction piping and valve glands on any suction gate valves. Secure lid on pump strainer pot and make sure lid gasket is in place. Check water level to make sure skimmer is not drawing air. Make sure suction lines, pump strainer, and pump volute are full of water. -
Page 17: Section 7: Technical Data
355074 IMPELLER 1½ HP, 2-SPD 355086 IMPELLER 2 HP, 2-SPD 355389 SCREW, IMPELLER LOCKING 354545 SEAL SET 355667 BASKET, LARGE 350157 KIT UNION SUPERFLO (Items No. 8, 9, 15) Section 7 Technical Data Description SuperFlo Pump Installation and User’s Guide... -
Page 18: Pump Curve
70.00 60.00 SF-N1-3/4A SF-N1-3/4A 50.00 40.00 30.00 20.00 SF-N2-1A SF-N2-1A 10.00 0.00 20.0 SAVE THESE INSTRUCTIONS SuperFlo Pump Installation and User’s Guide PENTAIR POOL PRODUCTS, INC. PUMP PERFORMANCE CURVE SUPERFLO ™ SERIES SF-N1-1.5A SF-N1-1.5A SF-N1-1A SF-N1-1A SF-N1-2A SF-N1-2A SF-N2-2A SF-N2-2A SF-N2-1.5A... - Page 19 NOTES...
- Page 20 P/N 350096 Rev. B 4/28/06...