Advertisement
Quick Links
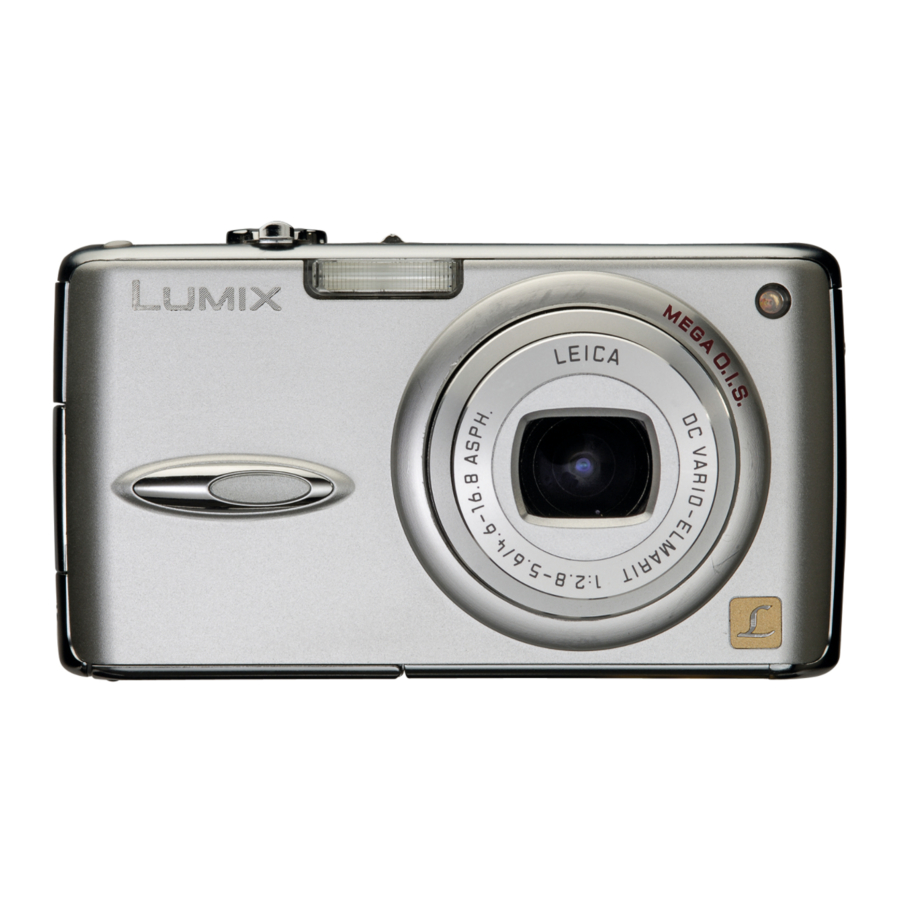
the Panasonic Lumix DMC-FX01 Camera Lens Replacement
the Panasonic Lumix DMC-FX01 Camera Lens
INTRODUCTION
The guide takes place from the Camera Lens Assembly guide.
TOOLS:
Phillips #00 Screwdriver
© iFixit — CC BY-NC-SA
Replacement
Used to demonstrate how to replace the camera lens.
Written By: Caleb Fink
(1)
www.iFixit.com
Page 1 of 13
Advertisement

Related Manuals for Panasonic Lumix DMC-FX01


Summary of Contents for Panasonic Lumix DMC-FX01
- Page 1 Panasonic Lumix DMC-FX01 Camera Lens Replacement the Panasonic Lumix DMC-FX01 Camera Lens Replacement Used to demonstrate how to replace the camera lens. Written By: Caleb Fink INTRODUCTION The guide takes place from the Camera Lens Assembly guide. TOOLS: Phillips #00 Screwdriver ©...
- Page 2 Panasonic Lumix DMC-FX01 Camera Lens Replacement Step 1 — Battery Locate the memory card and battery card latch on the bottom of the camera. Slide the latch to the open position. Step 2 Open the battery latch, and slide the ...
- Page 3 Panasonic Lumix DMC-FX01 Camera Lens Replacement Step 3 Remove the battery from the camera. Step 4 — Rear Casing Using a size #00 Phillips screwdriver, remove the three 4.58 mm screws on the bottom of the camera.
- Page 4 Panasonic Lumix DMC-FX01 Camera Lens Replacement Step 5 Remove the 3.15 mm screw on the left side of the camera. Step 6 Remove the left side casing. © iFixit — CC BY-NC-SA www.iFixit.com Page 4 of 13...
- Page 5 Panasonic Lumix DMC-FX01 Camera Lens Replacement Step 7 Remove the two 3.15 mm screws on the right side of the camera. Step 8 Remove the bottom right panel. © iFixit — CC BY-NC-SA www.iFixit.com Page 5 of 13...
- Page 6 Panasonic Lumix DMC-FX01 Camera Lens Replacement Step 9 Gently remove the back casing. Start at the bottom and carefully pry towards the top to get this piece free. Step 10 — Front Casing Remove the two black 5.35 mm screws that hold in the front faceplate.
- Page 7 Panasonic Lumix DMC-FX01 Camera Lens Replacement Step 11 Carefully remove the upper assembly, which houses the buttons and the flash battery. Step 12 Carefully remove the front casing after verifying that the thin plastic around the lens is not still attached.
- Page 8 Panasonic Lumix DMC-FX01 Camera Lens Replacement Step 13 — Lens Assembly Remove the three black 5mm screws attached to the lens frame. Step 14 Remove the lens frame. © iFixit — CC BY-NC-SA www.iFixit.com Page 8 of 13...
- Page 9 Panasonic Lumix DMC-FX01 Camera Lens Replacement Step 15 Lift out the circuit board as shown. Step 16 Lift the two black latches that hold the connector ribbons in place. Disconnect the two ribbons. © iFixit — CC BY-NC-SA www.iFixit.com...
- Page 10 Panasonic Lumix DMC-FX01 Camera Lens Replacement Step 17 Remove the lens assembly as shown. Step 18 — Camera Lens Remove four 4mm screws from the lens assembly. © iFixit — CC BY-NC-SA www.iFixit.com Page 10 of 13...
- Page 11 Panasonic Lumix DMC-FX01 Camera Lens Replacement Step 19 Carefully turn over the assembly. Step 20 Remove the Fixed Frame Unit by separating it from the assembly. Remove the Direct Frame Unit from the assembly. © iFixit — CC BY-NC-SA www.iFixit.com...
- Page 12 Panasonic Lumix DMC-FX01 Camera Lens Replacement Step 21 Remove the 1st lens frame from the lens assembly. Step 22 Detach the 2nd Frame Unit from the assembly. © iFixit — CC BY-NC-SA www.iFixit.com Page 12 of 13...
- Page 13 Panasonic Lumix DMC-FX01 Camera Lens Replacement Step 23 Remove the 4mm screw from the lens housing. Step 24 Separate the lens housing. Replace the lens by gently prying away from the assembly. To reassemble your device, follow these instructions in reverse order.