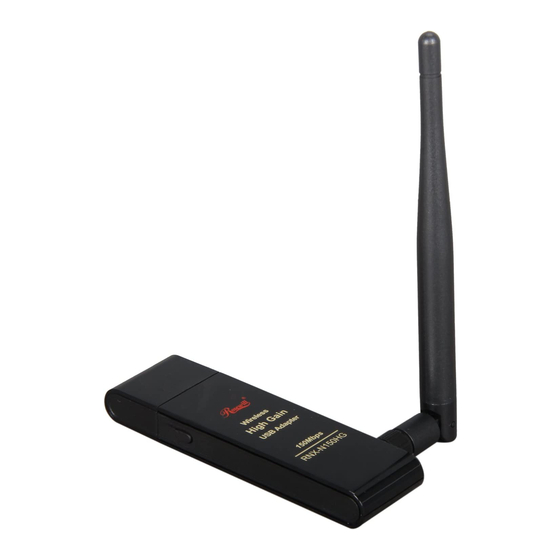
Summary of Contents for Rosewill RNX-N150HG
- Page 1 Wireless High Gain USB Adapter RNX-N150HG Quick Installation Guide...
-
Page 2: Hardware Installation
Overview The Quick Installation Guide will help you to install RNX-N150HG Wireless High Gain USB Adapter, including basic hardware and software installation in Windows XP, as well as configuration of wireless network availability. The Quick Installation bases on establishing an unencrypted wireless network. For detailed instructions, please refer to the User Guide on the Resource CD. - Page 3 1. Double-click the icon , then the Wireless Lite-N Client Utility (Utility) will appear, you can also run the utility by clicking Start →All Programs → Rosewill → Wireless Lite-N Client Utility. On the prompted configuration tab page, click the Profile Management, and you will see the next screen (Figure 2).
-
Page 4: Windows Xp Wireless Zero Configuration
3. In the screen above, highlight a network name (take ROSEWILL for example) and click Activate, then you will see the next screen (shown in Figure 4). Enter the Profile Name, click OK and you can connect to the network. - Page 5 Figure 7 4. Then, Figure 8 will appear with many available wireless network choices. You can highlight a network (take rosewill for example) and then click Connect to add to a network. Note: If you have not installed SP2 for Windows XP, the screens below will not be available.
- Page 6 E. Configure wireless connection in Windows Vista 1. Insert the Resource CD into your CD-ROM drive. Double-click My Computer, and then double-click the CD/DVD drive where the installation CD was placed. Open RNX-N150HG folder, and double-click Setup.exe. Then you will see the Figure 10. Figure 10 2.
- Page 7 4. The following screen (shown in Figure 12) will show you available wireless networks. Highlight or right click the one you want to join in, and then click Connect. Figure 12 5. To continue, click Connect Anyway. To end the connection, click Cancel. 6.
- Page 8 F. Configure wireless connection in Windows 7 1. Insert the Resource CD into your CD-ROM drive. Find the CD/DVD drive where the installation CD was placed. Open RNX-N150HG folder, and double-click Setup.exe. Then you will see Figure 14. Figure 14 2.
-
Page 9: Wps Configuration
4. If your wireless network is secured, you will be required to enter the security key as shown in Figure 16. Enter the key, take 1234567890 for example. And then click OK. Figure 16 5. If the key entered is correct, you will successfully connect to the network as shown in Figure 17. - Page 10 First, the WPS software should be installed. Insert the Resource CD into your CD-ROM drive. Double-click My Computer, and then double-click the CD/DVD drive where the installation CD was placed. Open RNX-N150HG folder, and double-click wps.exe. Then you will see Figure 18.
- Page 11 Figure 20 2. PIN method Double click the icon on the desktop to open the WPS Utility and you will see Figure 21. Click Next to continue. Figure 21 Then Figure 22 will appear. Select the third option and enter the PIN value which is labeled on the bottom of the Router.
- Page 12 Note: If you generate a new PIN code for your router, please enter the new one instead. Thank you for purchasing a quality Rosewill Product. Please register your product at: www.rosewill.com for complete warranty information and future support for your product. 7109504123...


