Advertisement
Table of Contents
- 1 Wifi Network Name and Password
- 2 Join the Wifi Network
- 3 View or Change the Router Settings
- 4 Log in to the Router
- 5 Change the Admin Password
- 6 Access a USB Device on the Network
- 7 Print Wirelessly with Readyshare Printer
- 8 More Premium Features
- 9 Itunes Server
- 10 VPN Service
- Download this manual
See also:
User Manual
Advertisement
Table of Contents

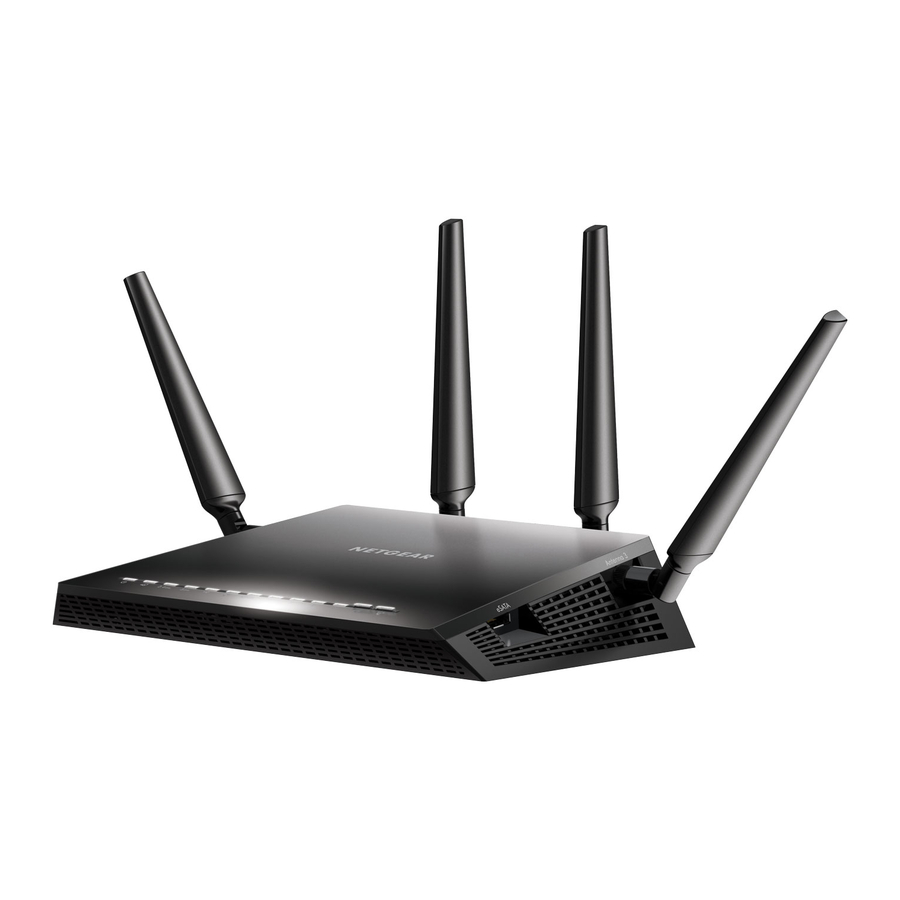
Summary of Contents for NETGEAR Nighthawk X4S R7800
- Page 1 Do More Nighthawk X4S AC2600 Smart WiFi Router Model R7800...
-
Page 2: Wifi Network Name And Password
WiFi Network Name and Password The preassigned WiFi network name (SSID) and password (network key) are unique to your router, like a serial number. Because the router automatically uses WiFi security, you don’t need to set it up. The WiFi settings are on the label on the router. -
Page 3: Join The Wifi Network
Join the WiFi Network You can either use Wi-Fi Protected Setup (WPS) or select your router’s WiFi network and type its password. Join the WiFi Network Using WPS For help with the WPS button on your computer or WiFi device , check the instructions or online help that came with that computer or device. - Page 4 Join the WiFi Network Using the Router’s WiFi Settings Use the router’s WiFi network name and password to connect your computer or WiFi device to the router’s network through WiFi. If you did not change the router’s WiFi network name and password, use the router’s preassigned WiFi network name and password, which are on the label on the router.
-
Page 5: View Or Change The Router Settings
View or Change the Router Settings After you use the NETGEAR installation assistant to set up the router, you can log in to the router to view or change its settings. Log In to the Router ¾ To log in to the router: 1. - Page 6 Change the WiFi Network Name and Password The router’s preset WiFi network name (SSID) and password are on the label on the router. If you want to change your router’s WiFi network name and password, log in to the router. ¾...
-
Page 7: Change The Admin Password
Change the admin Password ¾ To change the admin password: 1. Launch a web browser from a computer or WiFi device that is connected to the network and visit www.routerlogin.net. A login window opens. 2. Enter admin for the user name and password for the password. The BASIC Home page displays. - Page 8 Recover a Forgotten admin Password The default password for the admin user name is password. If you changed the password and enabled the password recovery feature, you can retrieve this password. ¾ To retrieve a forgotten admin password: 1. Launch a web browser from a computer or WiFi device that is connected to the network and visit www.routerlogin.net.
-
Page 9: Access A Usb Device On The Network
Access a USB Device on the Network ReadySHARE lets you access and share a USB storage device connected to the router’s USB ports. (If your USB device uses special drivers, it is not compatible.) ¾ To access the USB storage device from a Windows computer: 1. - Page 10 For more information about access control, see the user manual, which is available online at downloadcenter.netgear.com or through a link in the router’s user interface. 6. Click the Connect button.
- Page 11 Windows XP SP3, Windows 7, Windows 8, Windows 8.1, and Windows 10 ¾ To back up your Windows computer: 1. Connect a USB HDD to a USB port on the router. 2. Download ReadySHARE Vault from netgear.com/readyshare and install it on each Windows computer. 3. Launch ReadySHARE Vault.
-
Page 12: Print Wirelessly With Readyshare Printer
2. On each computer that will share the printer, do the following: Install the current USB printer driver software (available from the printer manufacturer). Download the NETGEAR USB Control Center utility from netgear.com/readyshare and install it. Select the language. -
Page 13: More Premium Features
To set up the router’s iTunes server to play music on your iPhone or iPad, you must download the Apple Remote app. For more information about how to set up iTunes server, see the user manual, which is available online at downloadcenter.netgear.com through a link in the router’s user interface. -
Page 14: Vpn Service
1. Specify the VPN service. 2. Install OpenVPN software on your computer. 3. Use a VPN tunnel. These steps are explained in detail in the user manual, which is available online at downloadcenter.netgear.com or through a link in the router’s user interface. - Page 15 Dynamic DNS. To set up your FTP server, follow these high-level steps: 1. Register for a free NETGEAR Dynamic DNS (DDNS) service account. 2. Provide the account settings to your router. 3. Connect a USB hard disk to your router and set up FTP access through the Internet.
- Page 16 We recommend that you use only official NETGEAR support resources. Trademarks © NETGEAR, Inc., NETGEAR and the NETGEAR Logo are trademarks of NETGEAR, Inc. Any non-NETGEAR trademarks are used for reference purposes only. Compliance For the current EU Declaration of Conformity, visit http://support.netgear.com/app/answers/detail/a_id/11621/.


