HP 2530 Quick Setup Manual
8-port switches
Hide thumbs
Also See for 2530:
- Manual supplement (111 pages) ,
- Installation and getting started manual (93 pages) ,
- Quick setup manual (9 pages)
Advertisement
Quick Links
Download this manual
See also:
Quick Setup Manual
HP 2530 8-Port Switches Quick Setup Guide
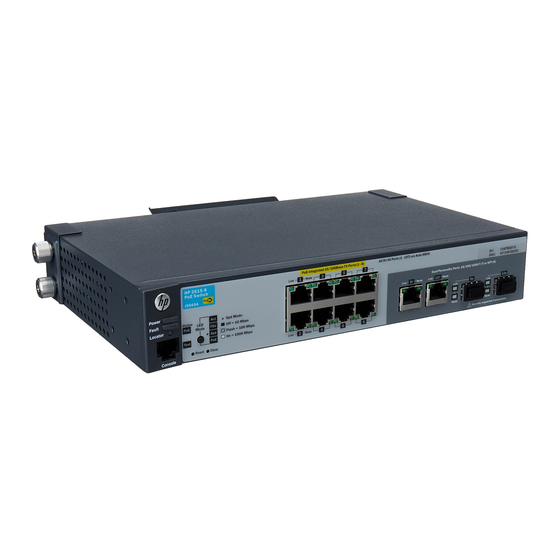
The switch drawings in this document are for illustration only and may not match your particular switch model.
For more detailed instructions and information to set up your switch, view or download the Installation and Getting Started
Guide for your switch at www.hp.com/networking/support.
1.
Unpack and check included parts.
2.
Prepare for installation. To avoid personal injury or product damage, review the "Installation Precautions" on page 3.
3
. Power on and verify Self-Test completes normally. The switch does not contain a power switch. It is turned on by
connecting the AC/DC power adapter.
4.
Install the Switch Hardware. Power off the switch before installing the switch hardware.
(Optional) Attach accessories: The following accessories can be installed on your HP 2530 8-port switch:
A cable guard (HP P/N J9700A) to provide security for the attached network cables.
■
A power shelf (HP P/N J9820A) to hold the AC/DC power adapter.
■
For instructions to install these accessories, see the documentation that is included with them.
Table or Desktop: Attach the four self-adhesive pads
(included in the accessory kit) to the bottom corners of the
switch and place the switch on a secure horizontal surface.
Wall or Under-Table: For wall or under-table mounting, use
a #1 Phillips (cross-head) screwdriver and the 20-mm M4 tap
screws (included). The screws should be positioned 90 mm
apart, with the screw heads approximately 2 mm away from
the mounting surface to allow the switch to slide onto the
screws. (Under-Table: After installation, a third screw may be
installed to prevent switch movement.)
Caution: For wall-mounting, the network ports must face up.
Do not mount the switch with ventilation ducts facing up or
down. (See "Installation Precautions" on page 3.)
Switch
■
Console port serial cable (DB-9 to RJ-45)
■
Accessory kit (installation hardware)
■
AC/DC power adapter module and power cord
■
Documentation kit
■
After Self-Test:
Power LED = On
Fault LED = Off
Test LED = Off
M-4 tap
screws
1
Ventilation
Advertisement

Related Manuals for HP 2530


Summary of Contents for HP 2530
- Page 1 Install the Switch Hardware. Power off the switch before installing the switch hardware. (Optional) Attach accessories: The following accessories can be installed on your HP 2530 8-port switch: A cable guard (HP P/N J9700A) to provide security for the attached network cables.
- Page 2 Cable tie Retention . Connect Network Cables. Note: For transceiver connections, use only HP-supported SFP transceivers. See “SFP Installation Notes” on page 3. . (Optional) Configure the Switch for Management. By factory default, the switch will automatically obtain its IP network configuration from a DHCP or BootP server.
-
Page 3: Installation Precautions
Ensure the air flow around the switch is not restricted. Leave at least 7.6 cm (3 inches) for cooling. For other available ■ air flow information, see the Installation and Getting Started Guide for your product, located on the HP Web site at www.hp.com/networking/support. -
Page 4: Product Specifications
For additional safety and regulatory information, and switch recycling information, refer to the safety and regulatory documentation on the HP web site at www.hp.com/support/Safety-Compliance-EnterpriseProducts, and to the HP 2530 Switch Installation and Getting Started Guide that can be found on the HP Networking web site: www.hp.com/networking/ support. - Page 5 United Kingdom/Hong Kong/Singapore 8120-8699 Israel 8120-6314 United States/Canada/Mexico 8120-6313 Japan Power Cord Warning Important Note for the 2530-PoE+ Switches For PoE/PoE+ information see the HP Power over Ethernet (PoE/PoE+) Planning and Implementation Guide on the HP web site at: www.hp.com/networking/support.
- Page 6 © Copyright 2013 Hewlett-Packard Development Company, L.P. Printed in China February 2013 The information contained herein is subject to change without notice. 5998-3635 *5998-3635*...