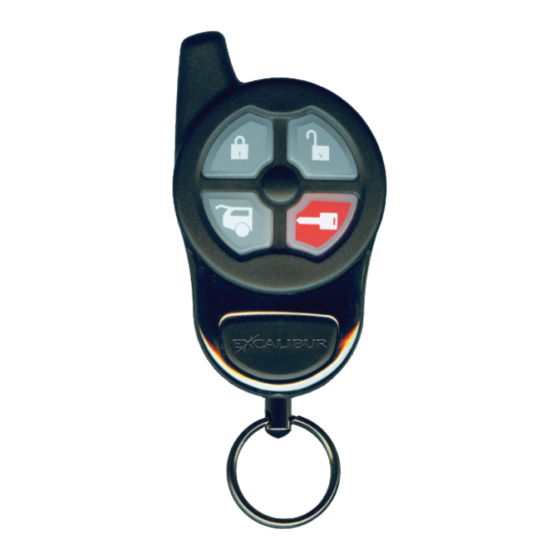
Summary of Contents for Excalibur RS-340-EDP+
-
Page 1: Installation Guide
RS-340-EDP+ / RS-450-EDP+ Deluxe Keyless Entry & Remote Start Installation Guide July 11, 2012 Temporary cover. Color cover is in a separate file. -
Page 2: Table Of Contents
Table Of Contents Installation Considerations �������������������������������������������������������������������� 3 6 Pin Main Wire Harness ������������������������������������������������������������������������� 3 Red & Red/White Wires - Constant Power (+) Input ����������������������������� 3 Pink Wire - Ignition #1 (+) Input/Output ������������������������������������������������� 3 Orange Wire - Accessory (+) Output ����������������������������������������������������� 4 Violet Wire - Start (+) Output �����������������������������������������������������������������... -
Page 3: Installation Considerations
Installation Considerations BEFORE STARTING THE INSTALLATION, READ THIS ENTIRE MANUAL TO DETERMINE INSTALLATION REQUIREMENTS • VERIFY EACH CIRCUIT WITH A DIGITAL MULTIMETER • IDENTIFY REQUIRED CIRCUITS FOR THE VEHICLE IN QUESTION • MOUNT ANY SYSTEM COMPONENTS AND ROUTE WIRING AWAY FROM MOVING PARTS OR PARTS OF THE VEHICLE THAT GENERATE EXCESSIVE HEAT •... -
Page 4: Orange Wire - Accessory (+) Output
6 Pin Main Wire Harness (cont’d) ORANGE WIRE - ACCESSORY (+) OUTPUT This circuit is designed to drive accessory circuits like climate control, etc�� It turns on when remote start is activated (slightly earlier than the primary ignition out- put) and turns off only during engine cranking� It will turn back on for the remainder of the remote start sequence. -
Page 5: Black/White Wire - Neutral Safety (-) Input
14 Pin Secondary Wire Harness (cont’d) BLACK/WHITE WIRE - NEUTRAL SAFETY (-) INPUT REQUIRED� This input is a critical safety circuit which allows remote start opera- tion whenever the gear selector is in park or neutral (automatic transmission), or when the parking brake is applied (manual transmission)� Remote start will not oper- ate unless this wire sees chassis ground�... - Page 6 Wiring Overview Window-mount Receive / Transmit Module Status Lights Valet Valet Switch - OR - Switch Status Lights 3 PIN DOOR LOCK PORT Lock (-) Output - GREEN Constant 12v (+) Output - Empty Pin Unlock #1 (-) Output - BLUE Black Data Port WIRE LEGEND Hard wire connection required...
-
Page 7: Wiring Overview
3 PIN SAT� RELAY PORT (RED) Start (-) Programmable Output - GREEN Constant 12v (+) Output - RED Status (-) Programmable Output - BLUE Green Data Port 6 PIN POWER HARNESS Accessory (+) Output - ORANGE Ignition #1 (+) Input/Output - PINK Start (+) Output - VIOLET Constant 12v (+) Input - RED 30 AMP... -
Page 8: Pin Secondary Wire Harness (Cont'd)
14 Pin Secondary Wire Harness (cont’d) MANUAL TRANSMISSION CONNECTION: The Gray wire also serves as a door pin input (must see all doors) which is required to perform the “manual transmission setup procedure” (detailed in the operation guide)� Diode isolate the hood input from the door input using two 1 or 2 amp diodes facing the cathodes (stripes) towards the vehicle wires�... -
Page 9: Pin Satellite Relay Port (Red)
3 Pin Satellite Relay Port (RED) GREEN WIRE - START (-) PROGRAMMABLE OUTPUT This output provides a 250mA negative pulse when the large VIOLET start wire is active� It can also be programmed for PULSE AFTER START, STATUS, or DOME- LIGHT SUPERVISION�... -
Page 10: Valet / Programming Switch
Valet / Programming Switch This system includes a valet switch that is built into the window mount antenna module� The control module has a separate port for the valet switch, so an optional custom mounted switch can be used if desired� Window Mount Antenna Module This system is equipped with an outboard receiver module. -
Page 11: Programmable Features
Programmable Features A matrix of all programmable features and their options are below� For detailed information on each feature, please refer to the operation manual� Use the proce- dure below to make any necessary changes� Feature programming can also be performed via the OL-LOADER using www�omegaweblink�com�... - Page 12 Back Cover Color cover is in a separate file.


