Table of Contents
Advertisement
INSTRUCTION MANUAL
Thank you for purchasing
the OMRON Pedometer.
Please read this Instruction
Manual before using this unit
to ensure safe and correct use.
Please keep this Instruction
Manual for your
future reference.
Pedometer
HJ-112
Model
CONTENTS
Safety Information .................................2
Features of the Product ..........................3
Components of the Product....................4
Names and Functions of the Parts ........5-6
About the Pedometer .............................7
How to Attach the Pedometer.............8-9
How to Insert the Battery................10-11
How to Replace the Battery .................12
How to Reset the System .....................13
and Stride Distance.........................14-18
Procedure in Actual Use .................19-20
Memory Function ...........................21-22
How to Care and Store the Unit...........23
Troubleshooting ...................................24
Specifications .......................................25
Caution.................................................26
Limited One Year Warranty .................27
1
Advertisement
Table of Contents
Troubleshooting

Related Manuals for Omron HJ-112


Summary of Contents for Omron HJ-112
-
Page 1: Table Of Contents
Manual before using this unit to ensure safe and correct use. Please keep this Instruction Manual for your future reference. Pedometer HJ-112 Model CONTENTS Before Using the Unit Safety Information ...2 Features of the Product ...3 Components of the Product...4 Names and Functions of the Parts ...5-6... -
Page 2: Before Using The Unit Safety Information
Before Using the Unit Safety Information Keep the unit out of reach of young children. • If a young child swallows battery, battery cover, or screw, immediately consult with a doctor. Do not swing the unit by holding the strap. •... -
Page 3: Features Of The Product
Features of the Product • “Aerobic step” function helpful for building your health The unit can measure the number of “aerobic steps” (continuous steps taken for more than 10 minutes), which can be considered an effective exercise to burn body fat. •... -
Page 4: Components Of The Product
Components of the Product The following items are included in the box. If any item is missing, please contact the nearest OMRON dealer. 1. Main unit 2. Battery (CR2032) 3. Screwdriver 4. Strap Before Using the Unit 5. Clip for strap 6. -
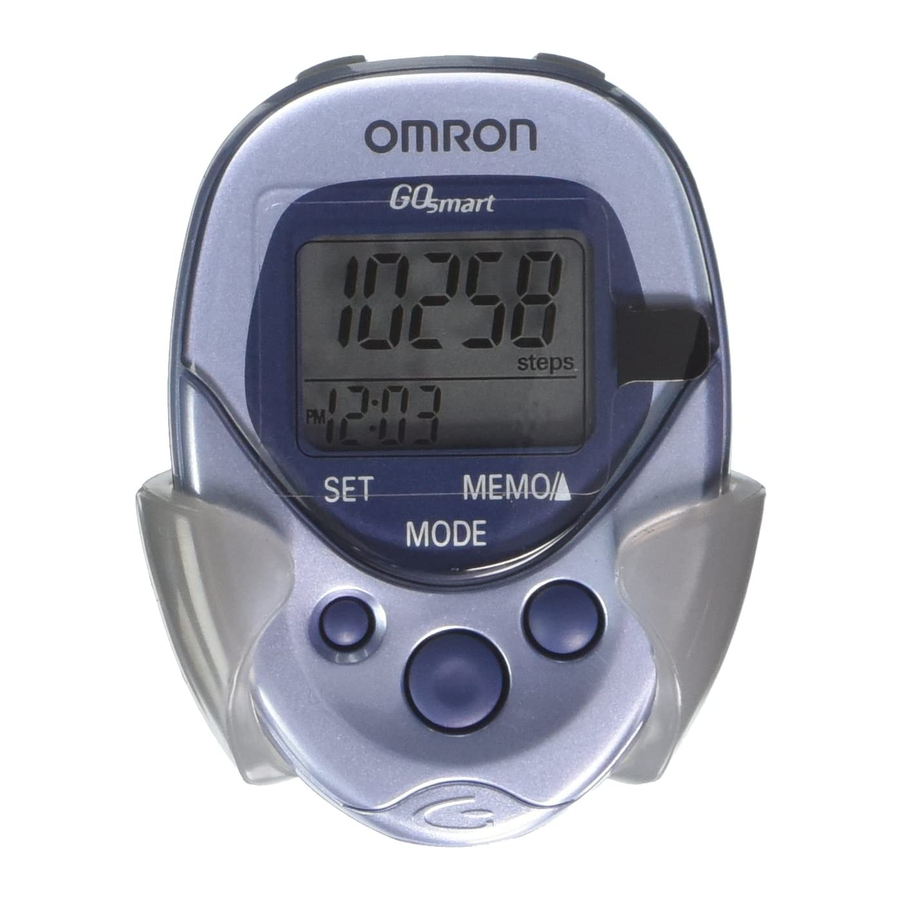
Page 5: Names And Functions Of The Parts
Names and Functions of the Parts Main Unit Display Displays the number of steps, number of aerobic steps, calorie, and distance. Displays the time and the duration of aerobic walk RESET Button Press this Button for more than 1.5 seconds to reset the data of today to 0. -
Page 6: Names And Functions Of The Parts
Names and Functions of the Parts Holder Use this holder when attaching the unit to your belt or the top of your pants. 1) Attach the main unit to the holder. How to attach the strap to the main unit Hole to attach the strap... -
Page 7: About The Pedometer
About the Pedometer Number of aerobic steps The unit displays the total number of aerobic steps in a day that satisfies the following two conditions: (The total duration you walked as the number of aerobic steps is also displayed.) • Walk more than 60 steps per minute •... -
Page 8: How To Attach The Pedometer
How to Attach the Pedometer We recommend that you place the unit in the upper front pocket of your jacket, in a bag you hold tightly, or attach unit to your pants or belt. Place the unit in your pocket. •... -
Page 9: How To Attach The Pedometer
How to Attach the Pedometer The unit may not be able to count the steps correctly in the following cases. When the memory is being displayed or the unit is being set • When the front of the main unit is placed in the angle of less than 60°... -
Page 10: How To Insert The Battery
How to Insert the Battery Remove the screw on the battery cover located at the back of the main unit. Use a supplied screwdriver or a commercially available small screwdriver to remove the screw on the battery cover. Open the battery cover. Insert a battery in the direction shown in the figure. -
Page 11: How To Insert The Battery
How to Insert the Battery Close the battery cover. Insert the projected portion of the battery cover first. Tighten the screw on the battery cover. The time setting display will appear in the screen for approximately 5 minutes after the battery is inserted. -
Page 12: How To Replace The Battery
How to Replace the Battery When to replace the battery eplace the battery with a new one (CR2032) when a • When the battery is removed, all the memory data and the set data (time, weight, and stride distance) are deleted. Set time, weight, and stride distance again. -
Page 13: How To Reset The System
How to Reset the System In the following cases, press the SYSTEM RESET Button. • When the battery is replaced • When you want to delete the memory • When the display becomes unrecognizable Press the SYSTEM RESET Button on the back of the main unit with a thin stick that is not easily breakable. -
Page 14: How To Set Time, Weight, And Stride Distance
How to Set Time, Weight, and Stride Distance Set the time, weight, and stride distance before using this unit Measuring your stride length. 1) As illustrated, walk 10 steps with your normal stride. 2) Measure the distance from Start to End in inches. 3) Calculate your stride by dividing the total distance by 10. - Page 15 How to Set Time, Weight, and Stride Distance How to set the time. Setting range: • Press the SET Button for more than 1.5 seconds. The time setting display will appear. • A display of “Time” will blink. • Press the MEMORY/▲ Button to set the time.
- Page 16 How to Set Time, Weight, and Stride Distance • Press the MEMOR /▲ Button to adjust the minute. Each time you press the MEMORY/▲ Button, the display of time will advance by 1 minute. Keep pressing the Button to fast forward the display of time by 10 minutes.
- Page 17 How to Set Time, Weight, and Stride Distance • Press the MEMORY/▲ Button to set the weight. ach time you press the Button, the display of weight will advance by 1 lb. Keep pressing the Button to fast forward the display of weight by 10 lbs. When the display of weight reaches 300, it will return to 70.
-
Page 18: And Stride Distance
How to Set Time, Weight, and Stride Distance • Press the MEMORY/▲ Button to set the stride length. Each time you press the Button, the display of stride length will advance by 1''. Keep pressing the Button to fast forward the display of stride length by 1'. -
Page 19: How To Use The Unit
How to Use the Unit Procedures in Actual Use Press the RESET Button for more than 1.5 seconds to set the display of the number of steps, number of aerobic steps, duration of aerobic walk, calorie, and distance to 0. Attach main unit properly. -
Page 20: How To Use The Unit
Procedures in Actual Use Press the MODE Button to change the display Each time you press the MODE Button, the display will change. Number of steps Press the RESET Button for more than 1.5 seconds. All the data (number of steps, number of aerobic steps, duration of steady walk, calorie, and distance) of today will be reset to 0. -
Page 21: Memory Function
Memory Function The unit can store the data of seven days starting with the oldest day to the previous day on number of steps, number of aerobic steps, calorie, and distance. The data (number of steps, number of distance) of today are automatically stored in the memory when the time reaches 0:00, and the display will return to 0. -
Page 22: Memory Function
Memory Function If you want to return to the screen before If you want to delete the memory Press the SYSTEM RESET Button on the back of the main unit with a firm stick that is not easily breakable. f you press the SYSTEM RESET Button, all the past memory data and the set data (time, weight, and stride distance) will be deleted. -
Page 23: Troubleshooting How To Care And Store The Unit
Troubleshooting How to Care and Store the Unit How to Care for the Unit Always keep the unit clean for use. If the unit is heavily stained, use a cloth moistened with water or detergent and squeeze it well before wiping the stain, then wipe the unit dry with another soft cloth. -
Page 24: Troubleshooting
Troubleshooting Trouble mark blinks. Nothing is displayed. The displayed values are wrong. The displayed contents are wrong. Troubleshooting Probable cause The battery is worn. The polarities of battery (+ and -) are aligned in the wrong directions. The battery is worn. The unit is attached incorrectly. -
Page 25: Specifications
1 Instruction Manual, 1 Warranty Card. • In the interest of product improvement, specifications are subject to change without notice. OMRON Pedometer HJ-112 3 VDC (1 lithium battery CR2032) Number of steps: 0 to 99,999 steps 0 to 99,999 steps... -
Page 26: Caution
Caution Changes or modifications not expressly approved by OMRON Healthcare, Inc. could void the user’s warranty. NOTE: POTENTIAL FOR RADIO/TELEVISION INTERFERENCE (for U.S.A. only) This product has been tested and found to comply with the limits for a Class B digital device, pursuant to part 15 of the FCC rules. These limits are designed to provide reasonable protection against harmful interference in a residential installation. -
Page 27: Limited One Year Warranty
Limited One Year Warranty Your HJ-112 Omron Pedometer is warranted to be free from manufacturing defects for a period of one year under normal use. This warranty extends only to the original retail purchaser. The one year warranty excludes the battery. - Page 28 Manufactured by OMRON Distributed by: OMRON HEALTHCARE, INC. 300 Lakeview Parkway Vernon Hills, Illinois 60061 www.omronhealthcare.com Copyright © 2003 OMRON HEALTHCARE, INC. 112INST Rev A...