NuTone 763RLN Installation Instructions Manual
Ceiling fan-light
Hide thumbs
Also See for 763RLN:
- Selection manual (36 pages) ,
- Installation instructions manual (8 pages)
Advertisement
Available languages
Available languages
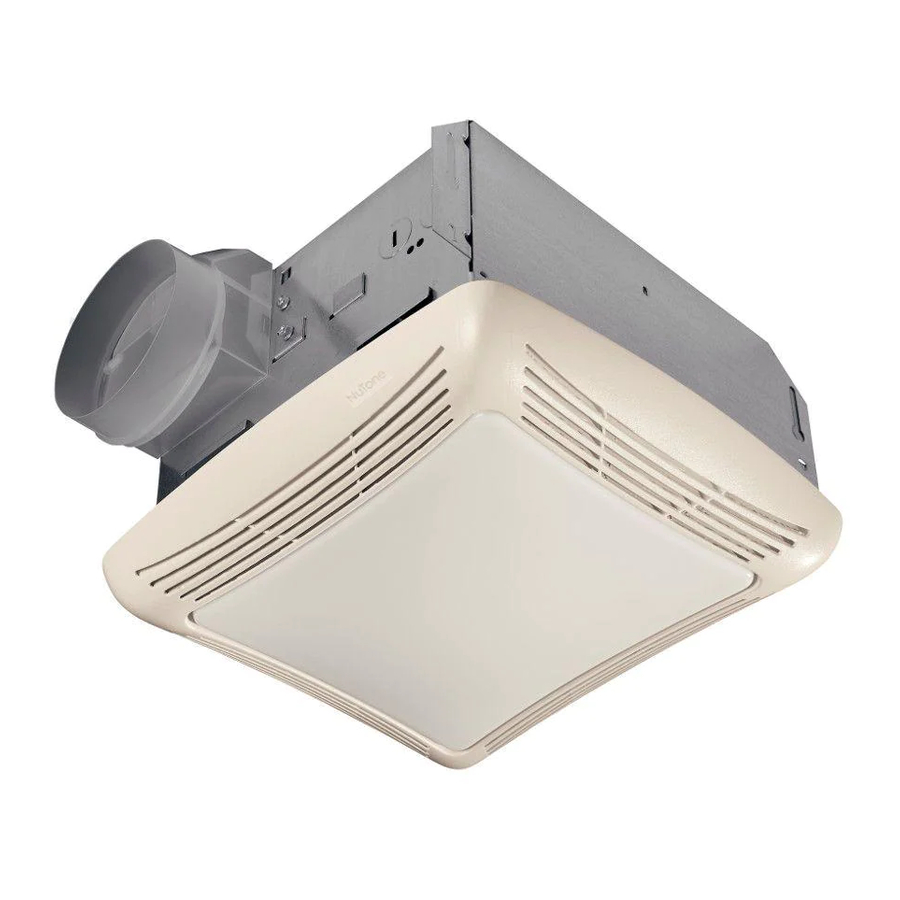
Ceiling Fan-Light
MODEL: 763RLN & 769RL
SUITABLE FOR USE OVER TUB OR SHOWER ENCLOSURE
WHEN INSTALLED IN A GFCI PROTECTED BRANCH CIRCUIT.
IMPORTANT SAFETY INSTRUCTIONS
WARNING: TO REDUCE THE RISK OF FIRE,
ELECTRIC SHOCK, OR INJURY TO PERSONS, OBSERVE THE
FOLLOWING:
A. Use this unit only in the manner intended by the manufacturer. If you
have questions, contact the manufacturer.
B. Before servicing or cleaning unit, switch power off at service panel and
lock service panel to prevent power from being switched on accidentally.
When the service disconnecting means cannot be locked, securely
fasten a prominent warning device, such as a tag, to the service panel.
CAUTION:
For general ventilating use only. Do not use to exhaust hazardous or
explosive materials and vapors
INSTALLATION INSTRUCTIONS
WARNING: TO REDUCE THE RISK OF FIRE,
ELECTRIC SHOCK, OR INJURY TO PERSONS, OBSERVE THE
FOLLOWING:
A. Installation work and electrical wiring must be done by qualified
person(s) in accordance with all applicable codes and standards,
including fire-rated construction.
B. Sufficient air is needed for proper combustion and exhausting of gases
through the flue (chimney) of fuel burning equipment to prevent back
drafting. Follow the heating equipment manufacturer's guideline and
safety standards such as those published by the National Fire
Protection Association (NFPA), and the American Society for Heating,
Refrigeration and Air Conditioning Engineers (ASHRAE), and the local
code authorities.
C. When cutting or drilling into wall or ceiling, do not damage electrical
Wiring and other hidden utilities.
D. Ducted fans must always be vented to the outdoors.
E. If this unit is to be installed over a tub or shower, it must be marked as
appropriate for the application.
F. NEVER place a switch where it can be reached from a tub or shower.
• WARNING: To reduce the risk of fire or electric shock, do not use
this fan with any solid-state speed control device.
• WARNING: To reduce the risk of shock, disconnect power before
servicing.
• Not for use in kitchens.
• Do not install in a ceiling insulated to a value greater than R-40.
• For installation in sloped ceilings up to 7/12 pitch, ductwork must point up.
FOR BEST RESULTS
For new construction install the housing during the rough-in stage of
construction. The blower unit, light and grille should be installed after the
finished ceiling is in place.
To install the Exhaust Fan-Light in an existing finished building requires
an accessible area (attic or crawl space) above the planned location.
.
TO REGISTER THIS PRODUCT, VISIT WWW.NUTONE.COM
READ & SAVE THESE INSTRUCTIONS!
PLANNING DUCTWORK AND WIRING
DUCTWORK
1. Use 4" round duct.
2. Plan to run duct from the fan's discharge opening to the outside. For
best fan performance, make duct run as short as possible and use
minimum number of elbows.
3. Use optional NuTone ducting accessories as needed (refer to NuTone's
catalog for a complete listing of optional accessories).
WIRING
Plan to run 120vAC house wiring (with ground) from a power source,
through a standard wall switch or an optional NuTone double FAN/LIGHT
switch, to the junction box in the Fan-Light's housing.
INSTALLATION IN A NEW
CONSTRUCTION SITE
PREPARATION
1. Unplug the power unit.
2. Refer to Figure 1. Remove power unit/blower assembly from the
housing. Remove screw and pull power unit assembly tabs out of slots
in housing. Set unit aside until needed.
3. Remove one of the wiring knockouts from housing.
MOUNTING THE HOUSING
USING SIDE MOUNTING TABS
Refer to Figure 2.
1. Locate housing next to ceiling joist.
2. Use wood screws (not provided) to loosely attach housing to ceiling
joist through keyhole slots in mounting tabs.
3. Adjust housing so that it will be flush with the finished ceiling.
4. When housing is properly adjusted, tighten screws in slots.
USING HANGER BARS
(Hanger bars sold separately, order model HB4)
Refer to Figure 3.
1. Insert hanger bars in slots provided in housing.
2. Locate fan housing between ceiling joists so that bottom of fan housing
is even with the planned finished ceiling.
3. Use screws or nails to secure mounting brackets to ceiling joists.
INSTALLING DUCTWORK
1. Refer to Figure 1. Place duct collar over flanges at discharge opening
of fan. Secure collar by snapping tabs into slots in flanges.
2. Refer to Figure 4. Run 4" round duct from outside to fan's discharge
opening.
3. Connect duct to duct collar.
INSTALLATION INSTRUCTIONS
Advertisement
Table of Contents

Related Manuals for NuTone 763RLN


Summary of Contents for NuTone 763RLN
-
Page 1: Important Safety Instructions
2. Plan to run duct from the fan's discharge opening to the outside. For best fan performance, make duct run as short as possible and use minimum number of elbows. 3. Use optional NuTone ducting accessories as needed (refer to NuTone's catalog for a complete listing of optional accessories). WIRING... -
Page 2: Wiring
NOT LIMITED TO, IMPLIED WARRANTIES OF MERCHANTABILITY OR FITNESS FOR A PARTICULAR PURPOSE. During this one year period, Broan-NuTone will, at its option, repair or replace, without charge, any product or part which is found to be defective under normal use and service. - Page 3 VENTILADOR/LAMPARA opcional de NuTone, a la caja de empalme de la caja de la Lámpara- Ventilador. INSTALACION EN UN LUGAR NUEVO DE...
- Page 4 ENTRE OTRAS, GARANTÍAS IMPLÍCITAS DE COMERCIALIZACIÓN O ADAPTABLES A UN PROPÓSITO EN PARTICULAR. Durante este período de un año, Broan-NuTone reparará o reemplazará a su opción y sin costo, cualquier producto o parte que se encuentre defectuoso bajo condiciones normales de uso y servicio. ESTA GARANTÍA NO CUBRE A LOS ARRANCADORES PARA LÁMPARAS FLUORESCENTES O A LOS TUBOS FLUORESCENTES, FILTROS, CONDUCTOS, TAPAS DE TECHO, TAPAS DE PARED Y OTROS ACCESORIOS PARA CANALIZACIÓN.
- Page 5 Pour une meilleure performance du ventilateur, installez une longueur de gaine aussi courte que possible, et utilisez un nombre minimum de coudes. 3. Utilisez les accessoires de gaine en option NuTone, si nécessaire. (Consultez le catalogue NuTone pour une liste complète d’accessoires en option).
- Page 6 MAIS SANS S’Y LIMITER, GARANTIE DE MARCHANDIBILITÉ OU D’ADAPTATION À UN USAGE PARTICULIER. Pendant cette période d’un an, Broan-NuTone procédera au remplacement ou à la réparation sans aucuns frais, mais à sa propre discrétion, de tout produit ou pièce jugé défectueux dans le cadre d’une utilisation normale. CETTE GARANATIE NE VISE PAS LES DISPOSITIFS D’AMORCAGE NI LES TUBES DES LUMINAIRES FLUORESCENTS.
- Page 7 DUCT COLLAR Collarin Del Conducto COL DE GAINE HOUSING Caja HABITACLE SLOTS Ranuras FENTES TABS Lenguetas LANGUETTES LENS Lente LENTILLE WIRING KNOCKOUTS Agujeros Ciegos Del Cableado DÉCOUPES DE CABLAGE POWER UNIT/ BLOWER ASSEMBLY Cojunto De Unidad De Potencia/Soplador ASSEMBLAGE DU BLOC D’ALIMENTATION/ VENTILATEUR GRILLE...
- Page 8 MODEL NUMBER GROUP 763RLN & 769RL CURRENT CURRENT REPLACEMENT REPLACEMENT PART NO. PART NO. 0503B-000 763RLN 0504B-000 769RL 99111002 763RLN 82403-000 769RL 1019B-000 101183-000 99111380 99111381 99260575 99241252 99270981 1022B-000 NOTE: Always order by current part number 763RLN & 769RL I.I.