Siemens TK76K573 Instruction Manual
Hide thumbs
Also See for TK76K573:
- Instruction manual (182 pages) ,
- Manual (162 pages) ,
- Instruction manual (176 pages)
Table of Contents
Advertisement
Advertisement
Table of Contents

Related Manuals for Siemens TK76K573


Summary of Contents for Siemens TK76K573
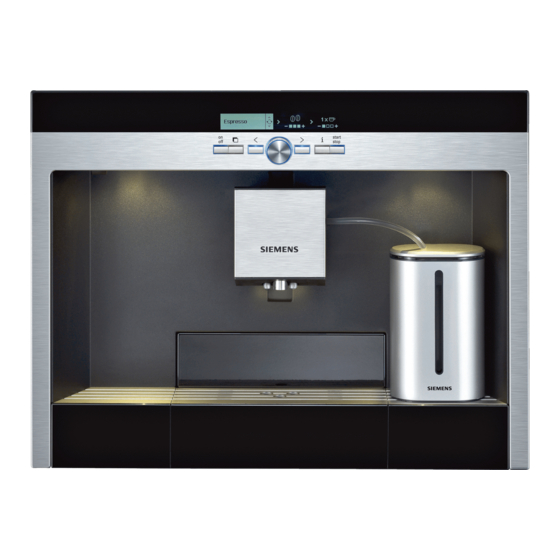
- Page 1 TK76K573...
- Page 2 ..........3 ..........85 ..........31 ........... 112 ..........57 ...........140 Lieferumfang (siehe Seite 6) / Included in delivery (see page 34) Contenu de l’emballage (voir page 60) Contenuto della confezione (ved. pagina 88) De verpakking bevat (zie pagina 115) / Комплект поставки (см. стр. 143) E-Nr.
- Page 3 2 6 3 3 7 8...
- Page 4 Congratulations ... How to use these instructions ... on purchasing this product. With this de- If you unfold the front cover of these in- ployable fully automatic espresso machine structions you will find illustrations of the you have acquired a high-quality modern appliance with numbered parts.
-
Page 5: Table Of Contents
Contents Safety instructions Information and settings Displaying information Included in delivery Displaying settings Set per-cup quantity The appliance and its parts Adjusting the grinding unit Checking the water hardness Controls and display Tips on energy saving Power switch O/I Daily maintenance Menu and display and cleaning Display messages... -
Page 6: Safety Instructions
Safety instructions Please read the operating instructions care- Risk of electric shock! fully before using the appliance and keep Connect and operate the appli them for future reference. You should also ance only in accordance with note the enclosed quick reference guide. the specifications on the rating label. -
Page 7: Included In Delivery
(See illustration on the fold-out front cover instruction manual) of these instructions) 1 Fully automatic espresso machine 1 Power switch O/I TK76K573 2 on off button (“energy saving mode”) 2 Instruction manual 3 Selection buttons < > 3 Filter instructions... -
Page 8: Controls And Display
Controls and display Menu and display Power switch O/I The appliance features user-friendly menu navigation to ensure that operation is as The power switch O/I (1) is used to switch easy as possible while at the same time the appliance on into “energy saving mode” offering a wide range of functions. -
Page 9: Display Messages
► Rotary knob (4): This is turned to Prompts: select and change settings in the dis- Display message What you need to do play (e.g. coffee strength or per-cup Refill water tank Refill water quantity). tank ► Display (5): The display uses symbols Replace water tank Replace water and texts to indicate settings, ongoing... -
Page 10: Deployment System
Deployment system Accessories The appliance can be pulled out of the built- The fully automatic espresso machine has in unit automatically. To do this, special compartments for storing the acces- ► press (6) (appliance must be sories and quick reference guide (21) with switched on for this) or the appliance. -
Page 11: Energy Saving Mode
Energy saving mode 3. Press the retracted rotary knob and turn it to select the language in If the drip tray is not in place, the appli- which you want the display texts to ance cannot be switched on and no water appear. -
Page 12: Preparing Drinks
10. Press on off (2). The company logo For every type of drink you can use < lights up in the display. The appliance (3) to select further options, e.g. > now heats up and rinses. Some water coffee strength and per-cup quantity. The will run out of the coffee outlet. -
Page 13: Aromadouble Shot
AromaDouble Shot 4. Turn the rotary knob (4) to the left until only the box on the left is shown in The longer the coffee is brewed, the more black (“mild” setting): bitter substances and undesired aromas are released. This has a negative effect on Coffee the taste and makes the coffee less easily digestible. -
Page 14: Preparation Using Milk
Do not use whole beans or instant 2. Deploy the appliance coffee. (see “Deployment system”). 3. Take the milk tube supplied with the ap- pliance and connect it to the attachment 4. Close the drawer again. point on the milk frother (10). Close the 5. -
Page 15: Two Cups At Once
Immediately after that the coffee is brewed The appliance brews twice in and then runs into the cup or glass. succession; wait for the complete process to finish. In the case of the strength settings 2x * (AromaDouble Shot), the My coffee appliance brews twice in succes- sion. -
Page 16: Preparing Milk Froth And Warm Milk
7. Press (3) to switch to selection of The appliance may make a > the coffee/milk ratio. Set the required whistling noise when warm milk is mix by turning the rotary knob (4) in being prepared. This is caused by 20% steps: the milk frother (10) for technical reasons. -
Page 17: Information And Settings
Information and settings The changes you have made are saved automatically. It is (7) to display information (press not necessary to confirm them briefly) and adjust settings (hold down for at additionally. least three seconds). The following setting options are available to you: Displaying information >... -
Page 18: Set Per-Cup Quantity
Empty the container. The appliance is The appliance can also be reset to ready to use once more. the factory settings as follows: Rinsing the filter simultaneously activates the setting for the 1. Switch the appliance off fully at the Service - change filter display. -
Page 19: Adjusting The Grinding Unit
Checking the water hardness Important: The selected amount in ml is an approximate value and can vary significantly as a result of The water hardness setting can be adjusted crema forming, the grind setting or on this appliance. It is important to set the the type of milk used, etc. -
Page 20: Daily Maintenance And Cleaning
Daily maintenance Important: Drip tray for coffee and cleaning outlet (25) and coffee grounds container (26) should be emptied Risk of electric shock! and cleaned daily to prevent Before cleaning the appliance, mould from developing. switch it off at the power switch. Do not use a steam cleaner. -
Page 21: Cleaning The Brewing Unit
Short rinse for milk system: 5. Put all the parts back together, making 1. In the menu for drink selection, select sure the markings are overlapping. The milk frother can then be clicked back Short rinse for milk system 2. Press start stop (8). - Page 22 5. Slide the red lock (23a) on the brewing 9. Wipe out the inside of the appliance unit completely forward: thoroughly with a damp cloth and re- move any coffee residues. 10. Allow the brewing unit and the inside of the appliance to dry.
-
Page 23: Service Programmes
Service programmes Never interrupt the service programme. If one of the service programmes is inter- At certain intervals, depending on how the rupted, e.g. by a power outage, proceed as appliance is used, the display will show one follows: of the following texts instead of the coffee 1. -
Page 24: Cleaning
Place container under milk frother Empty drip tray » Start Empty the drip tray. Place a container with a capacity of Replace drip tray 0.5 litres under the milk frother (10). Replace the drip tray. Press start stop (8). Replace the filter if one is being used. The appliance is ready for use again. -
Page 25: Calc'n'clean
If the milk frother is not inserted, Press start Press start stop (8). The cleaning pro- the following message is gramme will now run for about 6 minutes. displayed: Cleaning Set up milk frother Insert the milk frother (10). Empty drip tray Empty the drip tray. -
Page 26: Accessories, Storage, Disposal, Guarantee
Accessories, storage, If there is not enough descaling disposal, guarantee fluid in the water tank, the follow- ing message is displayed: Not enough descaling fluid Accessories Refill fluid Pour lukewarm water into the empty water tank (12) up to the calc (0.5 litre) The following accessories are available mark and dissolve two descaling tab- from retailers or customer service:... -
Page 27: Disposal
Disposal Guarantee This appliance is labelled in accordance The guarantee conditions for this appliance with the European Directive 2002/96/EG are as defined by our representative in the relating to waste electrical and electronic country in which it is sold. Details regarding equipment –... -
Page 28: Simple Troubleshooting
Simple troubleshooting Problem Cause Solution Display shows Beans are not falling into the Change the type of coffee grinding unit (beans too oily). if necessary. Wipe out the Refill bean container Although the bean container empty bean container with a is full, the appliance does dry cloth. - Page 29 Simple troubleshooting Problem Cause Solution Coffee is too “bitter”. The grinding setting is too Adjust the grinding unit to fine or the pre-ground coffee a coarser setting or use is too fine. coarser pre-ground coffee. Unsuitable type of coffee. Change the type of coffee. The appliance has a fault.