
Related Manuals for GBC ProCut 20P


Summary of Contents for GBC ProCut 20P
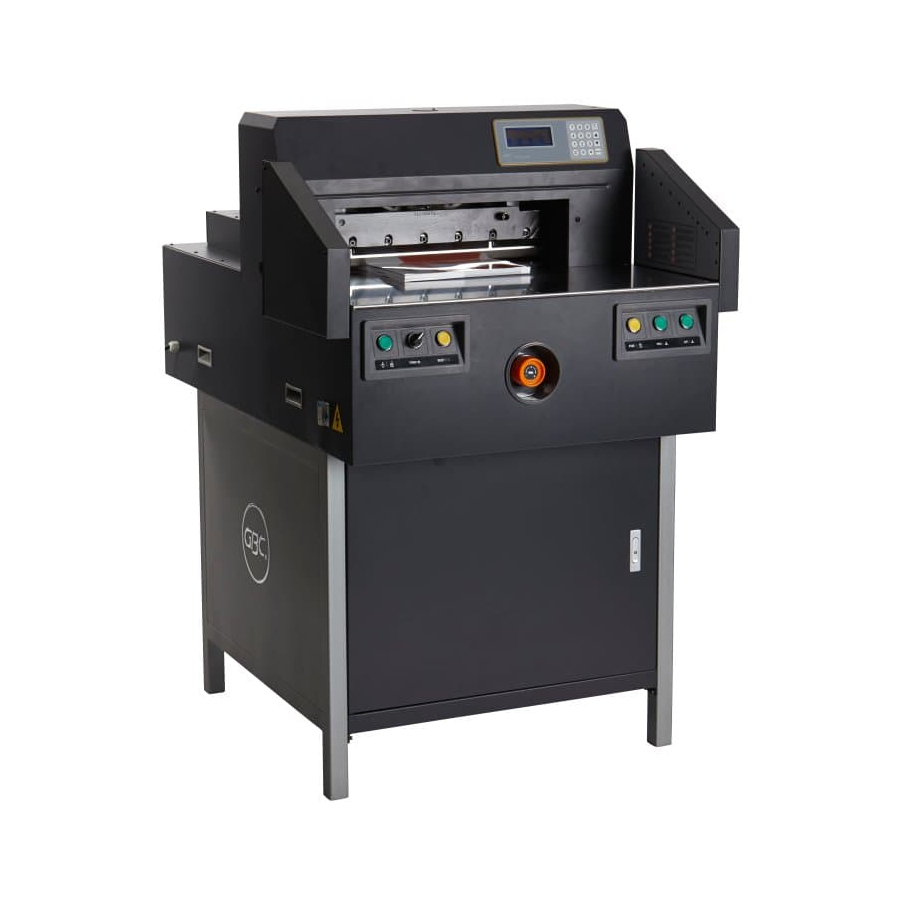
- Page 1 ProCut Paper Cutter Model 20P INSTALLATION & OPERATION MANUAL Document Number: 1729247 Rev. A Do not duplicate without written permission from ACCO Brands. Store this instruction manual in a safe place for future reference.
-
Page 2: Introduction
© 2015 ACCO Brands. All rights reserved. ACCO® is a registered trademark of 4 Corporate Drive 800.263.1063 Madero ACCO Brands. GBC® is a registered trademark of General Binding Corporation. Lake Zurich, IL 60047 www.gbccanada.com (55) 1500 5778 In USA call 800.772.9281 www.gbcconnect.com... -
Page 3: Table Of Contents
ProCut 20P – Installation and Operating Instructions aBle oF ontents 8. Function Values Introduction ..............i Features ..............i Changing Function Values ........8-2 Benefits ..............i Safety ..............i 1. Safety Cautions ..............1-2 General ..............1-2 Electrical ..............1-2 GBC Technical Service ......... - Page 4 ProCut 20P – Installation and Operating Instructions Page iii...
-
Page 5: Safety
ProCut 20P – Installation and Operating Instructions 1. s aFety Your safety, as well as the safety of others, is important. Before you install or use the machine, read and follow all the safety notices carefully in this chapter. In this instruction manual, and on the machine, you will find important safety notices related to the use of the product. -
Page 6: Cautions
Disconnect the plug from the receptacle and contact Keep the work area well lit. your dealer or distributor, or GBC Technical Service at • Plastic bags must be kept out of reach of 1-800-723-4000, when one or more of the following has children. -
Page 7: Warranty
ProCut 20P – Installation and Operating Instructions 2. W arranty , 90 d OR PROMISES INCONSISTENT WITH OR IMIted arts IN ADDITION TO THIS WARRANTY ARE ; usa, M aBor arranty exIco UNAUTHORIZED AND SHALL NOT BE BINDING ON ACCO BRANDS. TO THE EXTENT PERMITTED BY... - Page 8 ProCut 20P – Installation and Operating Instructions Page 2-2...
-
Page 9: Specifications
ProCut 20P – Installation and Operating Instructions 3. s PecIFIcatIons Model ProCut 20P Control Programmable Minimum Cut Length 1.19 in. (30 mm) Maximum Cut Length 20.43 in. (519 mm) Maximum Cut Thickness 2.5 in. (64 mm) Maximum Cut Width 20.43 in. (519 mm) Dimensions: 34.5 in. -
Page 10: Fcc Class A Notice
ProCut 20P – Installation and Operating Instructions Fcc c lass otIce odIFIcatIons This device complies with Part 15 of the FCC Rules. Any modifications made to this device that are not Operation is subject to the following two conditions: approved by ACCO Brands may void the authority granted to the user by the FCC and/or by Industry •... -
Page 11: Installation
You can be severely injured or crushed. The ProCut 20P Series Cutter is a large and heavy piece of equipment. It is not designed to be tipped up or tipped sideways in anyway. -
Page 12: Location
ProCut 20P – Installation and Operating Instructions ocatIon The ProCut 20P should be located in a space that allows adequate room to operate the machine. Allow at least six inches behind the machine. It is recommended that a media table be used to stage the sheets to be cut. -
Page 13: Feature Guide
ProCut 20P – Installation and Operating Instructions 5. F eature uIde This chapter identifies the main components of the machine. nFrared aFety alls Figure 6. Red LED Laser Cut Line The cut line, as shown in the photo above, is visible only when the machine is turned ON. -
Page 14: Control Panel
In addition to the manual cut settings, the ProCut 20P can be programmed for in front and behind the blade The numeric value displayed is the current position of the cutting. Up to 80 programs, containing 99 steps each, Back Gauge. -
Page 15: Operation Buttons
ProCut 20P – Installation and Operating Instructions d. c ancel IrcuIt reaker The Cancel button is used to: • Delete current values • Return to the home screen from the menu mode • Stop a warning condition c. o PeratIon uttons Figure 12. - Page 16 ProCut 20P – Installation and Operating Instructions Page 5-4...
-
Page 17: Operation
The operator must use both hands to operate the cutter. Failure to observe this The ProCut 20P can be programmed for in front and warning could result in severe personal injury. behind the blade cutting. Up to 80 programs, containing 99 steps each, can be stored for reuse. - Page 18 ProCut 20P – Installation and Operating Instructions • The Back Gauge then moves to the second step cut position, which is highlighted on the LCD. Behind blade program 10.00 8.00 6.00 00.00 00.00 00.00 00.00 00.00 Figure 16. Rendering of Sample Program 8.
-
Page 19: Operator Maintenance
ProCut 20P – Installation and Operating Instructions 7. o Perator aIntenance arInG For the The only maintenance required by the operator is to perform what is described in this section. Perform only the routine maintenance procedures referred to in these instructions. - Page 20 ProCut 20P – Installation and Operating Instructions At the end of its useful life, your product is considered to lade ePth dJustMent be Waste Electrical and Electronic Equipment (WEEE). If the Cutting Blade does not cut through the paper, As such, it is important to note that: the blade may need to be adjusted or the Cut Stick •...
- Page 21 ProCut 20P – Installation and Operating Instructions 8. F unctIon alues There are eight functions which are as follows: Function Name & Description When to Use Rendered Drawing Behind Blade Program Behind Blade cutting When doing large jobs with multiple cuts.
- Page 22 ProCut 20P – Installation and Operating Instructions hanGInG unctIon alues Once the Function is selected, enter the value by pressing the Up or Down arrow keys. 1. Press the Set button once to access the Functions. Use the Up or Down arrows to scroll through the Functions.
- Page 24 © 2015 ACCO Brands. All rights reserved. ACCO® is a registered trademark of 4 Corporate Drive Brampton, ON L6S-6B7 Delagacion Gustavo A. Madero, CP 07700 ACCO Brands. GBC® is a registered trademark of General Binding Corporation. Lake Zurich, IL 60047 800.263.1063 México, DF. (55) 1500 5578 In USA call 800.772.9281...