Table of Contents
Advertisement
Advertisement
Table of Contents

Related Manuals for Poulan Pro PR500N21SH

Summary of Contents for Poulan Pro PR500N21SH
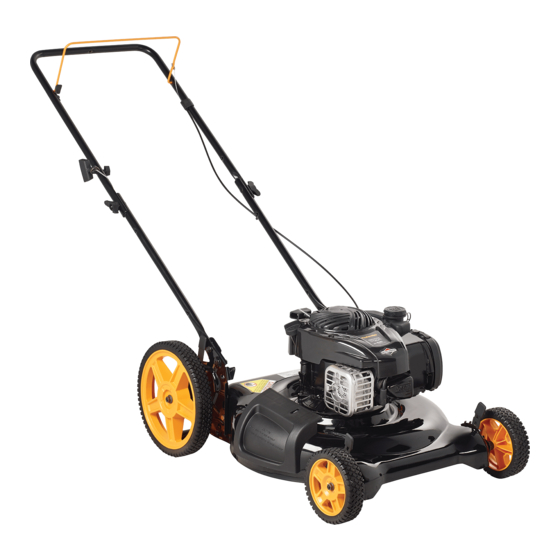
- Page 1 DELUXE PUSH ROTARY LAWN MOWER 115 58 77-27 Rev. 5 01.19.16 BY Printed in U.S.A.
- Page 2 TABLE OF CONTENTS Safety Rules ....2-4 Maintenance ....16-18 Storage ......20-21 Assembly .......6-9 Service and Troubleshooting ..22-23 Operation ....10-15 Adjustments ....19 SAFETY RULES IMPORTANT: This cutting machine is In the state of California the above is re- capable of amputating hands and feet and quired by law (Section 4442 of the Califor- throwing objects.
- Page 3 SAFETY RULES • Clear the area of objects such as rocks, • When loading or unloading this ma- toys, wire, bones, sticks, etc., which chine, do not exceed the maximum could be picked up and thrown by recommended operation angle of 15°. blade.
- Page 4 SAFETY RULES • Remove gas-powered equipment from • Never tamper with safety devices. the truck or trailer and refuel it on the Check their proper operation reg u lar ly. ground. If this is not possible, then Never do anything to interfere with the refuel such equipment with a portable intended function of a safety device or container, rather than from a gasoline...
- Page 5 THINGS TO KNOW BE FORE YOU ASSEMBLE OR OPERATE YOUR LAWN MOW ER Do I have a side or rear discharge lawn What kind of engine is on my lawn mower? mower? Look for the grass discharge opening on When learning how to operate your new your mower.
- Page 6 ASSEMBLY 3 POSITION “QUICK” HANDLES CAUTION: Do not operate this lawn mower without the discharge deflector or • Raise lower handle section to operating an entire approved grass catcher in place. position and squeeze the bottom ends These guards are for your protection and are of lower handle towards each other until the pin in handle can be inserted required by the American National Standards...
- Page 7 ASSEMBLY ALL HANDLES INSTALL REAR WHEELS (HIGH WHEEL MOWERS ONLY) • Raise upper handle section into place on lower han dle, remove protective pad- Some high wheel models require wash ers ding and tighten both handle knobs. which will be pro vid ed in a parts bag. If provid- •...
- Page 8 ASSEMBLY “FABRIC TOP” GRASS CATCHERS HINGE BRACKET MOUNTED TO ASSEMBLE AND ATTACH GRASS Rear door CATCH ER • Put grass catcher frame into grass bag Hinge bracket with rigid part of bag on the bottom. • Slip vinyl bindings over frame. Grass NOTE: If vinyl bindings are too stiff, hold catcher...
- Page 9 ASSEMBLY SPARK PLUG BOOT UNITS WITH DECK-MOUNTED BATTERY: • After charging, connect engine con nec tor On some models a spark plug boot is (male) to bat tery connector (female). packed loose in the parts bag. If your Your engine has an integral alternator for model has the boot, install on spark plug partial charging.
- Page 10 OPERATION The operation of any lawn mower can result in foreign objects Use ear thrown into the eyes, which can result in severe eye damage. protec- Always wear safety glasses or eye shields while operating your tors to lawn mower or performing any adjustments or repairs. We recom- a v o i d mend standard safety glasses or a wide vision safety mask over spectacles.
- Page 11 OPERATION FOR MULCHING MOWERS ONLY MULCHER PLUG BUILT INTO REAR DOOR Most mulching mowers are shipped ready to be used as a mulcher. “REAR DISCHARGE ONLY” MOWERS Some models have a seperate mulcher plug, other models have the mulcher plug built into the rear door.
- Page 12 OPERATION MULCHER PLUG TYPE “A” CAUTION: Do not run your lawn mow- To convert to mulching operation, mulcher er without discharge deflector, approved plug must be installed into discharge grass catch er or open ing of mower. mulcher plug in place. •...
- Page 13 OPERATION CAUTION: Do not run your lawn mower without rear mulcher plate or plug in place or approved grass catcher in place. Never at tempt to op er ate the lawn mow er with the rear door re moved or propped open.
- Page 14 OPERATION BEFORE STARTING EN GINE Read the engine manual packed with your mower. FILL ENGINE WITH OIL Your lawn mower is shipped without oil in the engine. • Be sure mower is level and area around oil fill is clean. •...
- Page 15 OPERATION MOWING TIPS FOR MULCHING MOWERS ONLY - MULCHING MOWING TIPS CAUTION: Do not use de-thatcher blade attachments on your mower. Such IMPORTANT: For best performance, attachments are hazardous, will damage keep mower housing free of built-up grass and trash. See "CLEANING" in the Mainte- your mower and could void your warranty.
-
Page 16: General Recommendations
MAINTENANCE BEFORE AFTER EVERY EVERY EVERY BEFORE EACH EACH 25 HOURS STORAGE HOURS OR SEASON HOURS Check for Loose Fasteners Clean / Inspect Grass Catcher * Check Tires Check Drive Wheels *** Clean Lawn Mower **** Clean under Drive Cover *** Check Drive Belt / Pulleys *** Check / Sharpen / Replace Blade Lubrication... - Page 17 MAINTENANCE LAWN MOWER 5. Use block of wood between blade and lawn mower housing and tighten the Always observe safety rules when per- blade bolt, turning clockwise. forming any main te nance. • The recommended tightening torque is 35-40 ft. lbs. TIRES IMPORTANT: Blade bolt is heat treated.
- Page 18 MAINTENANCE TO CHANGE ENGINE OIL Clamp Clamp (SEE ENGINE MANUAL) • Be sure lawn mower is on level surface. • Oil will drain more freely when warm. • Catch oil in a suitable container. • For engines without dipstick, re move Fuel bottom oil drain plug.
- Page 19 SERVICE AND ADJUSTMENTS CAUTION: Before performing any service or adjustments: • Release operator presence control bar. • Make sure the blade and all moving parts have com plete ly stopped. • Disconnect spark plug wire from spark plug and place wire where it can not come in contact with plug.
- Page 20 STORAGE Immediately prepare your lawn mower for DOMED HOUSING MODELS ONLY: storage at the end of the season or if the • Remove bolts and nuts. unit will not be used for 30 days or more. Operator MOWING CAUTION: Never store the lawn mower presence POSITION with gaso line in the tank inside a build ing...
- Page 21 STORAGE 3 POSITION HANDLES • Use fresh fuel next season. When setting up your handle from the NOTE: Fuel stabilizer is an acceptable alternative in min i miz ing the formation of storage position, the lower han dle will require manually locking into the mowing fuel gum deposits during stor age.
- Page 22 TROUBLESHOOTING See appropriate section in manual unless directed to an authorized Service Center. PROBLEM CAUSE CORRECTION Does not start Dirty air filter. 1. Clean/replace air filter. Out of fuel. 2. Fill fuel tank. Stale fuel. 3. Drain fuel tank and refill tank with fresh, clean gasoline.
- Page 23 TROUBLESHOOTING - See appropriate section in manual unless directed to an authorized Service Center. PROBLEM CAUSE CORRECTION Grass catcher Cutting height too low. 1. Raise cutting height. not filling Lift on blade worn off. 2. Replace blade. (If so equipped) 3. Catcher not venting air.