Advertisement
Table of Contents
- 1 Notes on Installation
- 2 Explanation of Graphical Symbols
- 3 Installation
- 4 Electric Power
- 5 Maintenance
- 6 Damage Requiring Service
- 7 Owner's Record
- 8 Channel Inputs
- 9 Digital Audio Inputs
- 10 Monitor out
- 11 Volume & Set up
- 12 Tape Monitor
- 13 Surround Mode
- 14 Setup Options
- 15 Tone Controls
- 16 Channel Delays
- Download this manual
See also:
Service Manual
Advertisement
Table of Contents

Related Manuals for NAD T741


Summary of Contents for NAD T741
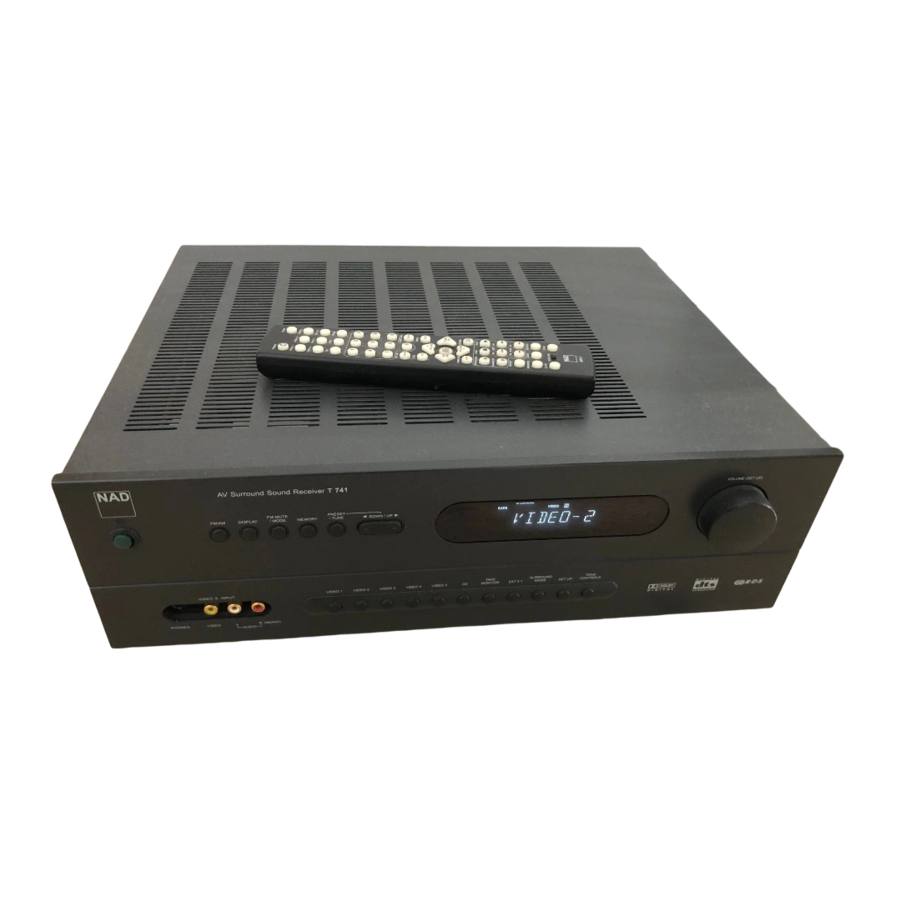
- Page 1 T741 AV Surround Sound Receiver Owner’s Manual...
-
Page 3: Notes On Installation
If the unit is not going to be used for some time, disconnect the plug from the AC socket. Should water get into your NAD T741, shut off the power to the unit and remove the plug from the AC socket. Have the unit inspected by a qualified service technician before attempting to use it again. -
Page 4: Explanation Of Graphical Symbols
EXPLANATION OF GRAPHICAL SYMBOLS The lightning flash with arrowhead symbol, within an equilateral triangle, is intended to alert the user to the presence of uninsulated “dangerous voltage” within the product’s enclosure that may be of sufficient magnitude to constitute a risk of electric shock to persons. The exclamation point within an equilateral triangle is intended to alert the user to the presence of important operating and maintenance (servicing) instructions in the literature accompanying the appliance. -
Page 5: Electric Power
ELECTRIC POWER 1 Power Sources - Connect this unit only to power sources specified in the Operating Instructions, and as marked on the unit. 2 Polarization - As a safety feature, some units are equipped with polarized AC power plugs which can only be inserted one way into a power outlet. - Page 6 FIG. 1 REAR PANEL CONNECTIONS FIG. 2 FRONT PANEL CONTROLS +12V TRIGGER...
- Page 7 FIG. 3 REMOTE CONTROL FIG. 4 FIG. 5 14-18 FIG. 6...
-
Page 8: Channel Inputs
REAR PANEL CONTROLS (FIGURE 1) 1. FM & AM ANTENNA AM ANTENNA - An AM loop antenna is supplied with the T741 and is required for AM reception. Open the clip terminal lever and insert the wire from the antenna. Closing the lever will lock the wire in place (Fig. -
Page 9: Monitor Out
AUDIO PRE-OUTS - The NAD T741 receiver has five power amplifiers built-in to power all the speakers connected to it (Left, Right, Center, Left Surround, Right Surround). It is also possible to use the T741 as a pre- amplifier to drive external power amplifiers. This way, you use all the control functions the T741 provides, such as input select, surround mode, volume, tone controls, etc., but the external power amplifier... - Page 10 NAD-Link. • Never loop the last unit back to the first NAD unit in the NAD-Link chain. • Unplug all units from the mains before connecting or disconnecting NAD-Link.
-
Page 11: Volume & Set Up
In the default function, this control acts as a Volume control, adjusting the overall loudness of the signals being fed to the loudspeakers and headphones. Unlike conventional controls, the T741’s volume control doesn’t have a start or end position. Volume can also be adjusted from the remote control handset using the Master Volume Up or Down buttons. -
Page 12: Tape Monitor
The control is also used to adjust various set-up settings and levels for the T741. In conjunction with the SETUP button (No. 17) the speakers size and delay can be adjusted; in conjunction with the Tone Control button (No. 18) the Bass and Treble levels can be adjusted. Refer also to sections “SETUP”... -
Page 13: Surround Mode
Layer 3 and go back to Layer 2. While at Layer 2 or Layer 1, selecting Exit then pressing SET UP will go back one level up. After a 5 sec default time, if no adjustment is made, the T741 will automatically exit the set up mode and return to the last selected input. - Page 14 1 to 10 on AM), shown as a flashing number in the Display Panel, and then press MEMORY (No. 6) again. The Memory light in the Display Panel will go out and the station is now stored in your NAD T741’s memory.
- Page 15 SURR. Function - This button sequentially cycles through the available surround modes: STEREO ➜ PROLOGIC ➜ EARS ➜ and “wraps” back to STEREO. Each press of the button advances the T741 to the next surround mode. DOLBY DIGITAL and DTS are automatically detected on the incoming signal and selected.
- Page 16 13. TUNE MODE / RETURN The TUNE MODE button functions the same as the button of the front panel of the T741, switching between the Tune Mode and the Preset Mode. See complete description in the FRONT PANEL CONTROLS section above.
-
Page 17: Channel Delays
TIPS ON WHICH SPEAKER SETTINGS TO USE The four modes available to the T741’s setup are: LARGE or SMALL and ON or OFF. The LARGE mode is used when the speaker is full range and capable of reproducing the entire audible frequency spectrum 20Hz to 20kHz. - Page 18 10 feet (3.0 m), the difference is 2 feet (0.6 m). For this example the center channel delay is set to 2 milliseconds or ms. The T741 can delay the center channel output up to 5 milliseconds and thus compensates for center channel speakers that are up to 5 feet (1.5m) closer to the listening position than the front left and right...
- Page 19 Select appropriate Center mode (large or small) • Check speaker and connection • Increase center volume level • Connect digital output of source to T741 • Check connections to all speakers in the system • Check or replace batteries •...
- Page 20 ©2001 NAD ELECTRONICS INTERNATIONAL All rights reserved. No part of this publication may be reproduced, stored or transmitted in any form without the written permission of NAD Electronics International T741 Manual 10/01 Printed in Malaysia...