
Related Manuals for Homemaker FD-40M


Summary of Contents for Homemaker FD-40M
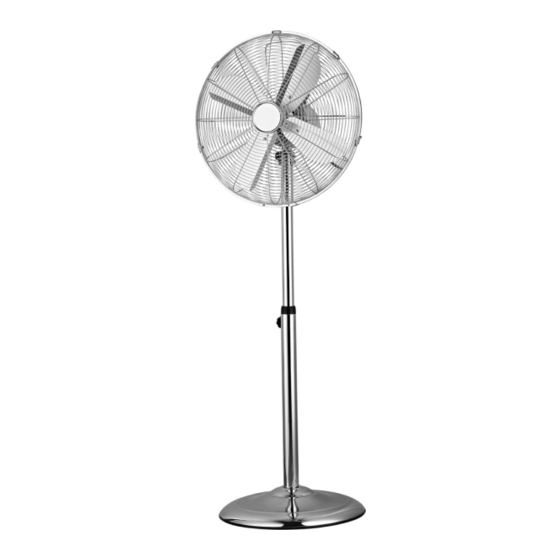
- Page 1 40cm Chrome Pedestal Fan User Manual Model No.: FD-40M Item No.: 900592 220 - 240Va.c. 50Hz 50W Rev 4 Note: The specifications and/or components of this appliance are subject to change without prior notice.
-
Page 2: Table Of Contents
1 Safety Instructions ................. 3 2 Components ................... 5 3 Assembly ..................6 3.1 Base and Stand ....................6 3.2 Attach Head to Stand ..................6 3.3 Safety Grille and Fan Blade ................7 4 Instructions For Use ..............9 4.1 Head Tilt ...................... -
Page 3: Safety Instructions
1 Safety Instructions When using electrical appliances, basic safety precautions should always be followed, including the following: • Carefully read this instruction manual before using appliance. • Keep appliance out of reach of young children. • This appliance is not intended for use by persons (including children) with reduced physical, sensory or mental capabilities, or lack of experience and knowledge, unless they have been given supervision or instruction concerning use of the appliance by a person responsible for their safety. - Page 4 • Appliance should not be used outdoors, placed near a hot gas or electrical burner or placed in a heated oven. Do not install near any heat sources such as radiators, heat registers, stoves, or • other apparatus that produce heat. •...
-
Page 5: Components
2 Components Grille Decoration Neck Front Grille Post Locking Clip Height Adjustment Knob Fan Blade Base Fan Blade Locking Screw Weight Rear Grille Screws Washer Rear Grille Locking Lever Carry Handle Tilt Range Knob Motor Spindle Tilt Range Screw On / Off / Speed Knob Tilt Range Screw Slot Oscillating Knob Tilt Adjustment Knob... -
Page 6: Assembly
3 Assembly 3.1 Base and Stand Your Fan has been boxed unassembled to minimise packaging waste. Each part is designed to fit together and be disassembled easily for cleaning or storage. • First, unscrew the Locking Lever and Washer from the bottom of the stand post. •... -
Page 7: Safety Grille And Fan Blade
3.3 Safety Grille and Fan Blade To assemble the safety grille and blade assembly, first take the motor assembly and remove the 4 screws as identified. Fit the back safety grille into position (with the handle on the back of the grille at the top) and refit the 4 screws and tighten. - Page 8 Open up all locking clips on the sides of the rear safety grille. Place the safety grille into position by lining up the location plate over the top of the rear grill as shown and push down. Secure the grille by closing the clips over the outer rim. Then using the small nut and bolt, fasten the two grilles together.
-
Page 9: Instructions For Use
4 Instructions For Use Remove the cable tie and unravel the cordset before operation. 4.1 Head Tilt The fan and motor assembly Can be tilted up and down to your desired angle. To adjust the tilt angle, undo the adjustment knob, tilt the head to the desired angle and then re-tighten the knob. -
Page 10: Warranty Against Defect
7 Warranty Against Defect 12 Month Warranty Thank you for your purchase from Kmart. Kmart Australia ltd warrants your new product to be free from defects in materials and workmanship for the period stated above, from the date of purchase, provided that the product is used in accordance with accompanying recommendations or instructions where provided.